相信对于很多新手伙伴来说,还不是很熟悉UG10.0软件中的通过曲线组命令,那么话说UG10.0通过曲线组命令如何使用呢?详细内容如下讲解。
打开UG10.0软件,新建一空白的模型文件,另存为:UG10.0通过曲线组命令如何使用
执行【曲线——圆弧/圆】,激活“圆弧/圆”命令,
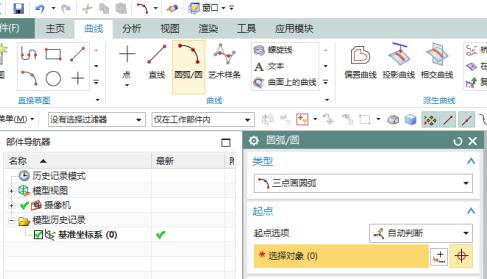
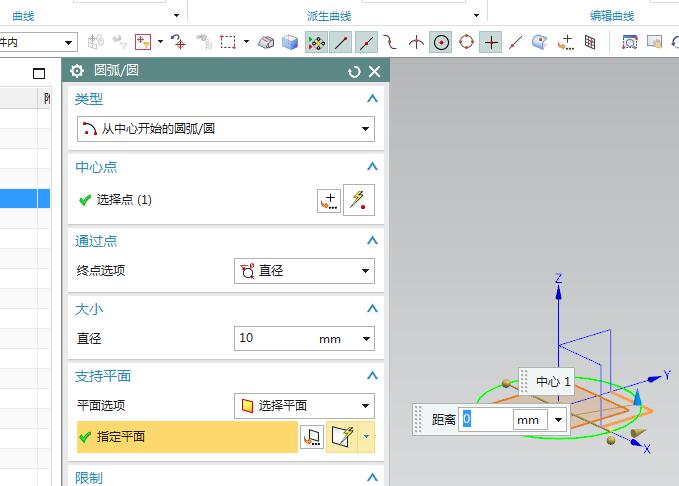
类型设为“从中心开始的圆弧/圆”,指定点:坐标原点,通过点:直径,大小10,指定平面:XY平面,限制:0度开始,360度结束,点击应用。
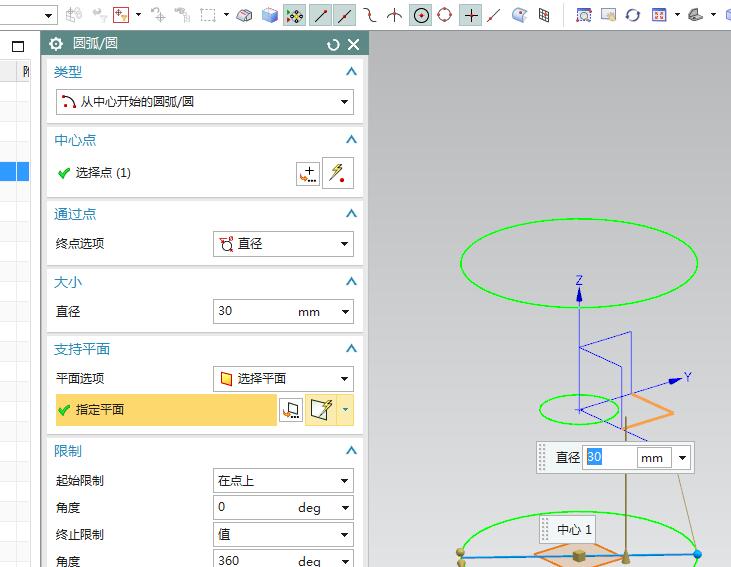
用同样方法再画两个圆,直径30,选中XY平面,分别向上移动30和向下移动30,点击确定。
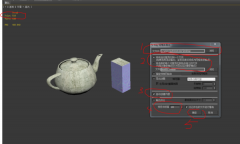
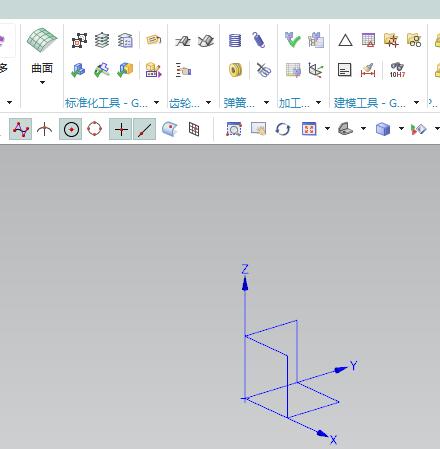
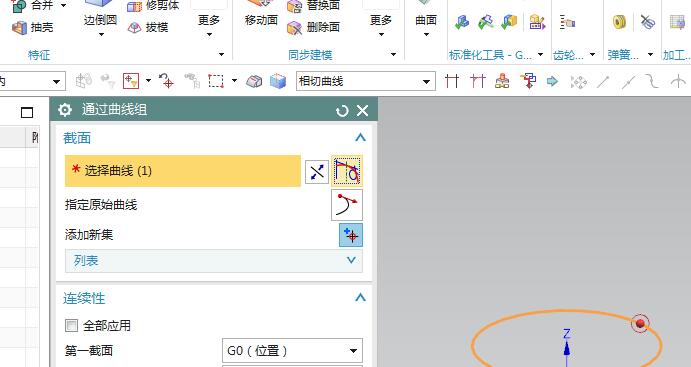
执行【菜单——插入——网格曲面——通过曲线组】,激活“通过曲线组”命令。

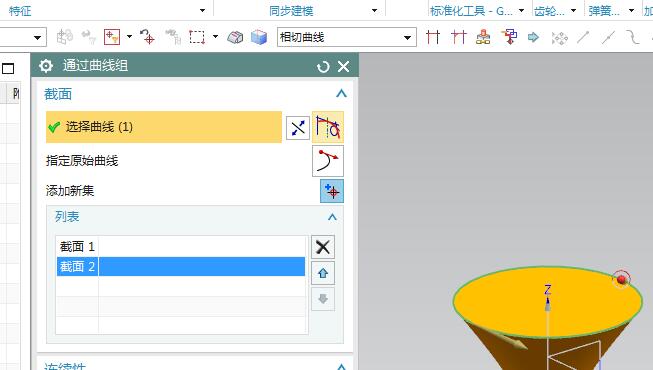
在软件弹出“通过曲线组”对话框之后,截面选择最上面的圆,
添加新集,选择中间的圆,注意方向
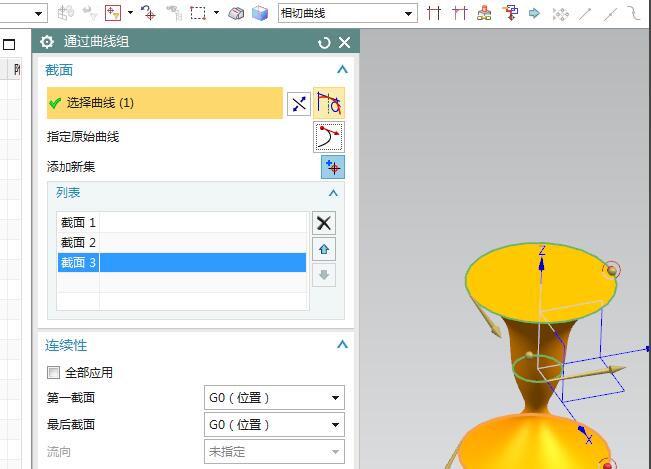
继续添加新集,选择最下面的圆,
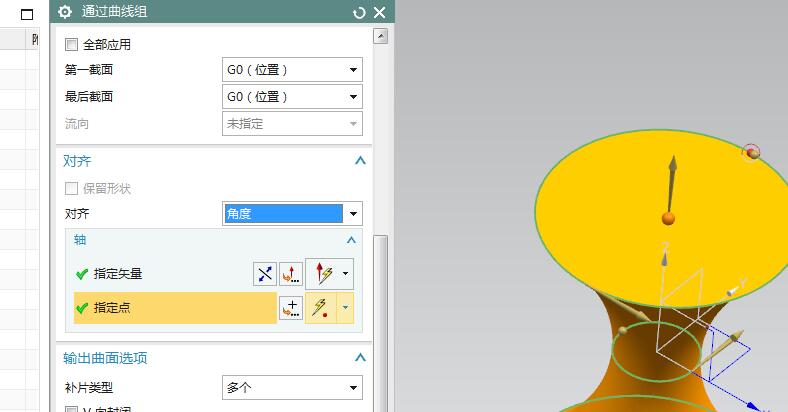
对齐一栏中选择“角度”,指定矢量Z轴,指定点:最上面圆心点,点击确定。
至此,这个通过曲线组命令就应用完成了,得到的实体就如简介中的图片所示的那样。
上文就讲解了UG10.0通过曲线组命令使用操作过程,希望有需要的朋友都来学习哦。