MasterGo协同设计软件被大家喜爱,当你通过该软件进行操作的过程中,可能会需要进行切图设计,并且需要将切图导出到电脑中保存,那么怎么将切图导出操作,当你编辑好相应的组件信息之后,你可以在顶部的工具栏中将切图功能选中,在画布中进行切图操作,之后即可将切图之后的内容进行导出设置,导出到电脑中的切图内容可以随时双击打开查看,是一个非常实用的功能,下方是关于如何使用MasterGo导出切图的具体操作方法,如果你需要的情况下可以看看方法教程,希望对大家有所帮助。
方法步骤
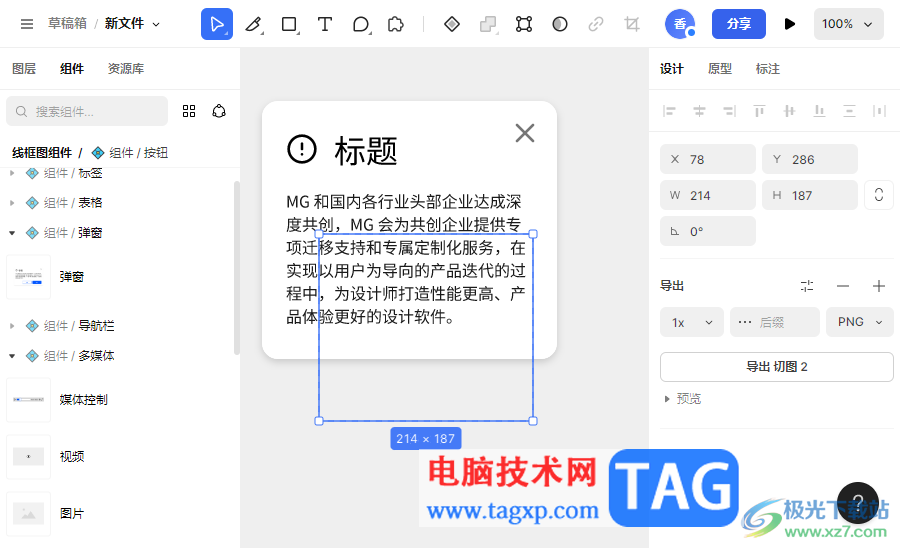
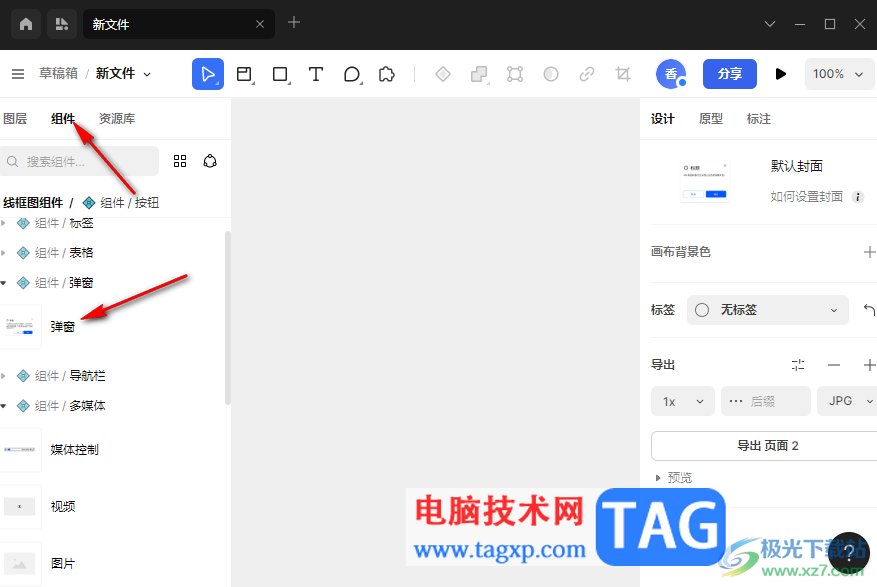
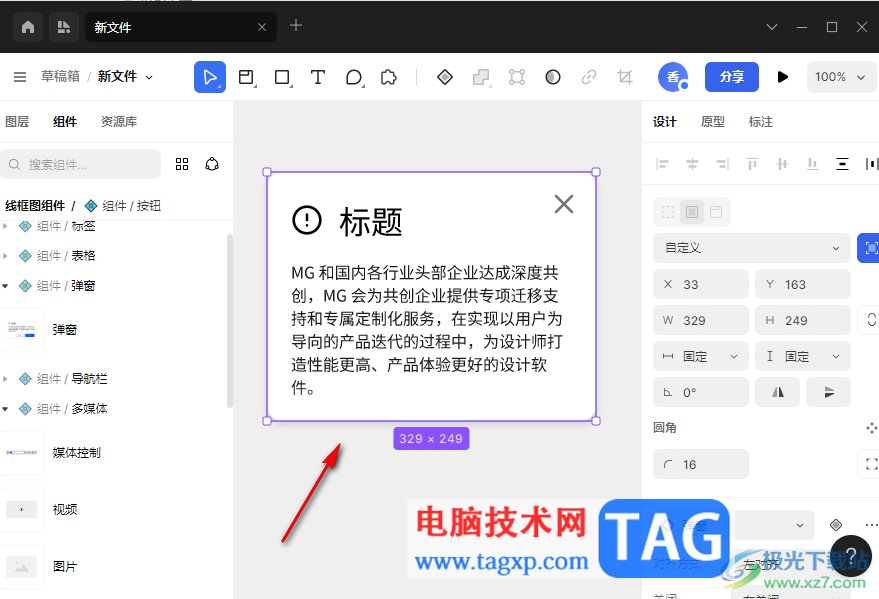
1.将MasterGo点击打开之后,在页面的【组件】窗口中选择一个组件进行添加。
2.将选中的组件用鼠标左键移动到画布编辑页面上显示出来,你可以将其中的文字内容更改成自己需要的内容。
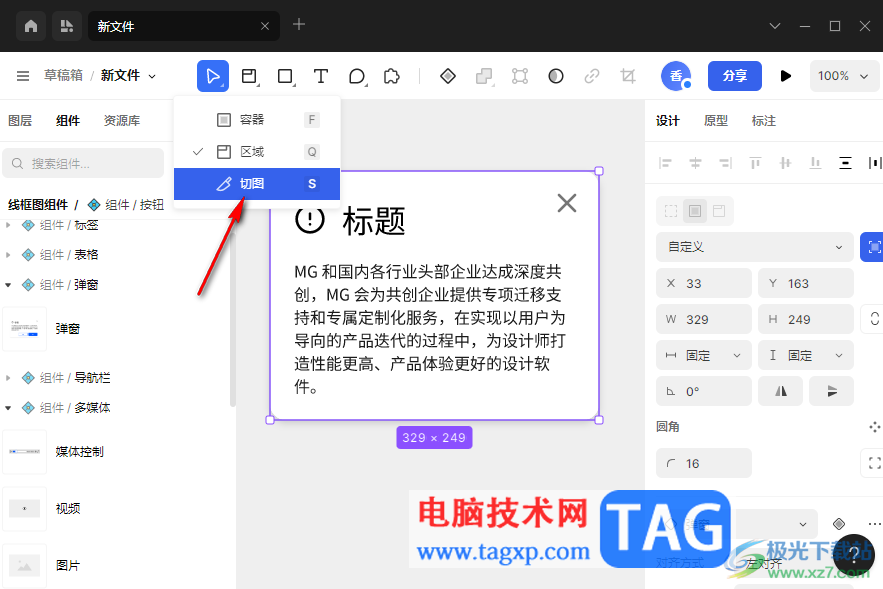
3.之后,将鼠标移动到页面顶部的第二个图标的位置,将该图标点击打开之后,可以看到有三个选项展示出来,将【切图】选项进行单击。
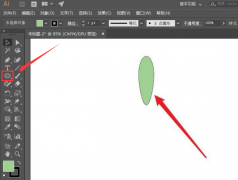
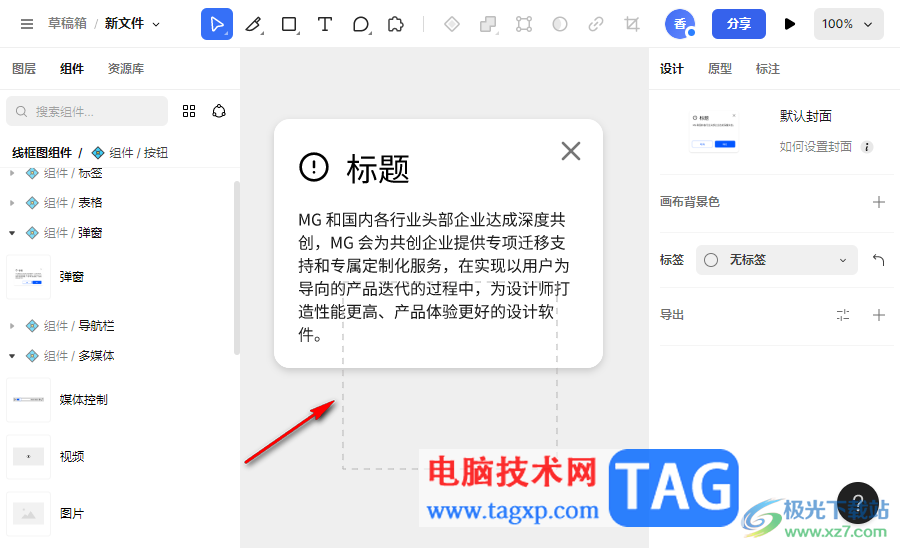
4.之后再使用鼠标左键在编辑页面上需要切图的位置进行框选一个虚线框,如图所示。
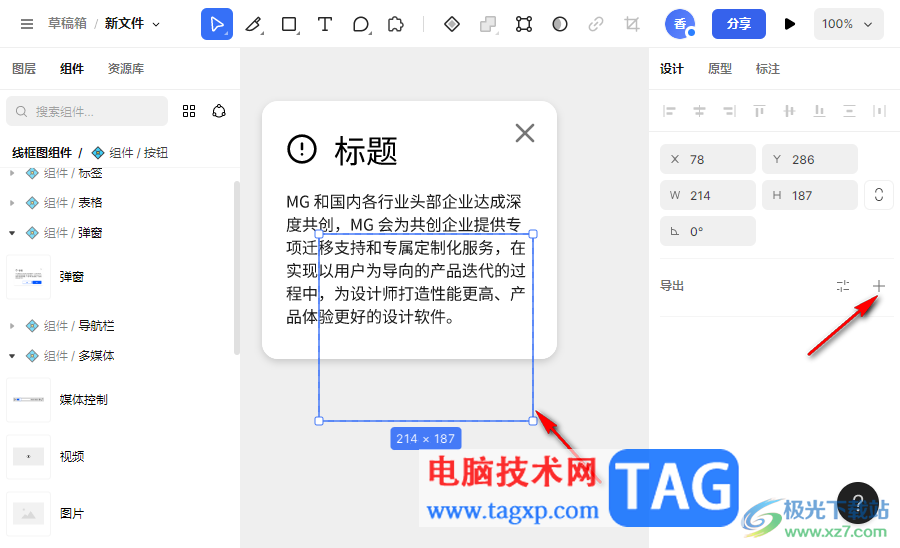
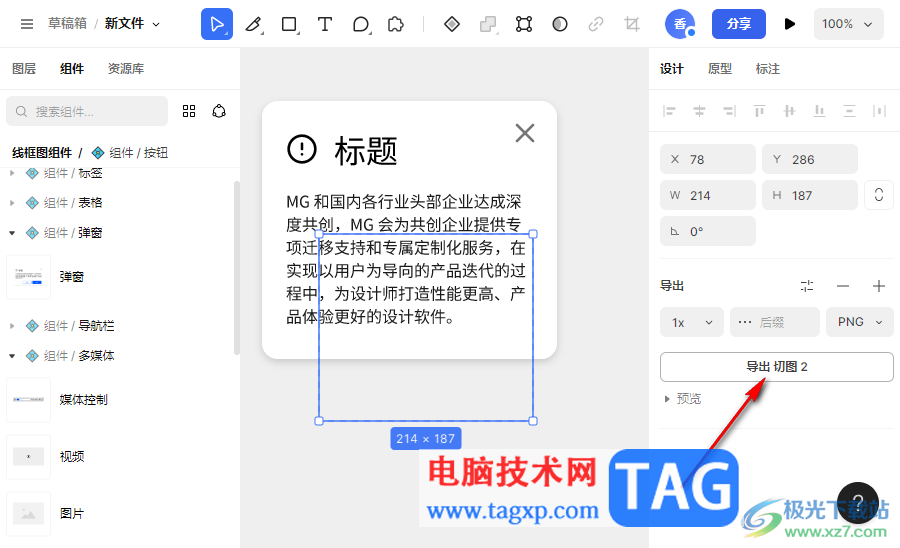
5.之后,将虚线框点击选中,然后在右侧的位置将【导出】后面的【+】图标进行点击一下。
6.即可弹出一个导出切图的选项按钮,你可以先设置一下导出的格式,比如选择【png】,之后单击【导出切图】按钮。
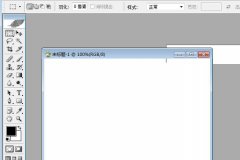
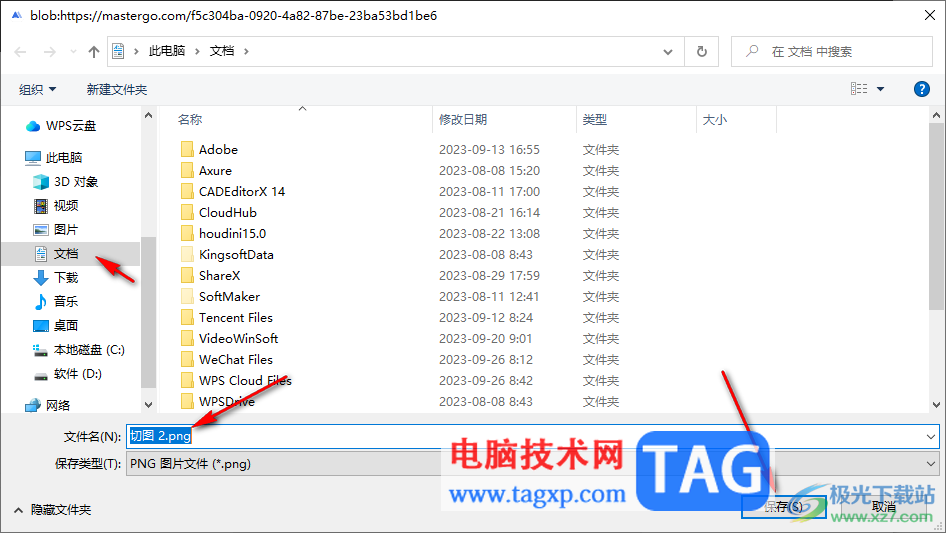
7.随后,即可在页面上弹出一个导出切图的窗口,设置一下文件名和文件存放位置即可。
以上就是关于如何使用MasterGo导出切图的具体操作方法,当你需要通过MasterGo进行切图设计时,那么可以将切图导出在电脑中进行存放,可以将切图存放为png、jpg以及PDF等格式文件,操作起来是很简单的,感兴趣的可以操作试试。