使用ai还不会制作外发光的效果?下面小编就跟小编一起来学习关于ai制作外发光的效果的详细步骤,有需要的朋友不要错过哦,希望可以帮助到你们!
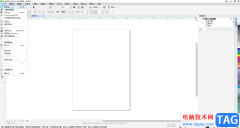
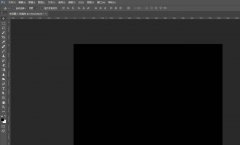
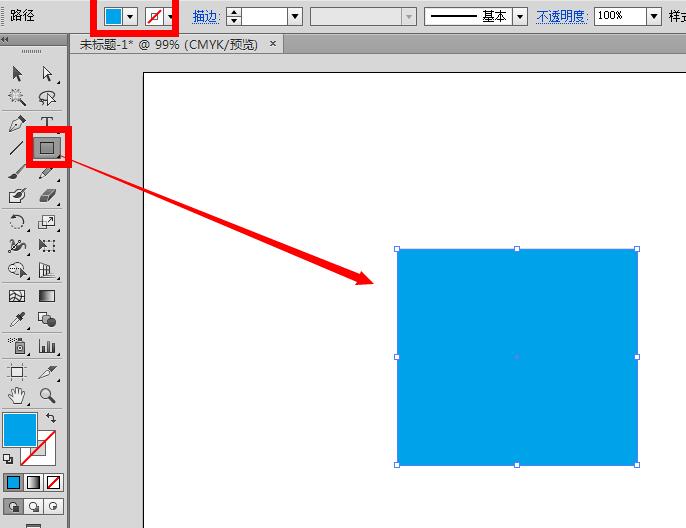
比如,现在使用矩形工具,在画布上随意绘制一个青色矩形
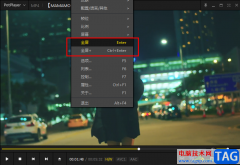
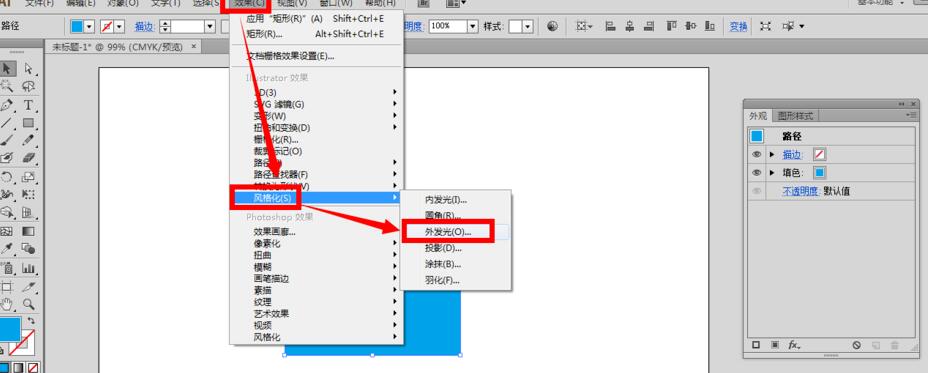
想给这个矩形制作外发光的效果,点击“效果”——“风格化”——“外发光”
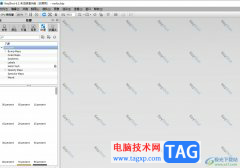
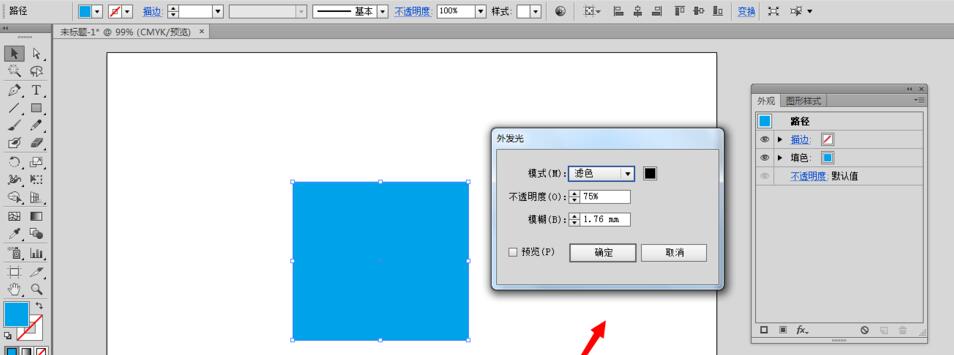
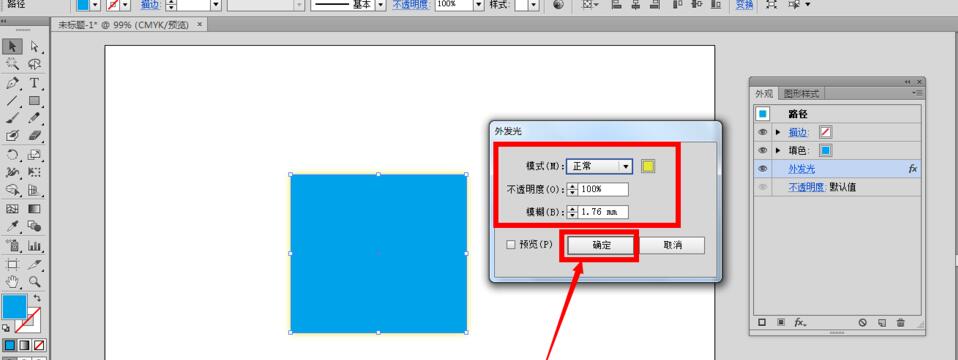
接着会出现一个外发光的设置界面窗口
在模式上可以设置正常、或者正片叠底、滤色等等模式效果
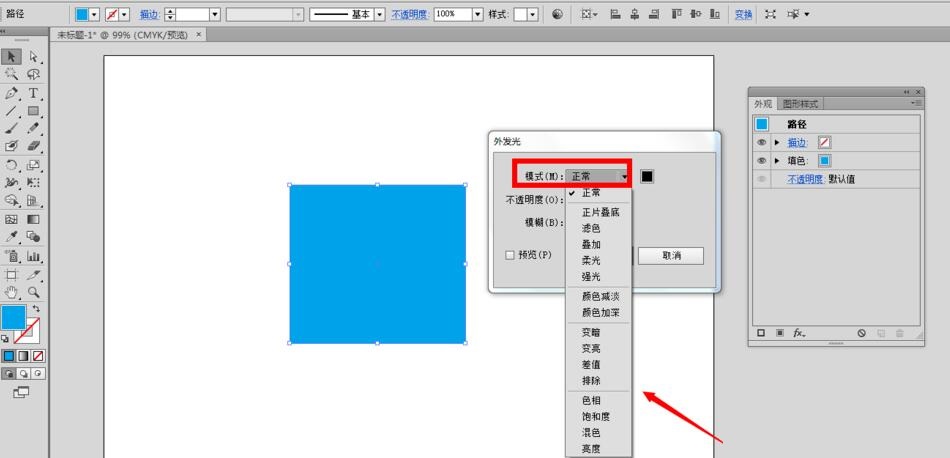
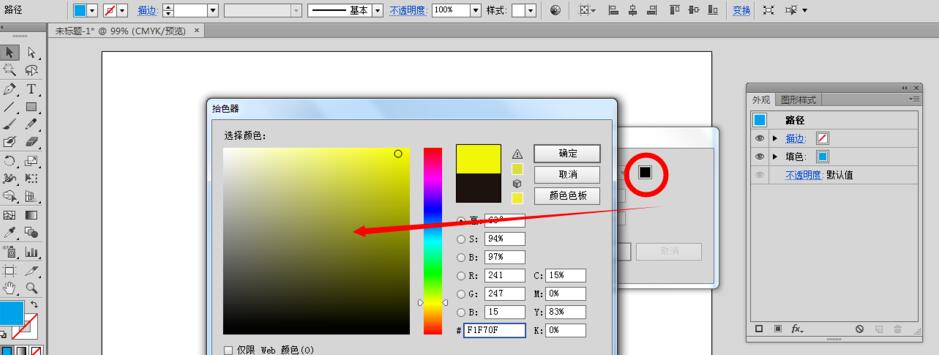
点击模式右边的黑色图标,会弹出一个颜色面板,可以自定义任何一种外发光的颜色,选中以后,点击确定按钮
还可以根据自己的需要,对不透明度以及模糊程度进行一定的调整,比如不透明度100%,模糊保留默认的设置,点击确定按钮
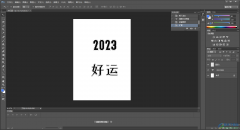
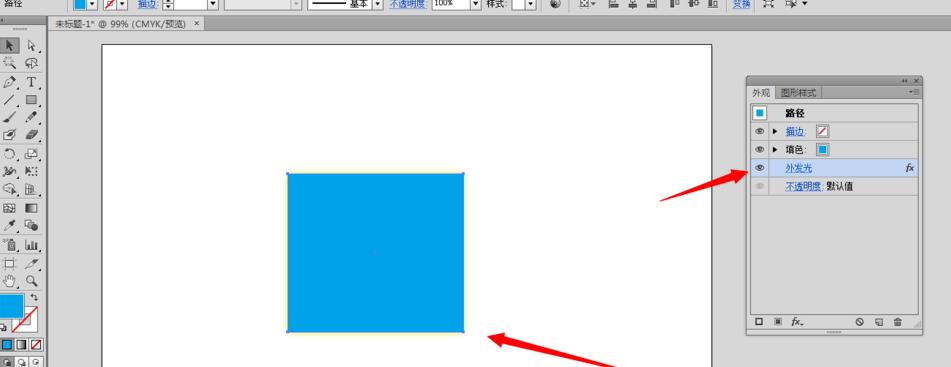
最后在画布上就能看到了一个带有黄色外发光效果的矩形图形了。
以上这里为各位分享了ai制作外发光的效果的详细步骤。有需要的朋友赶快来看看本篇文章吧。