小伙伴们你们知道PS如何合成草莓铅笔图像呢?今天小编很乐意与大家分享PS合成草莓铅笔图像教程,感兴趣的可以来了解了解哦。
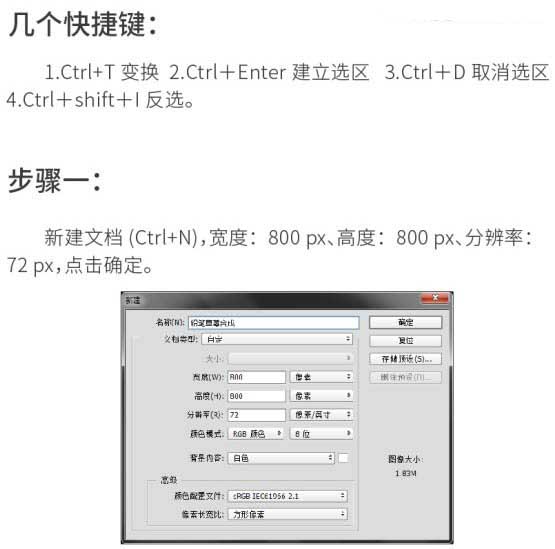
1、新建文档,宽度:800 px,高度:800 px,分辨率72px,点击确定。
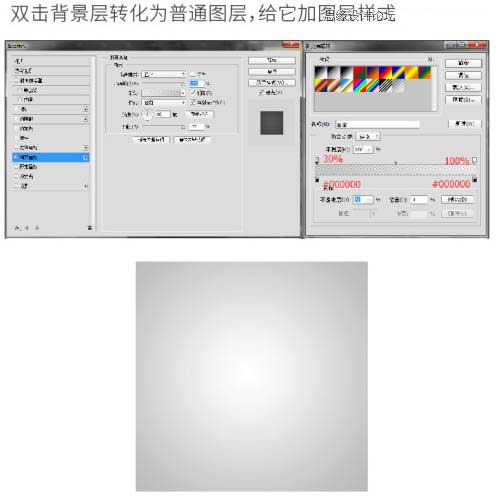
双击背景层转化为普通图层,给它加图层样式。
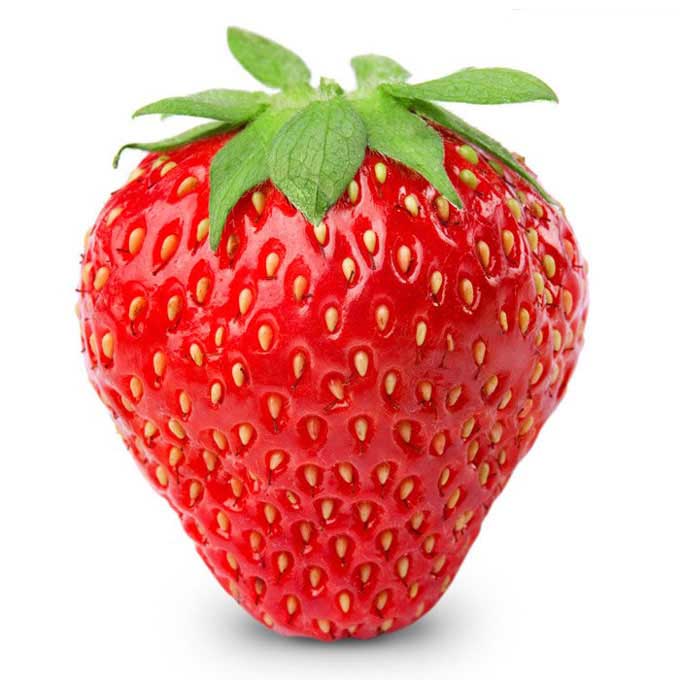
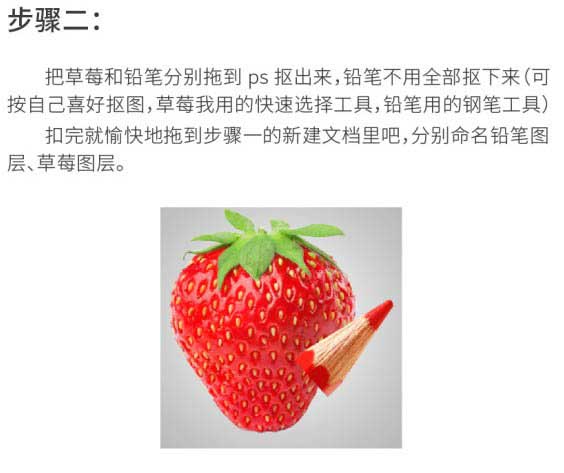
2、把草莓和铅笔分别拖到PS抠出来,抠完后拖到步骤1的新建文档里,分别命名铅笔图层。草莓图层。

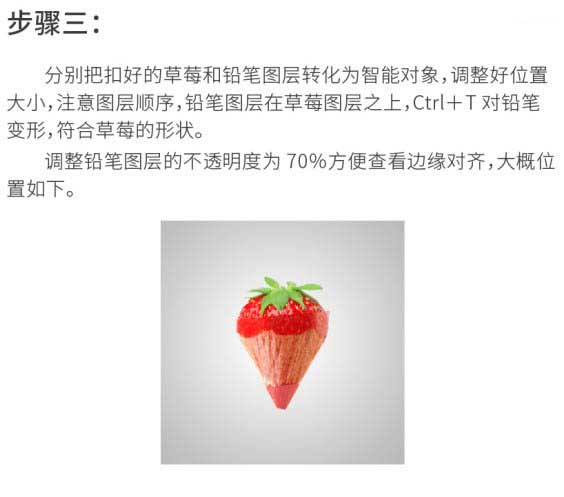
3、分别把抠好的草莓和铅笔图层转化为智能对象,调整好位置大小;铅笔图层在草莓图层之上,按Ctrl + T 对铅笔变形,符合草莓的形状。
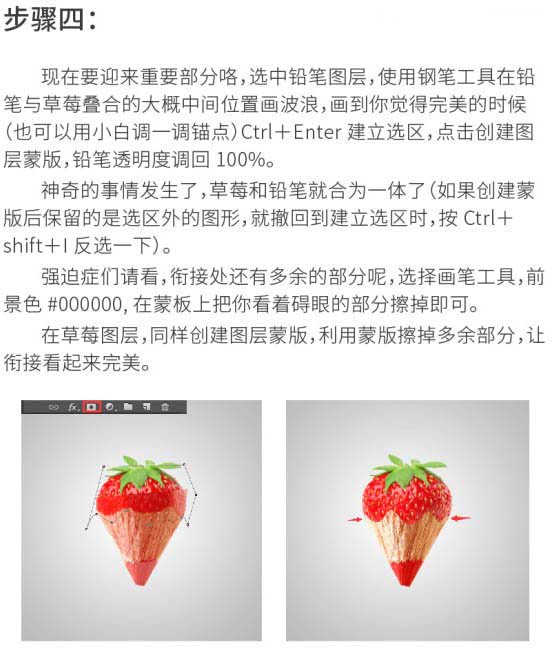
4、选中铅笔图层,使用钢笔工具在铅笔与草莓叠合的大概中间位置画波浪,画到你觉得完美的时候Ctrl + Enter建立选区,点击创建图层蒙版。
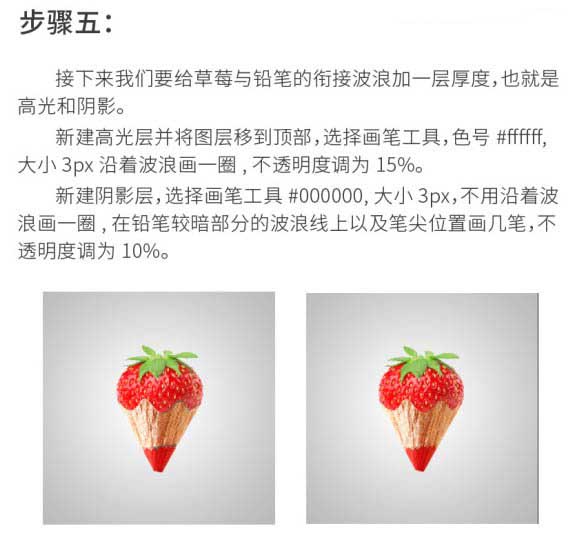
5、接下来我们要给草莓与铅笔的衔接波浪加一层厚度,也就是高光和阴影。
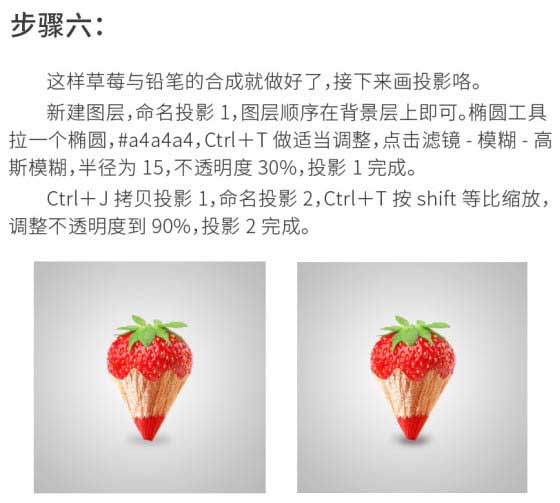
6、这样草莓与铅笔的合成就做好了,接下来画投影。
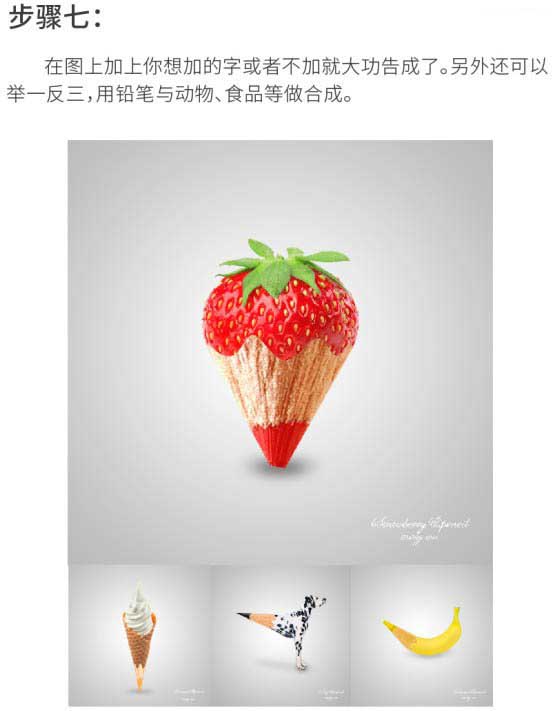
7、在图上加上你想加的字。另外还可以举一反三,用铅笔与动物、食品等作合成。
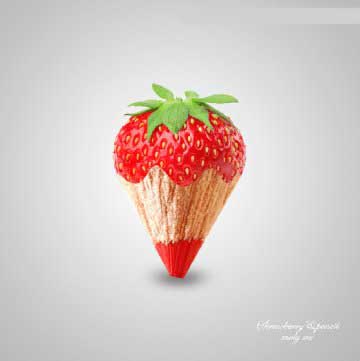
最终效果:
以上这里为各位分享了PS合成草莓铅笔图像教程。有需要的朋友赶快来看看本篇文章吧!