相信ai这款软件,不少的用户们都会使用到。但是你们了解其中给形状对象设置多个描边的操作吗?下文就为大伙分享了ai给形状对象设置多个描边的操作方法哦。希望可以帮助到有需要的朋友们。
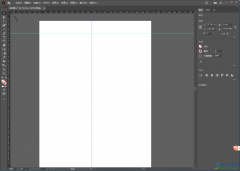
打开ai,新建一份ai文档,进入到文档内部。
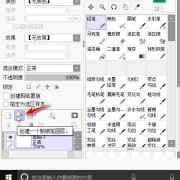
进入文档之后,在软件顶部菜单栏选择并点击“窗口”菜单,打开其下拉菜单选项。
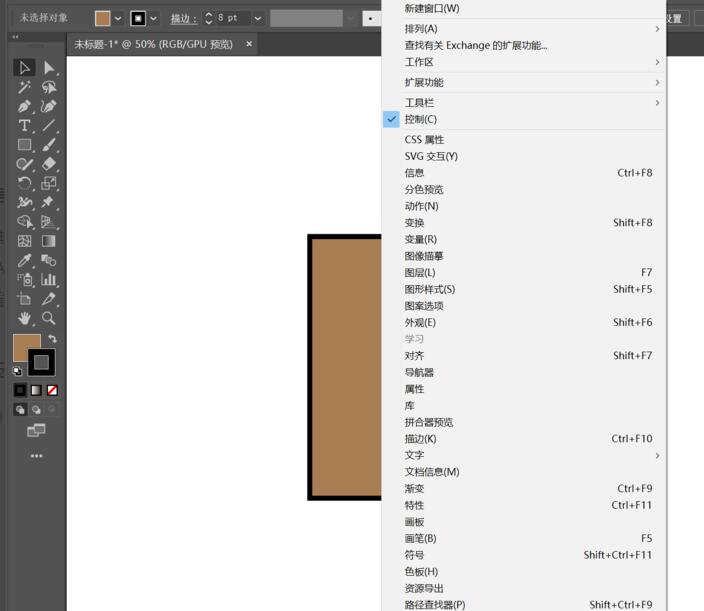
在打开的下拉菜单选项中,选择“外观”菜单,点击打开“外观”弹窗面板。
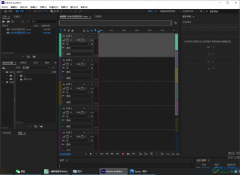
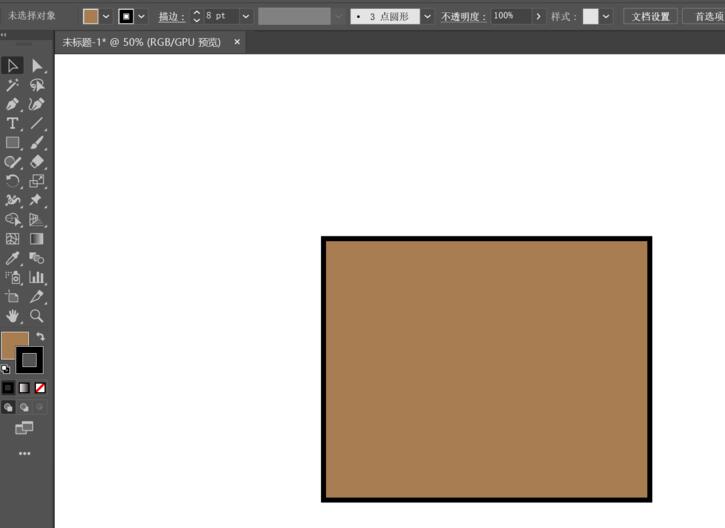
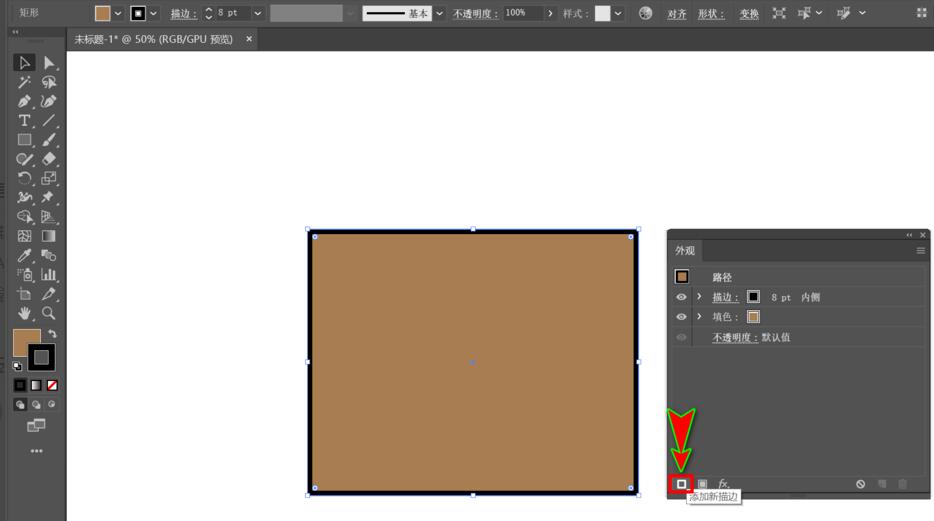
打开“外观”面板后,先选中需要添加多个描边的形状对象,在打开的“外观”面板中左下角点击”添加新描边“按钮。
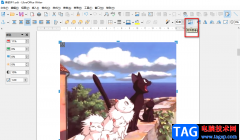
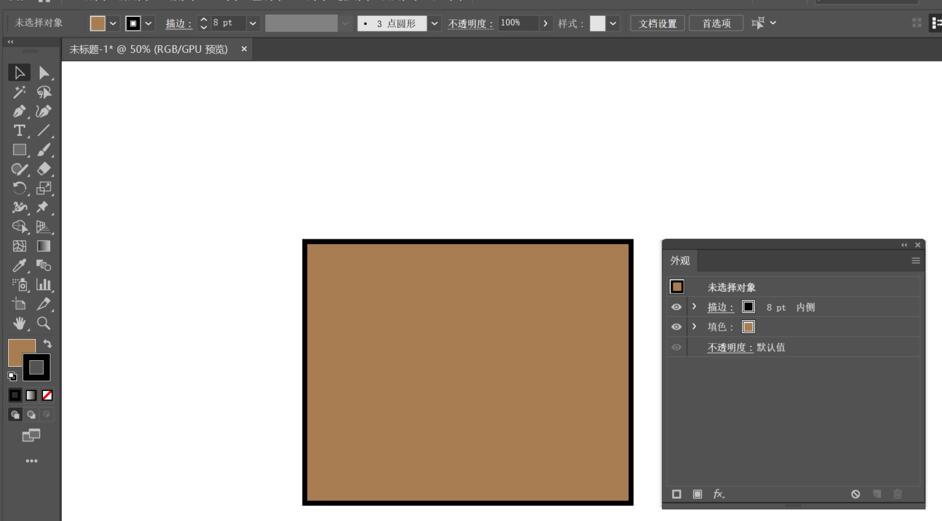
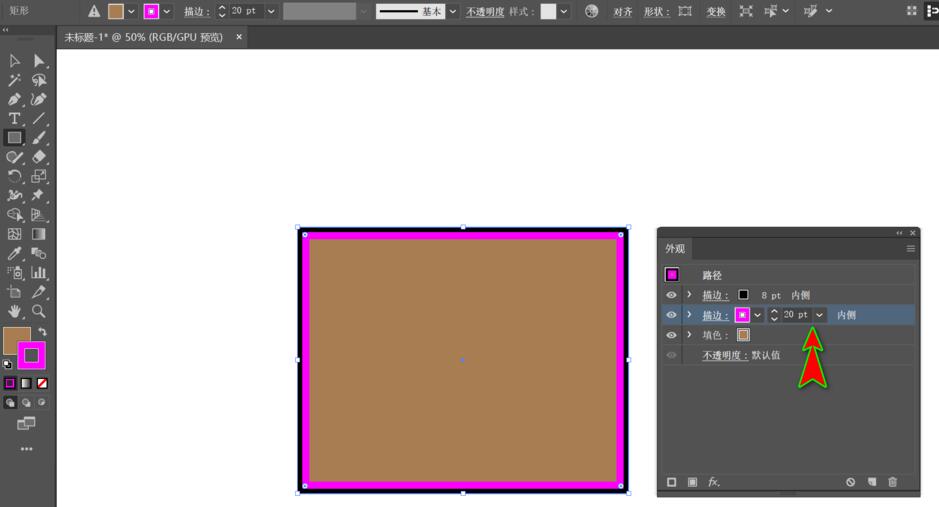
添加新描边之后,在“外观”面板中,就可以看到新添加的描边了,我们可以去改变描边的叠放顺序以及大小和颜色,使其看起来更加明显。
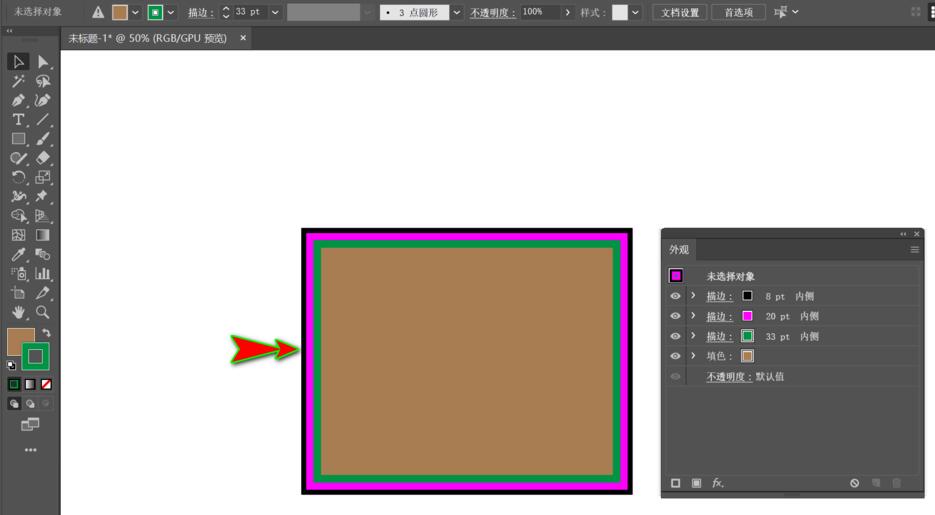
利用同样方法,可以为形状对象设置更多的描边,并且继续通过改变描边的叠放顺序,颜色以及描边大小使其看起来更加明显。
上面就是小编为大家讲解的ai给形状对象设置多个描边的操作方法,一起来学习学习吧。相信是可以帮助到一些新用户的。