你是否想了解InDesign设置描边的线条样式的操作?下面就是小编讲解的InDesign设置描边的线条样式的步骤,赶紧来看一下吧,相信对大家一定会有所帮助哦。
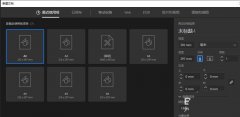
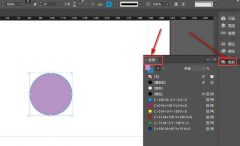
1、首先在InDesign的对象中找到描边类型的属性。

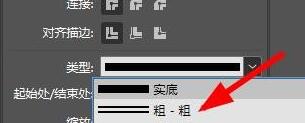
2、然后就能在这看到默认为实线。
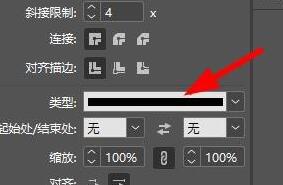
3、因此,我们可以在这下拉选择更多的线条样式。
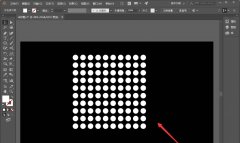
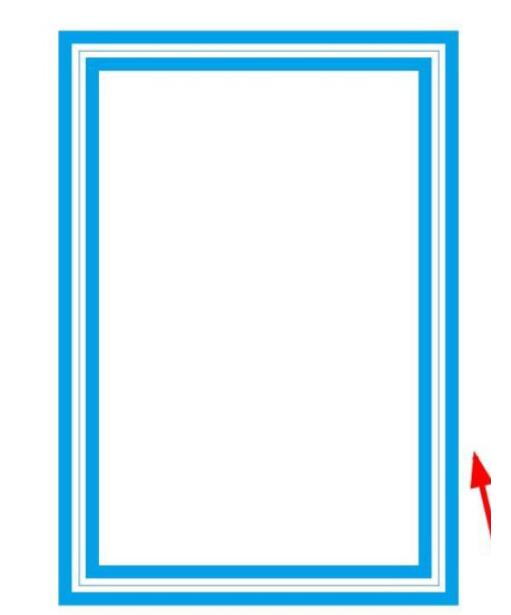
4、此时,我们可以用这种表现出空格的线框样式。
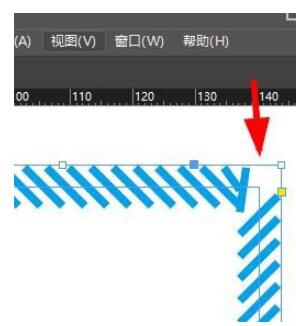
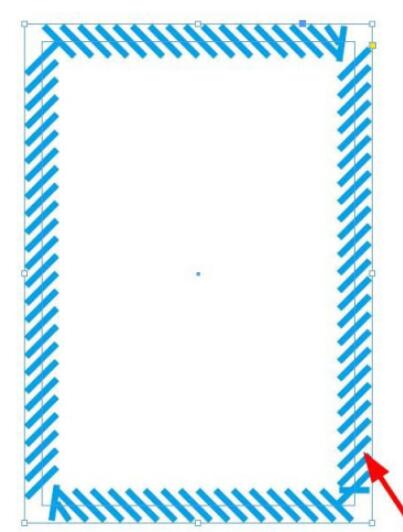
5、于是,我们还能使用这种斜线布局的线框。
6、这个时候也能使用其他的样式以达到更好的效果。
上文就讲解了InDesign设置描边的线条样式的方法,希望有需要的朋友都来学习哦。