UNetbootin是一款不错的软件哦,但有的新手伙伴表示自己还不会制作u盘启动的操作,接下来小编就来讲解UNetbootin制作u盘启动的步骤内容,相信一定可以帮助到你们。
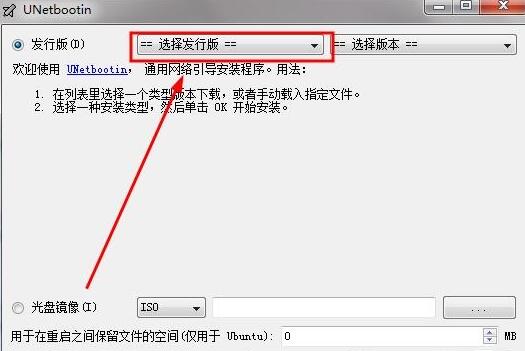
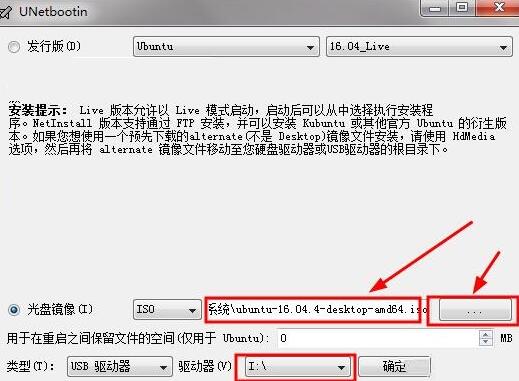
打开UNetbootin操作界面,如图所示,这里点击顶部的版本选项,选择Ubuntu选项即可
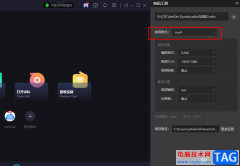
加载你的系统镜像文件,加载完成如图所示,U盘自动识别的可以修改
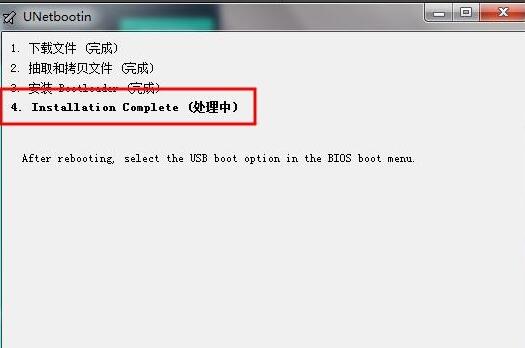
然后等待程序将系统文件写入到U盘中,等待完成即可
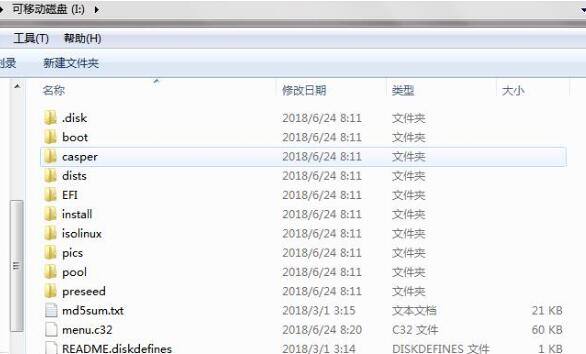
如图所示就是U盘中写入的数据,现在可以使用U盘启动安装系统了
上文就讲解了UNetbootin制作u盘启动的步骤,希望有需要的朋友都来学习哦。