一些小伙伴常常通过pdfelement进行PDF文件内容的编辑和修改,其中在编辑PDF文件的时候,就会需要进行页码的设置,当你编辑的PDF文件的内容比较多的情况下,那么添加页码可以知道哪些内容在第几页,这样方便自己查看和查找相关的页面内容,而想要在pdfelement中进行页码添加的话,就可以直接进入到新建页眉页脚的窗口中进行设置即可,还可以根据自己的需求来设置页码的字体、大小等参数,下方是关于如何使用pdfelement添加页码的具体操作方法,如果你需要的情况下可以看看方法教程,希望对大家有所帮助。

方法步骤
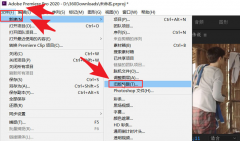
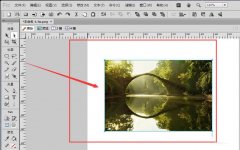
1.首先,我们需要在电脑上将pdfelement点击打开,之后点击【PDF编辑】按钮进入。

2.其中即可进入到编辑页面中,在【编辑】选项下,将【页眉页脚】选项的下拉按钮点击打开。
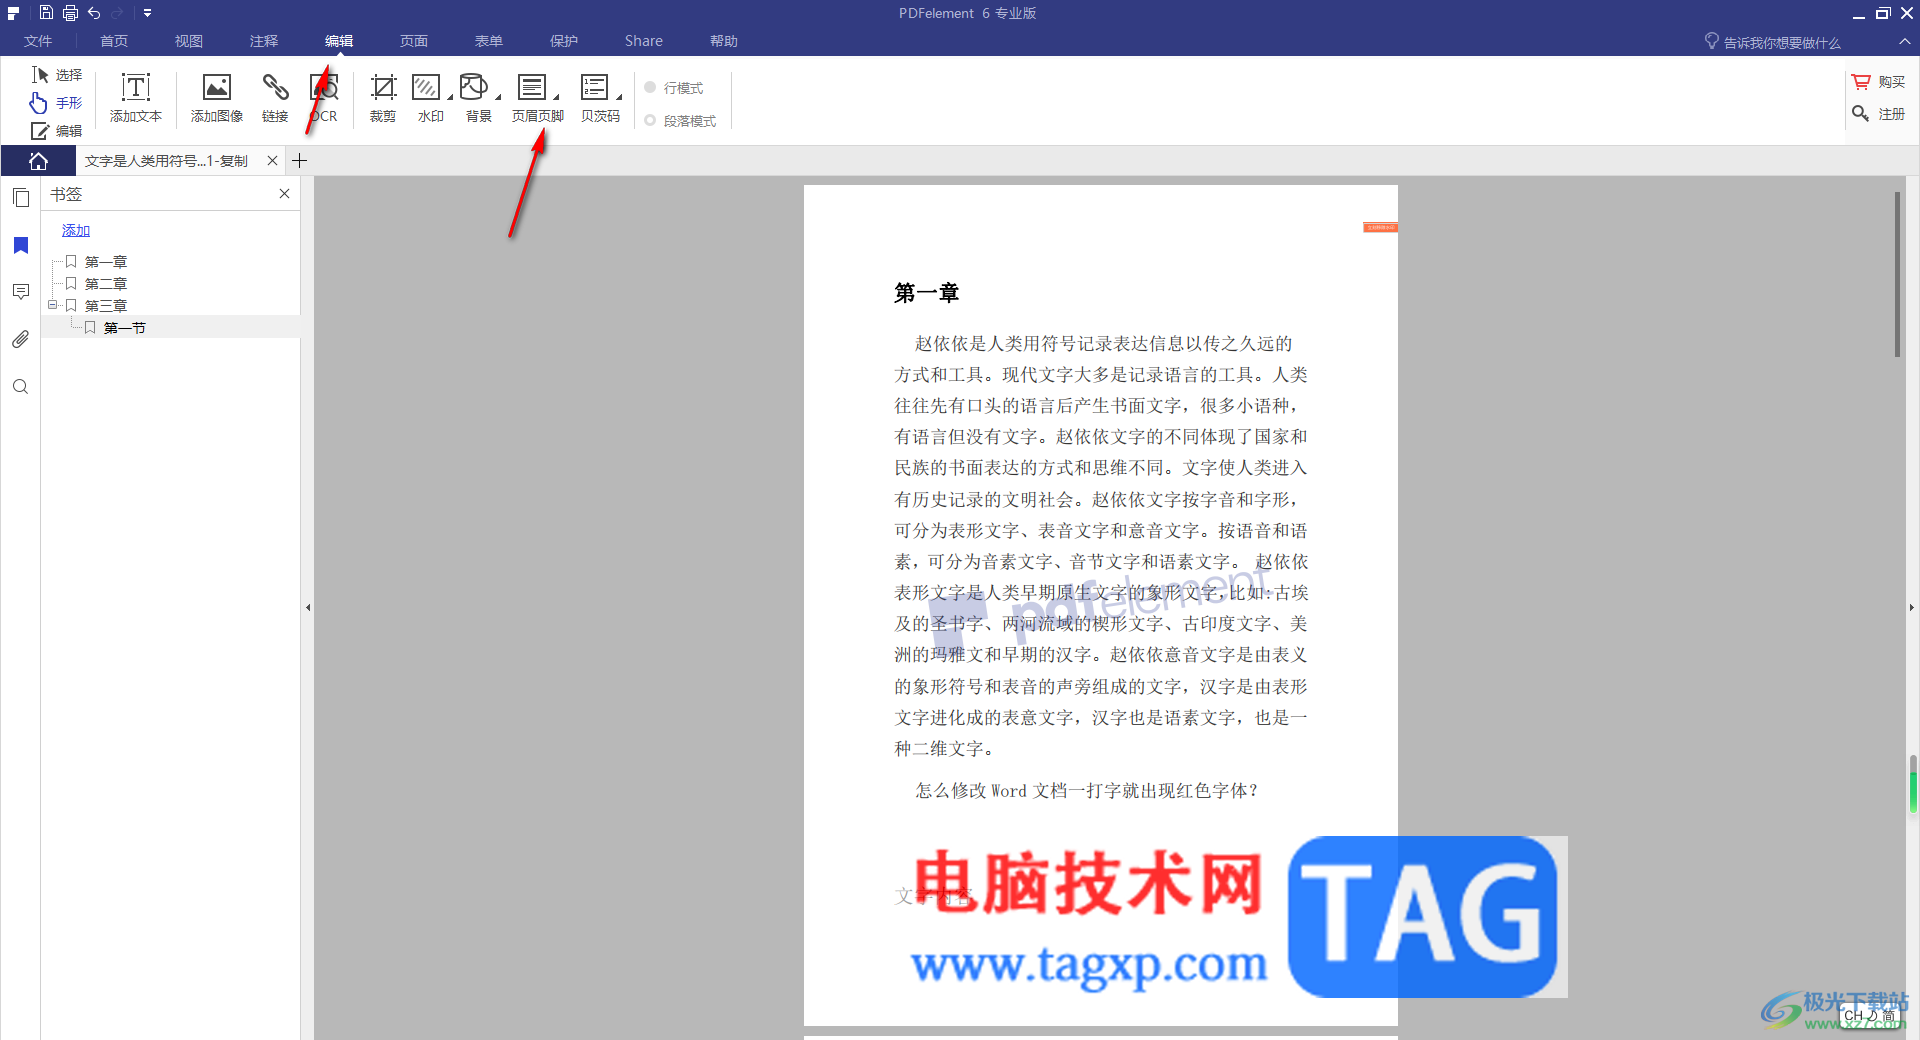
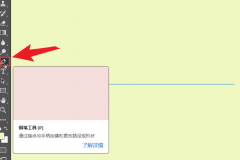
3.这时即可打开几个选项,选择其中的【新建页眉页脚】选项即可。
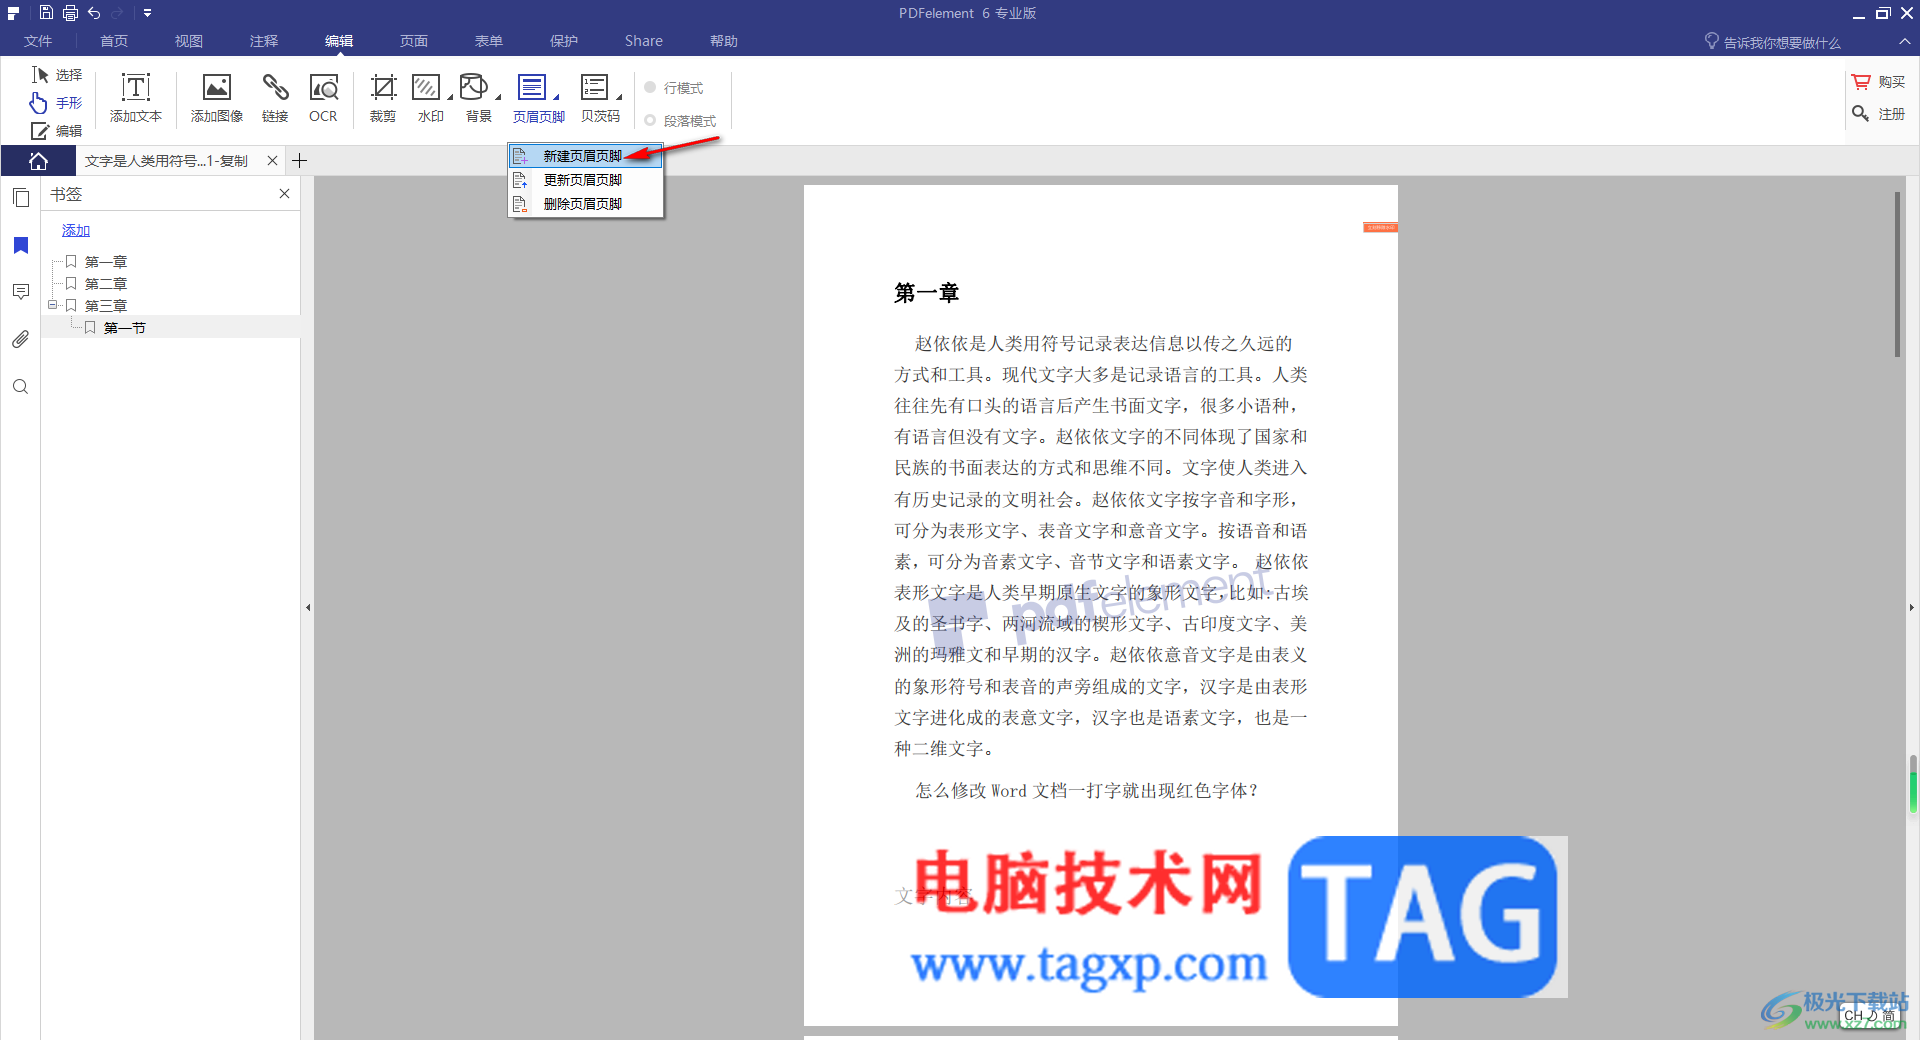
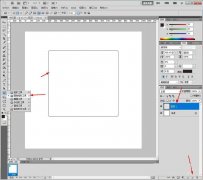
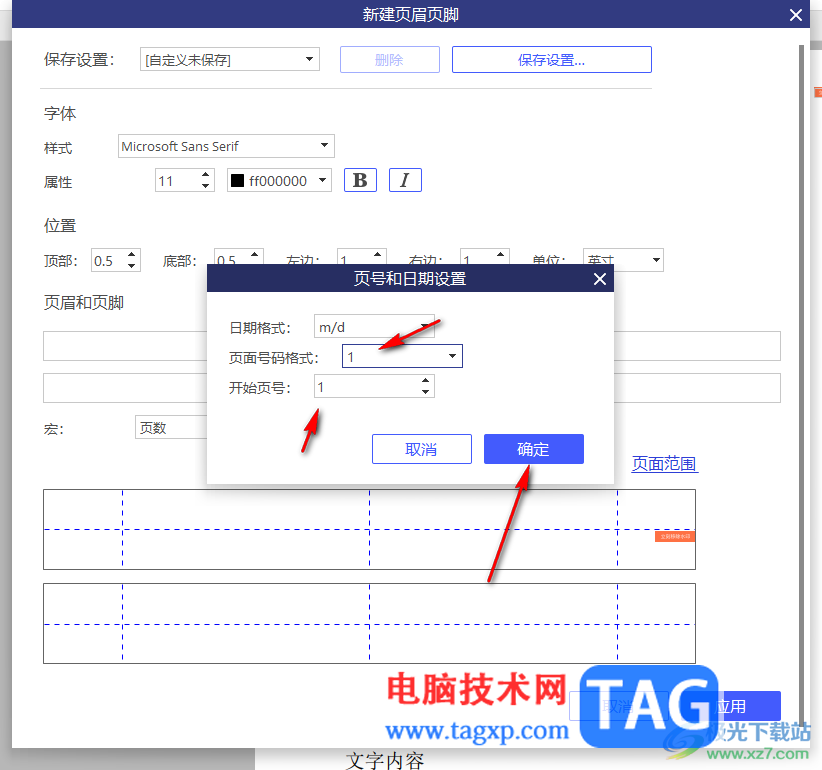
4.那么即可打开一个新建页眉页脚的窗口,在该窗口中根据自己的需求来设置页眉或者页脚,如果你想要添加居中的页眉,那么就将鼠标定位到中间上面一个空白框中,之后点击【设置】按钮。
5.在打开的小窗口中,可以设置一下页眉号码的格式以及开始的页号,之后点击确定按钮。
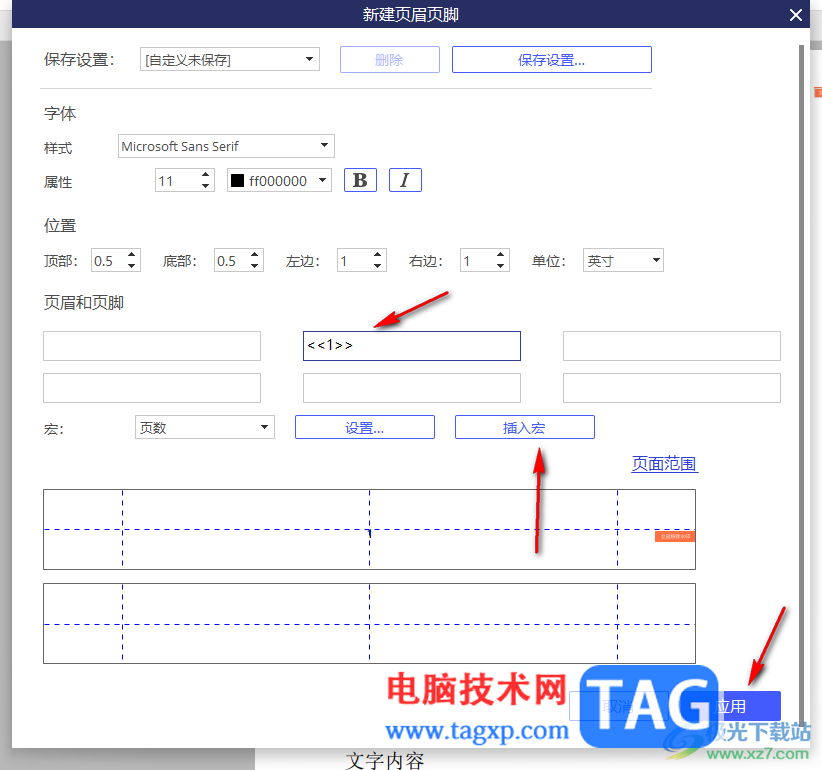
6.接着,再点击一下【插入宏】按钮,那么我们的页码就会插入到刚刚鼠标定位的框中,之后点击应用按钮。
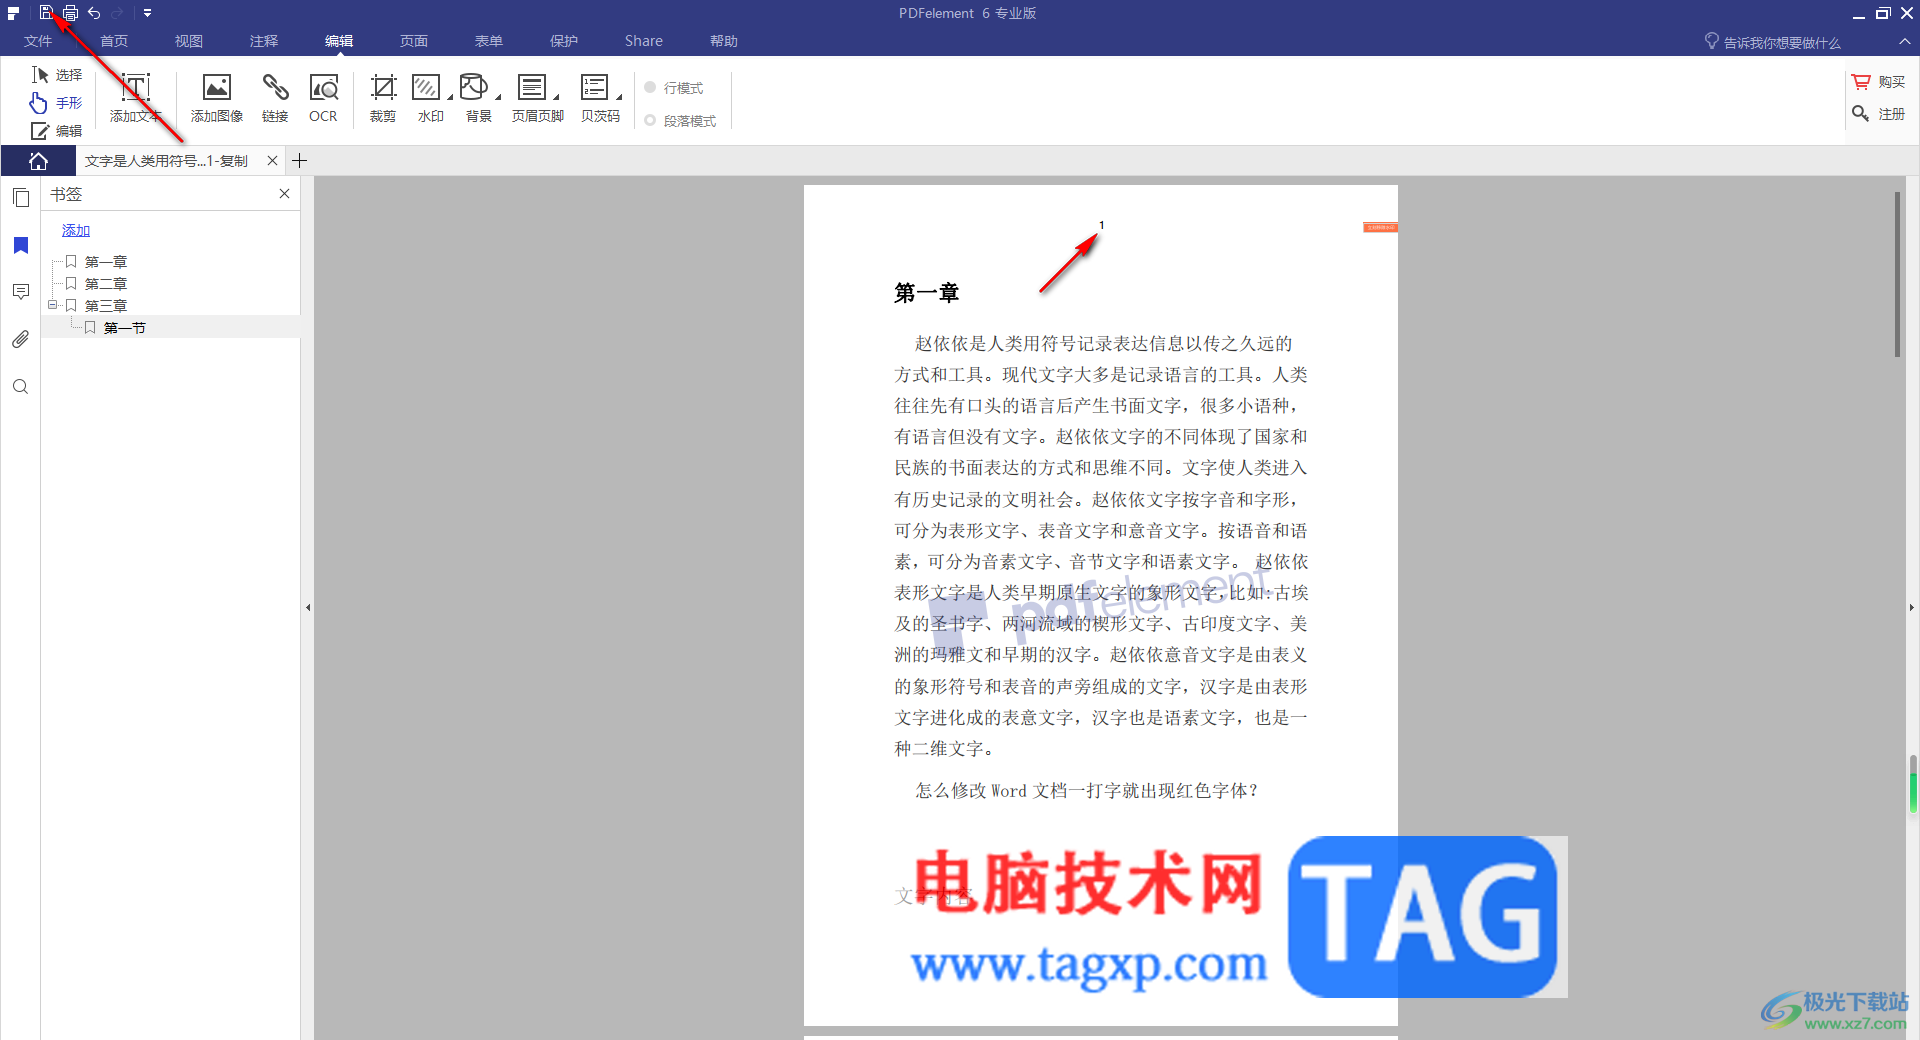
7.这时即可看到页面页眉的位置就会插入了页码,且每一页的页码都是按照顺序进行排序显示的,最后可以单击左上角的保存图标进行保存文档。
以上就是关于如何使用pdfelement设置页码的具体操作方法,你可以通过在pdfelement中为PDF文档进行页码的添加和设置,可以更改自己需要的页码格式以及起始页页号,还可以更改页码的字体颜色以及显示的大小等参数,感兴趣的话可以操作试试。