最近不少才接触Multisim14.0软件的朋友表示自己还不会绘制运算放大电路。其实很简单的,下这里笔者就为大伙分享关于Multisim14.0绘制运算放大电路的详细步骤,一起来看看吧。
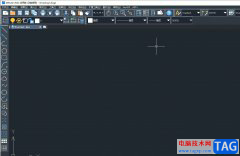
打开Multisim14.0软件,选择“菜单栏”-“工具”选项,如图所示;
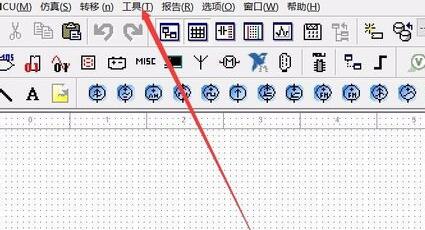
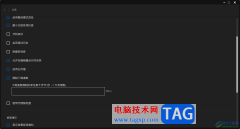
选择“电路向导”-"运算放大器向导"选项,如图所示;

设置自己所需要的放大参数,如图所示;
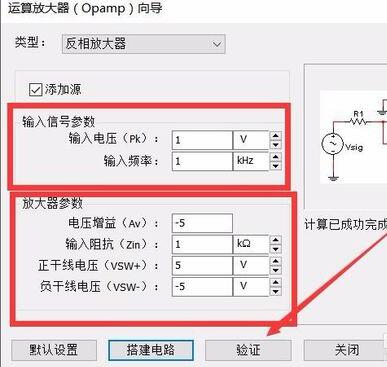
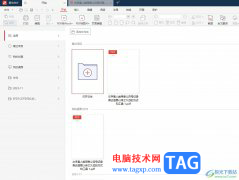
完成后点击“验证”-"搭建电路",如图所示;

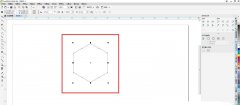
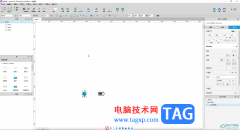
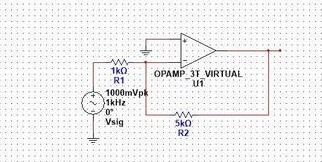
完成后,放置到图上即可,如图所示;
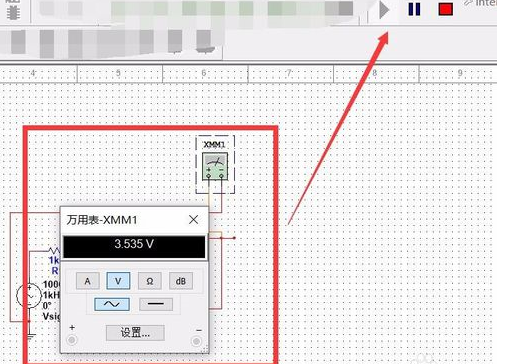
可通过仿真软件中的万用表进行测试,判断电路是否正确,如图所示。
还不了解Multisim14.0绘制运算放大电路的详细步骤的朋友们,不要错过小编带来的这篇文章哦。