使用秀米微信图文编辑器编辑图文时,怎样添加图片呢?那么小编就和大家一起分享秀米微信图文编辑器添加图片的方法,还不会的朋友可以来学习一下哦,相信通过学习本篇教程,可以帮助到大家。
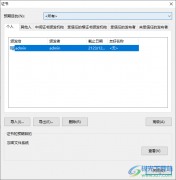
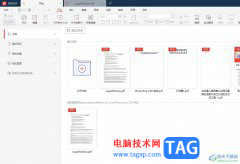
第一步,打开秀米编辑器。
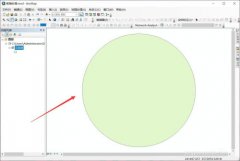
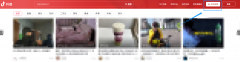
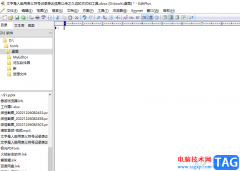
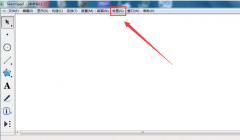
第二步,选择带有图片的图文模板,如图中用红色圈出的部分。
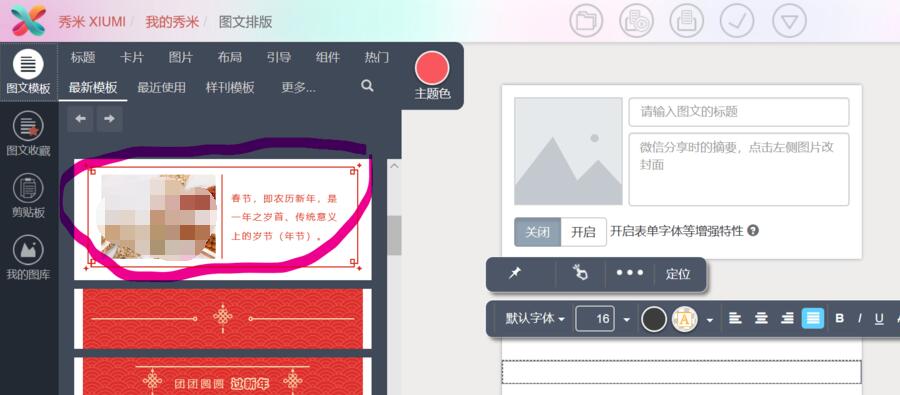
第三步,点击此模板。
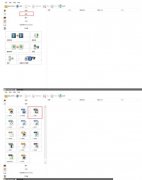
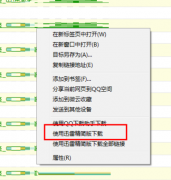
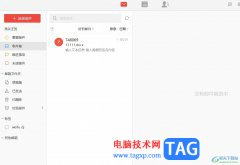
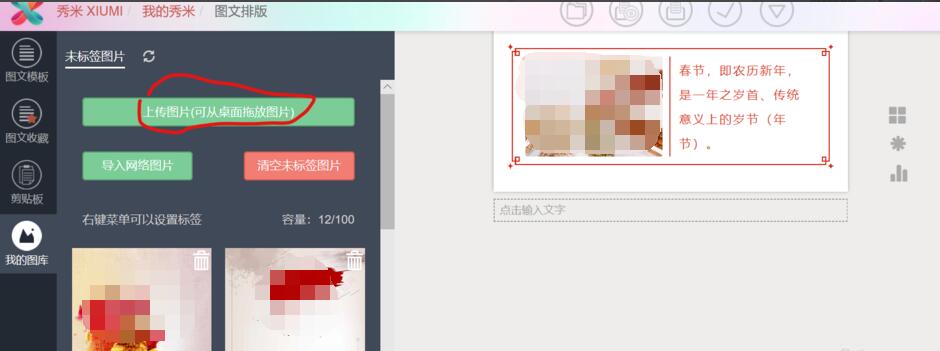
第四步,上传图片。在我的图库中,点击“上传图片”。选择需要的图片上传即可。
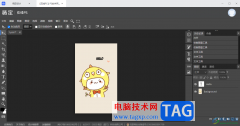
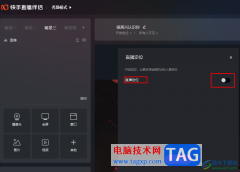
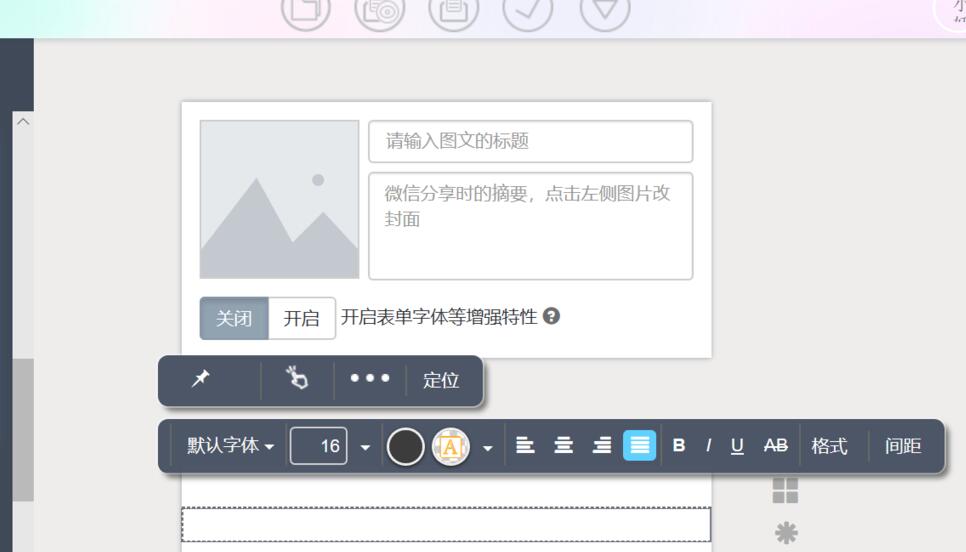
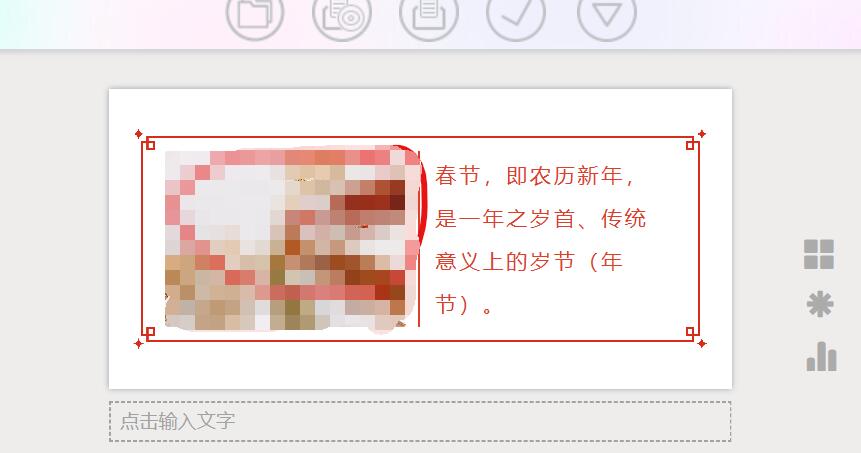
第五步,点击模板中的图片。
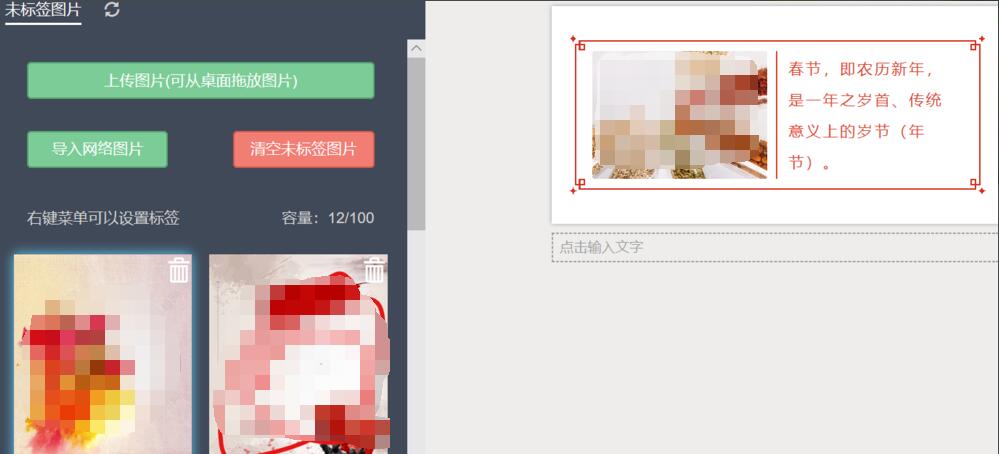
第六步,再点击上传的图片。
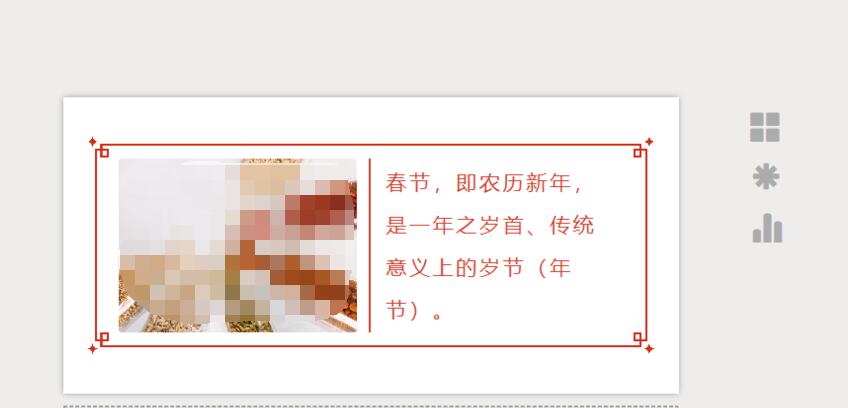
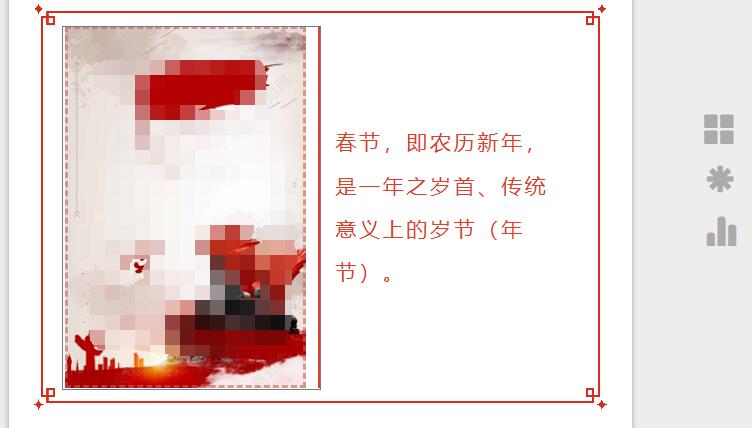
效果如图所示。在上传完图片之后,我们也可以对图片进行大小等的修改。
以上就是小编为各位伙伴分享的秀米微信图文编辑器添加图片的方法,有需要的朋友可以来看看这篇文章哦。