ps怎么把图片变成块状纹理效果呢,话说不少用户都在咨询这个问题呢?下面就来小编这里看下ps砖块纹理化效果教程步骤吧,需要的朋友可以参考下哦。
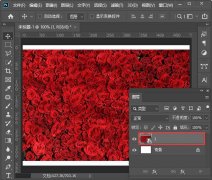
我们用ps打开一张图片,然后按下【CTRL+J】把图片复制一份出来,如图所示。
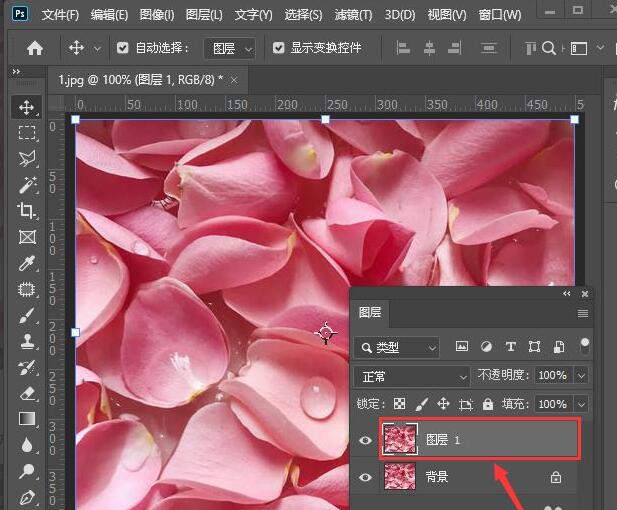
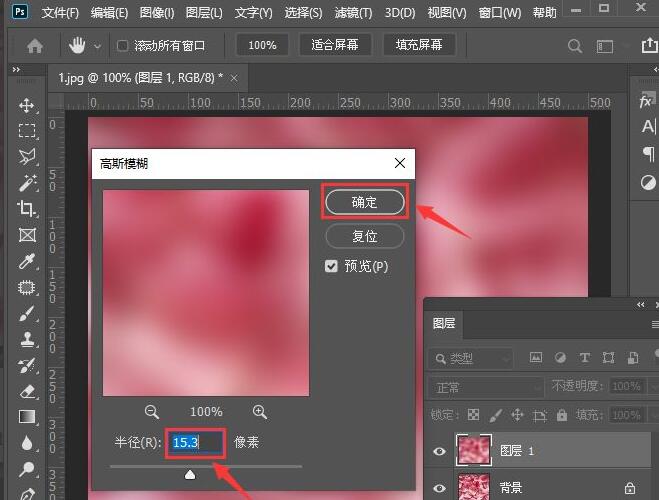
我们选中图层1,在上方点击【滤镜】-【模糊】选择【高斯模糊】,如图所示。
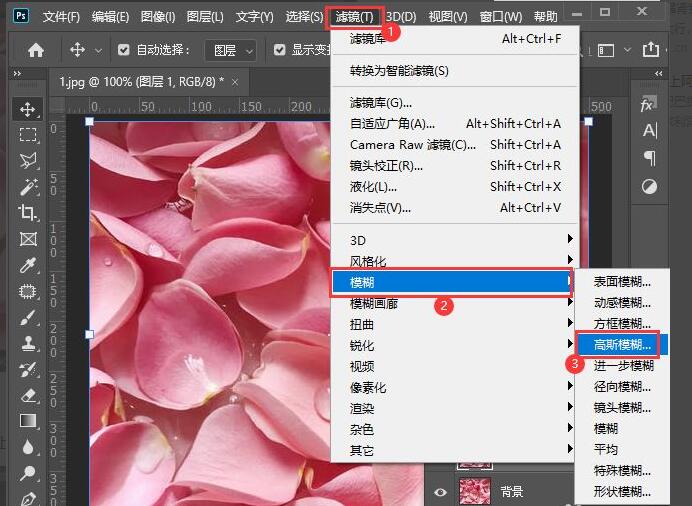
我们把高斯模糊的参数设置为【15.3】像素,点击【确定】,如图所示。
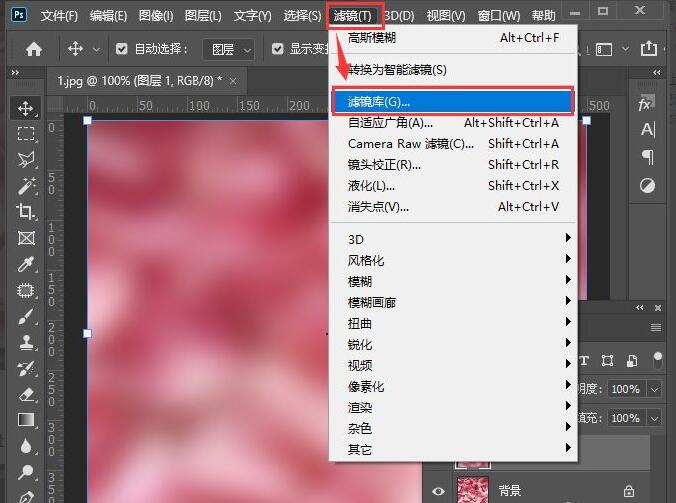
接着,我们继续点击【滤镜】选择【滤镜库】,如图所示。
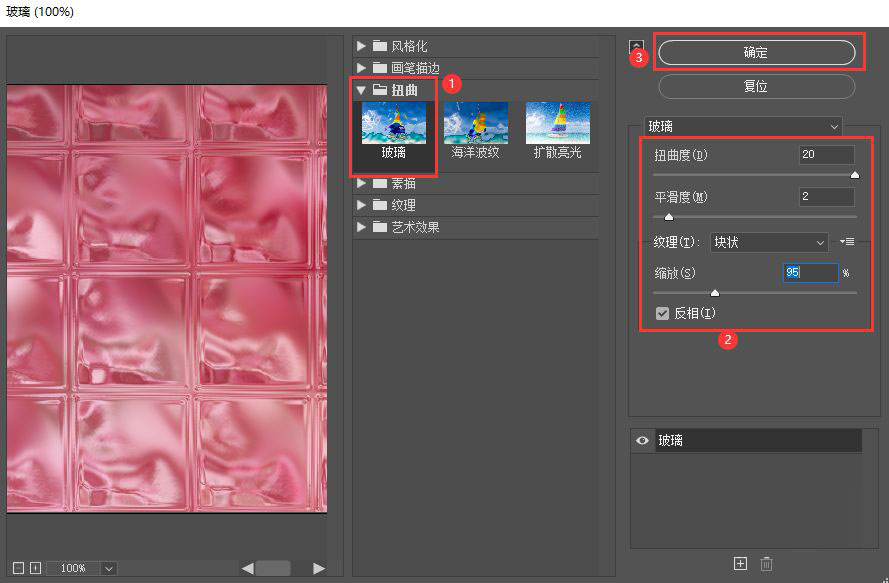
接下来,我们在扭曲中选择【玻璃】,然后在纹理中选择【块状】调整扭曲度、平滑度和缩放的参数,设置为【反相】效果,点击【确定】,如图所示。
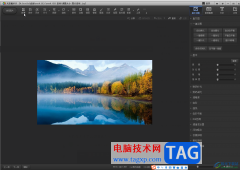
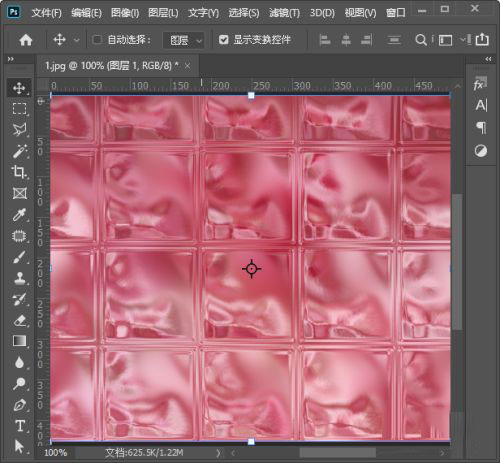
最后,我们看到图片变成块状玻璃的效果就完成了。
以上便是小编为大家分享的ps砖块纹理化效果教程的全部内容,希望能够帮到你哦!