近日有一些小伙伴咨询小编关于ps图片怎样放大局部呢?下面就为大家带来了ps局部放大镜效果的制作方法,有需要的小伙伴可以来了解了解哦。
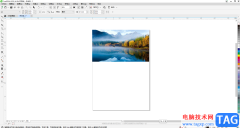
我们用ps打开一张需要制作成放大镜效果的图片,如图所示。

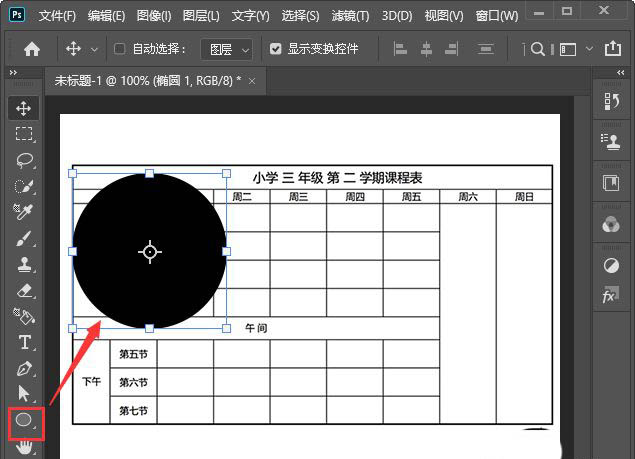
我们用【椭圆形工具】在图片上面画出一个圆形,如图所示。
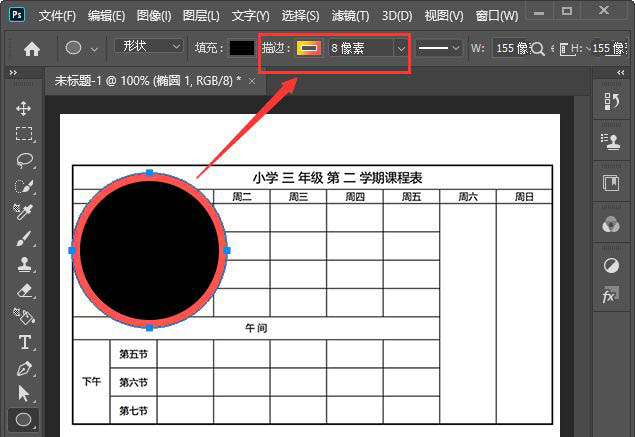
接着,我们给圆形的描边设置为渐变颜色,大小为8像素,如图所示。
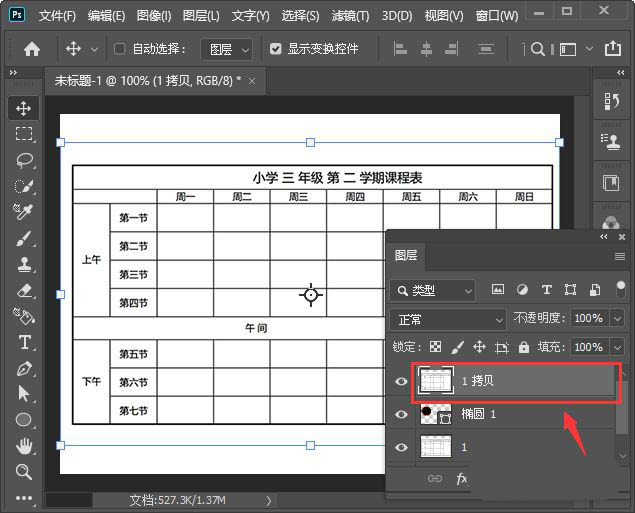
我们选中图片,按下【CTRL+J】复制一份出来移动圆形的上一层,如图所示。
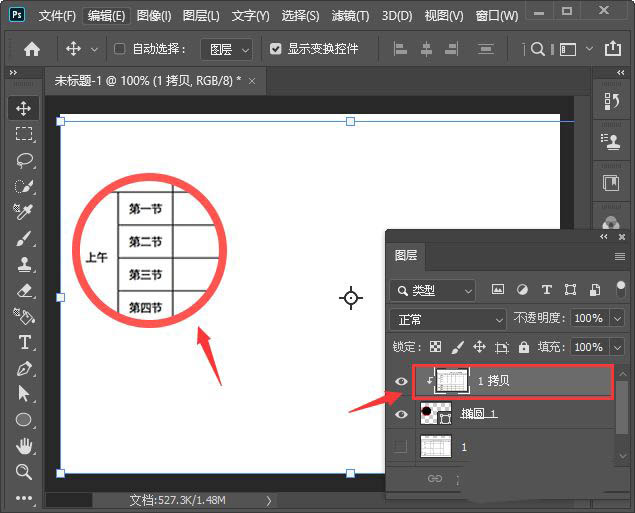
我们把圆形下面的图片隐藏起来,然后按下【ALT+CTRL+G】把图片放入描边的圆形中,然后把图片拉大一点,如图所示。
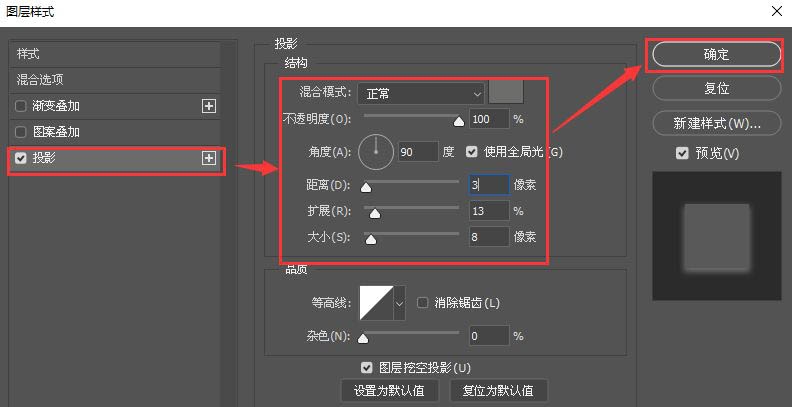
我们选中圆形添加一个灰色的投影,距离为3像素,扩展为13%,大如小为8像素,点击【确定】,如图所示。
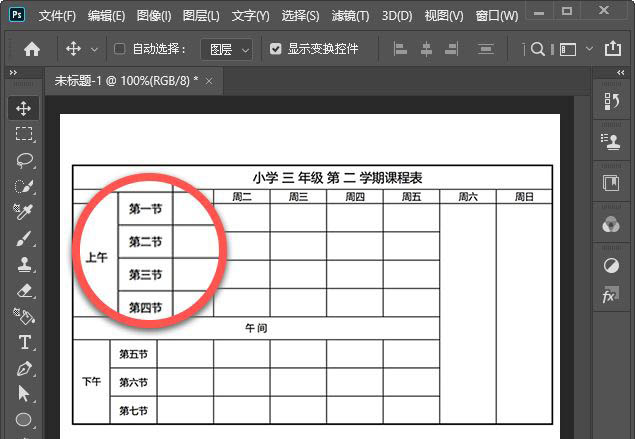
最后,我们把圆形下面的图片显示出来,这样图片局部放大镜效果就完成了。
以上就是ps局部放大镜效果的制作方法,希望大家喜欢哦。