怎么在ps中制作噪点背景呢?想要制作漂亮的彩色碎点的背景图,我们可以使用杂色来实现,今日为你们带来的文章是关于ps设计点状化背景的方法,还有不清楚小伙伴和小编一起去学习一下吧。
怎么在ps中制作噪点背景-ps设计点状化背景的方法
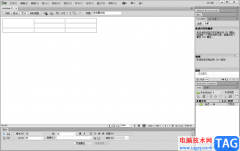
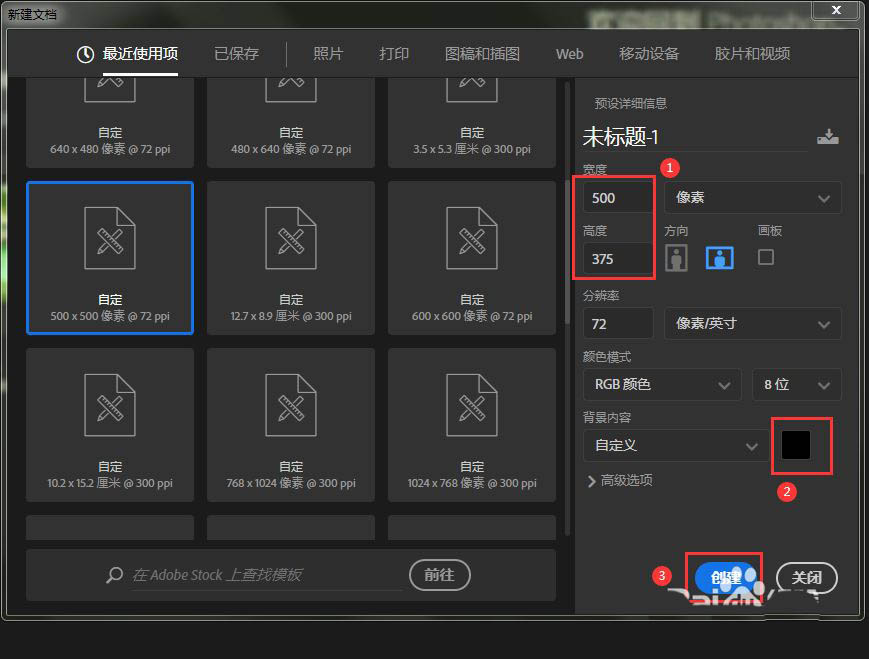
我们新建一个500*375像素的黑色画布,然后点击【创建】按钮,如图所示。
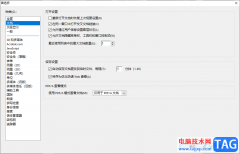
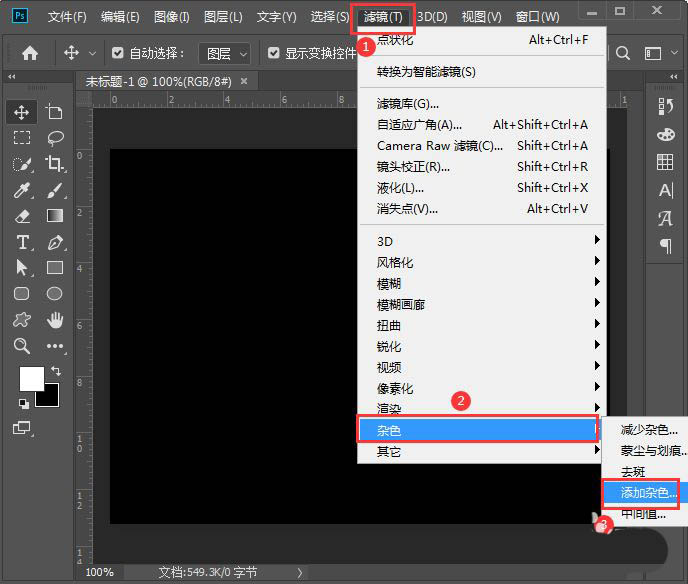
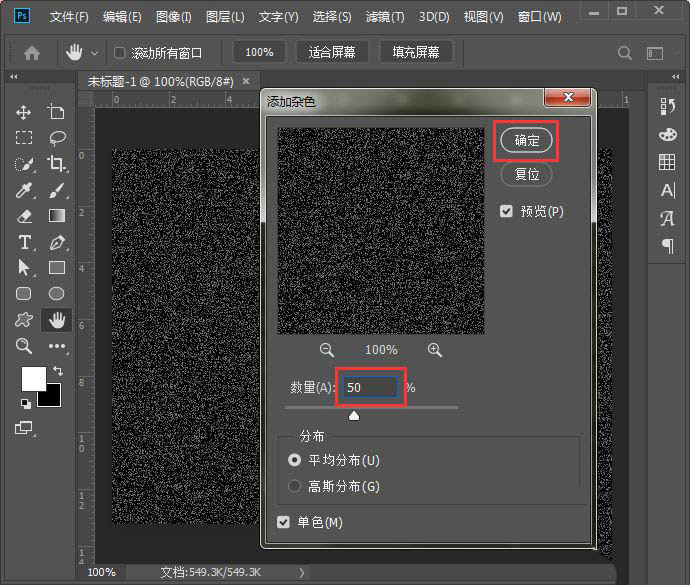
接着,我们在【滤镜】-【杂色】-【添加杂色】,如图所示。
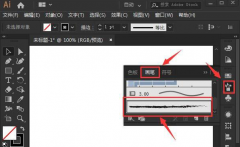
我们把添加杂色的数量的设置为50%,点击【确定】,如图所示。
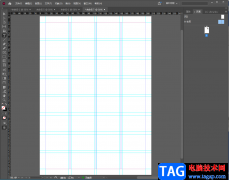
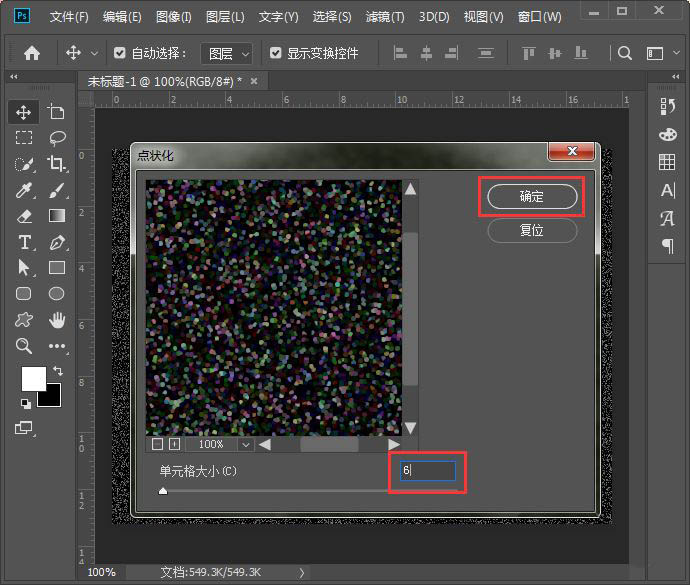
接下来,我们继续点击【滤镜】,然后在【像素化】中选择【点状化】,如图所示。

我们把点状化的单元格大小设置为6,然后点击【确定】,如图所示。
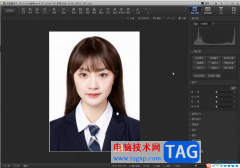
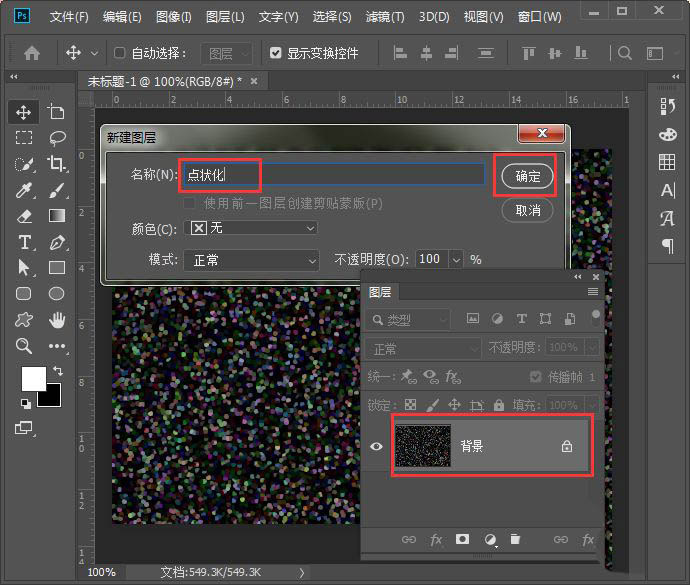
我们双击背景图层,然后在新建图层里面把名称设置为点状化,点击【确定】,如图所示。
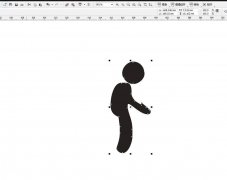
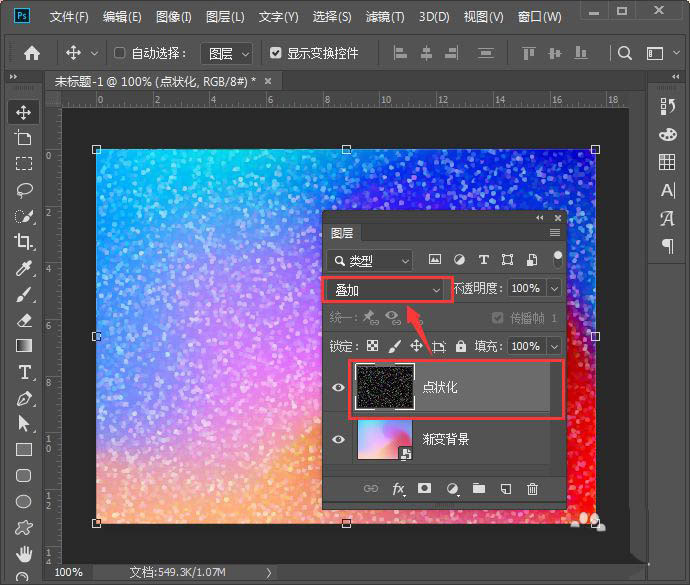
我们拖入一张彩色渐变的图片,把它移动到点状化图层的下面,如图所示。
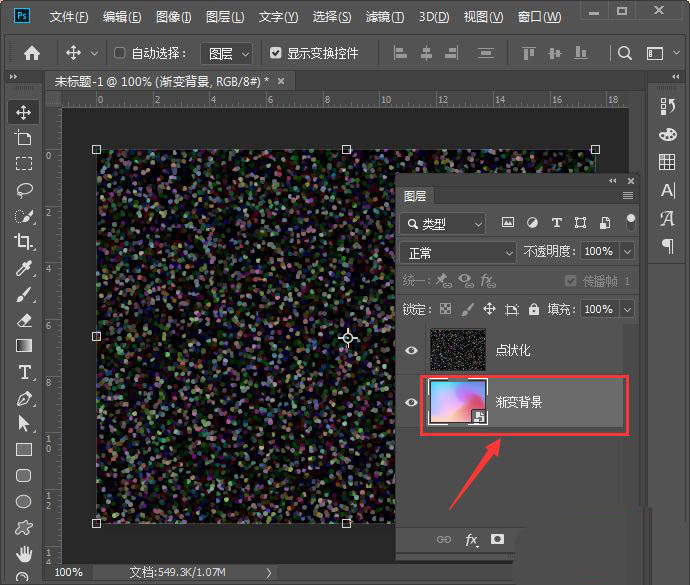
最后,我们把点状化图层的混合模式设置为【叠加】就完成了。

以上就是漂亮的点状化背景ps设计方法,希望大家喜欢哦。