ps怎么制作半透明磨砂玻璃效果呢,话说不少用户都在咨询这个问题呢?下面就来小编这里看下PS制作磨砂半透明玻璃质感效果教程步骤吧,需要的朋友可以参考下哦。
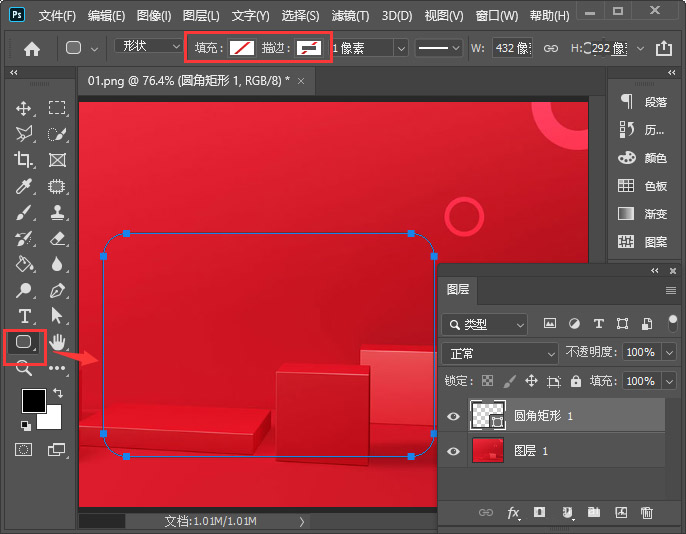
我们用【圆角矩形工具】画出一个形状,把填充和描边设置为无,如图所示。
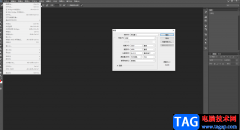
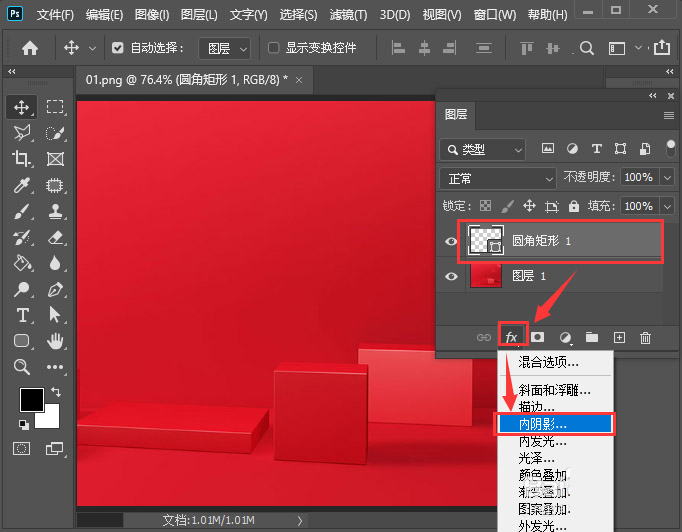
接着,我们选中圆角矩形,点击【FX】选择【内阴影】,如图所示。
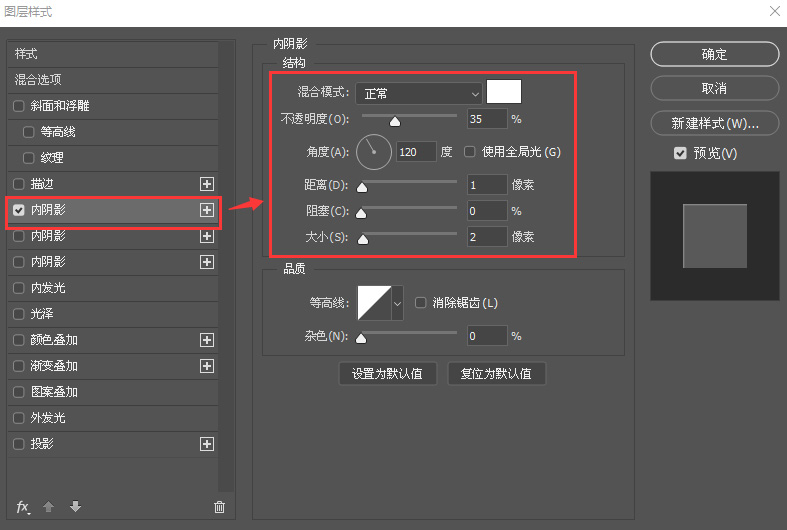
我们把内阴影颜色设置为白色,不透明度为【35】,角度为【120】度,距离为【1】像素,大小为【2】像素,如图所示。
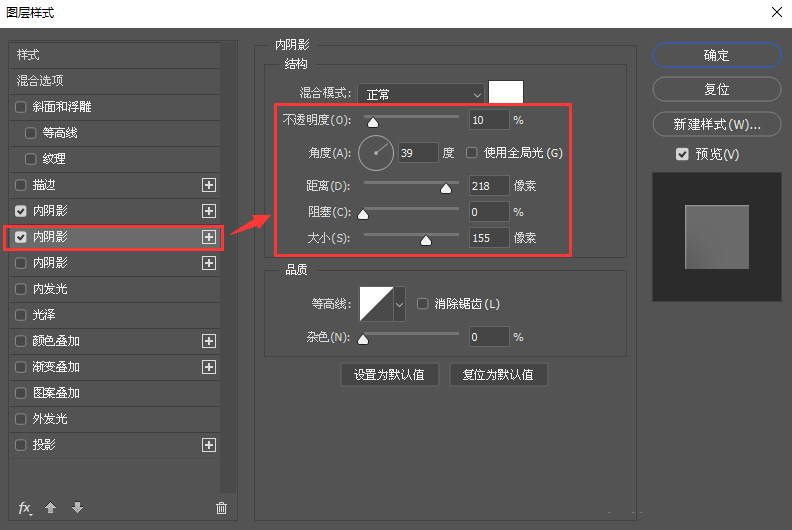
我们在第二个内阴影里面,把不透明度调整为【10】,角度为【39】度,距离为【218】像素,大小为【155】像素,如图所示。
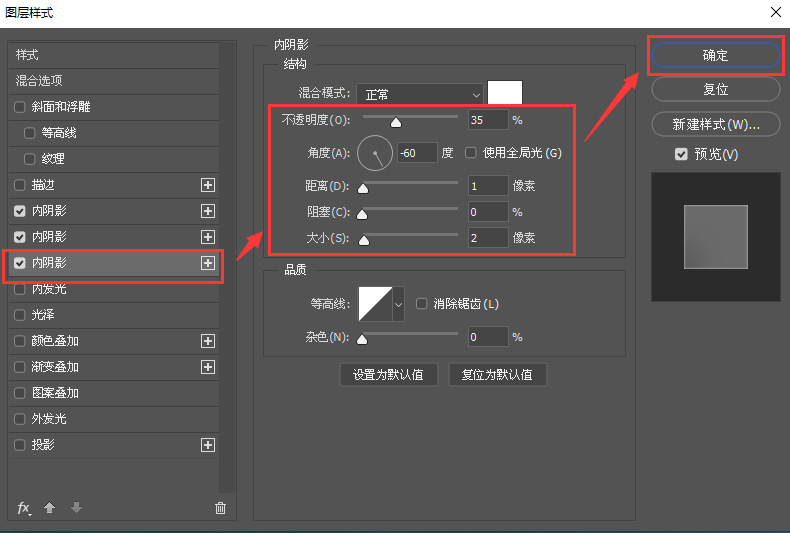
接下来,我们在第三个内阴影里面,把不透明度调整为【35】,角度为【-60】度,距离为【1】像素,大小为【2】像素,点击【确定】,如图所示。
我们按下【CTRL键】点击圆角矩形的缩略图,把圆角矩形选中,如图所示。
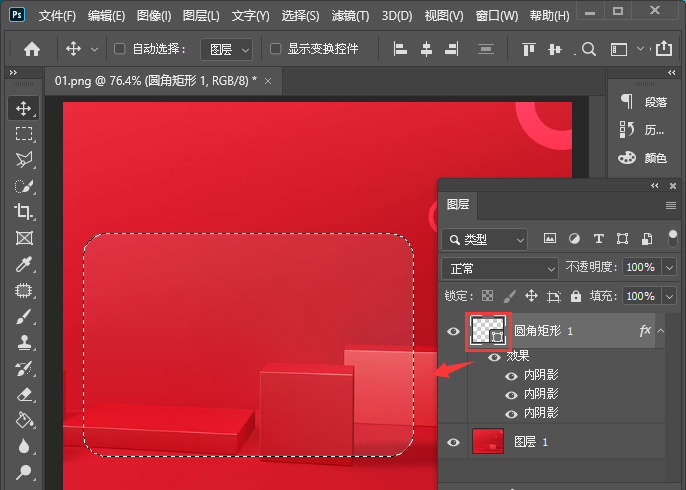
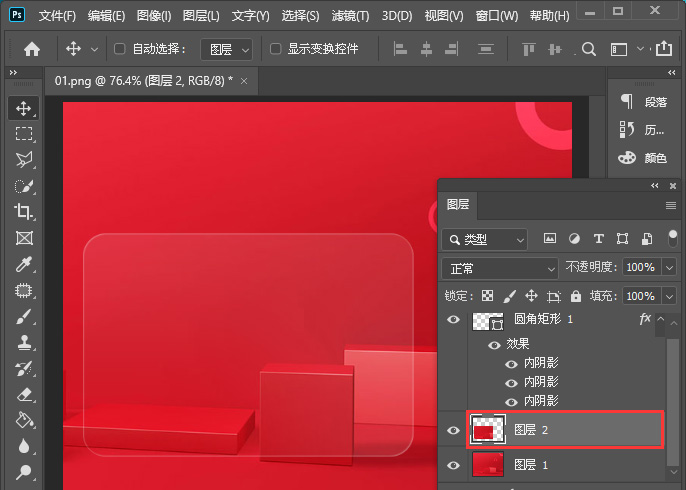
接着,我们点击图层1,然后按下【CTRL+J】复制出图层2,如图所示。
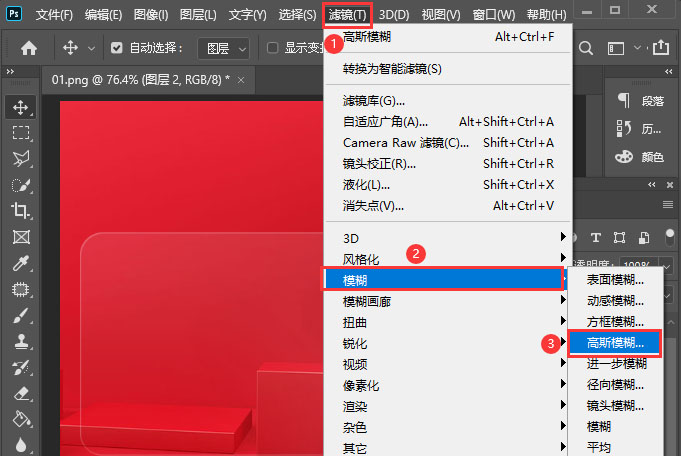
我们选中图层2,在【滤镜】-【模糊】中选择【高斯模糊】把半径调整为【6.6】像素,点击【确定】,如图所示。
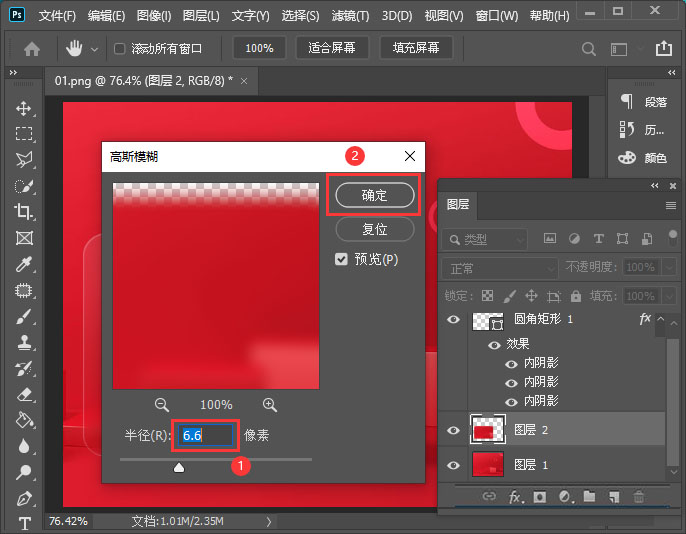
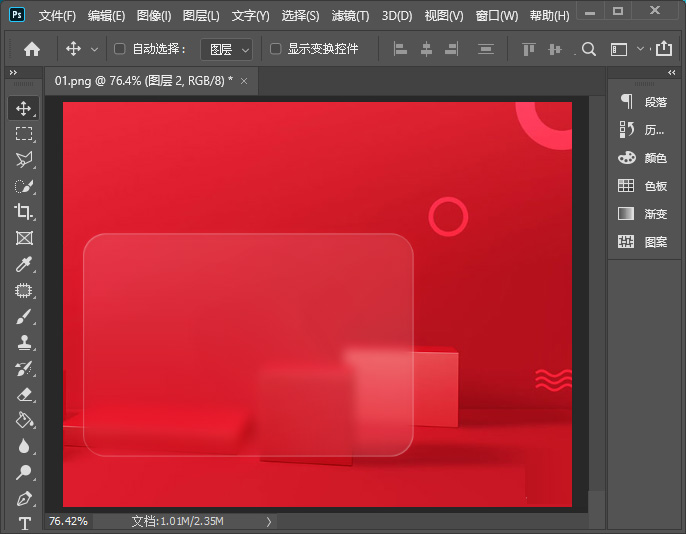
最后,我们看到圆角矩形就变成半透明磨砂玻璃的效果了。
以上便是小编为大家分享的PS制作磨砂半透明玻璃质感效果教程的全部内容,希望能够帮到你哦。