一些网友表示还不太清楚PS怎么设置超现实低对比度效果的相关操作,而本节就介绍了PS中设置超现实低对比度效果的教程,还不了解的朋友就跟着小编学习一下吧,希望对你们有所帮助。
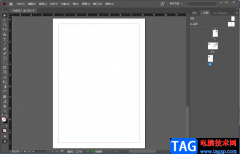
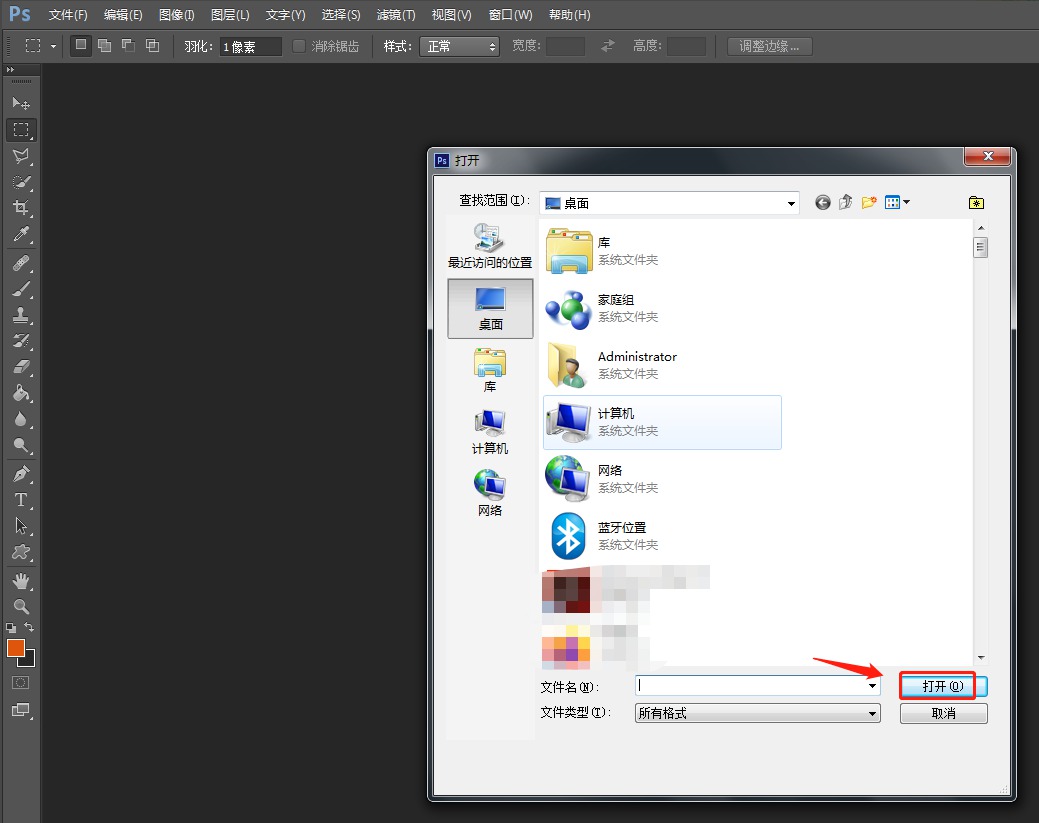
1.首先在电脑中打开PS软件,使用“Ctrl+O”组合键,将需要的图片素材导入进来。
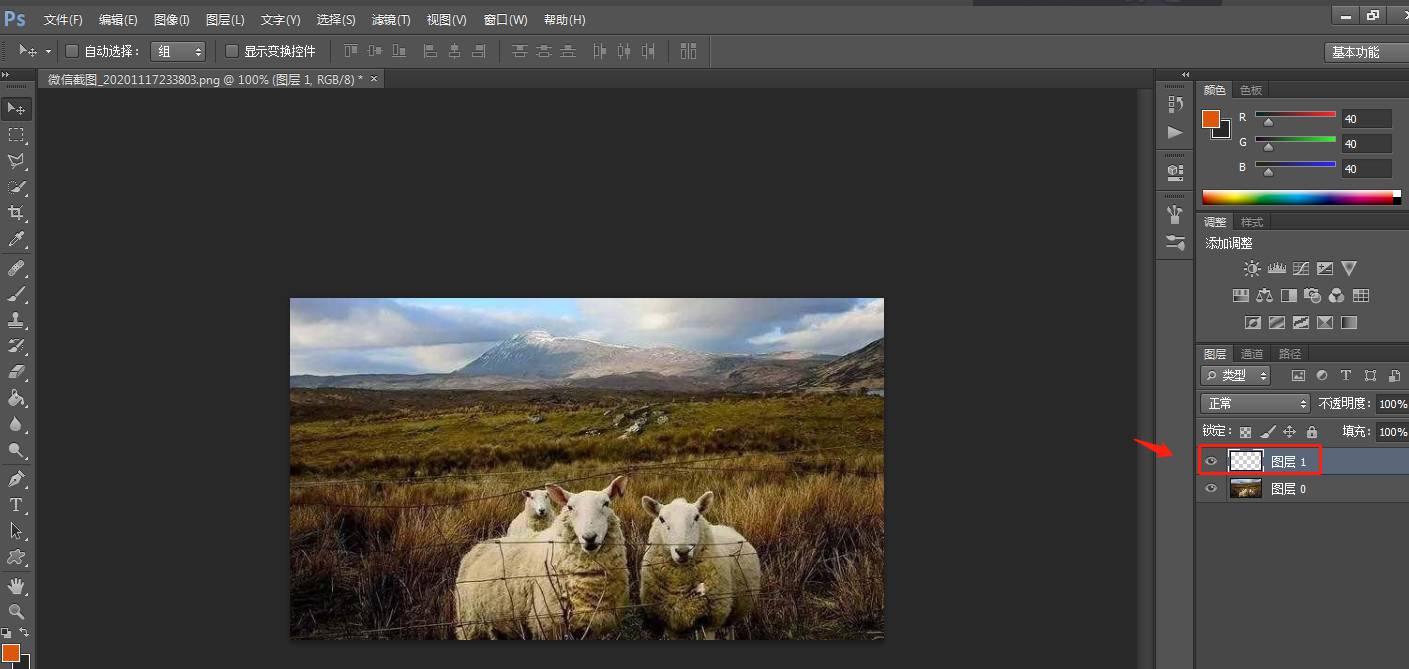
2.在软件中使用“Ctrl+Shift+N”组合键创建一个新的图层,用于解锁背景。
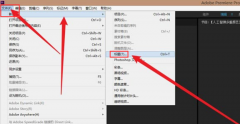
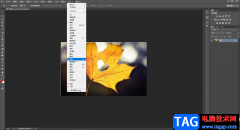
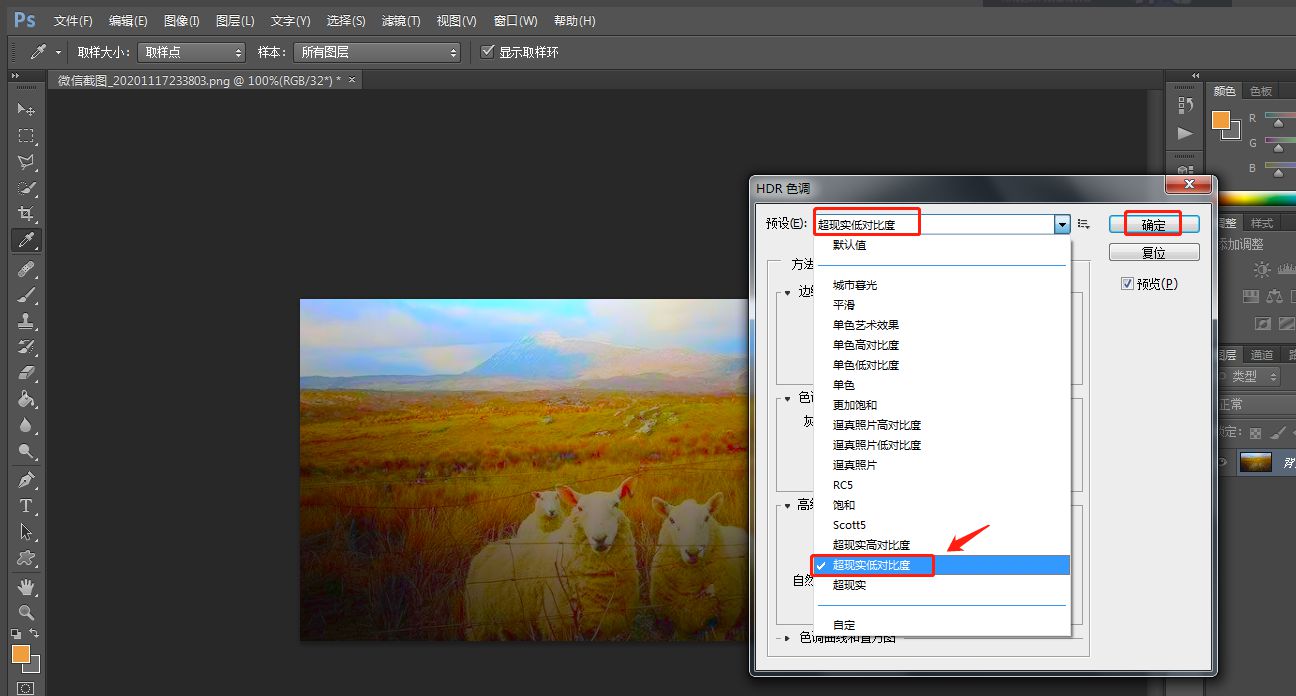
3.点击顶部工具栏中的“图像”——“调整”——“HDR色调”。

4.在弹出的窗口中,将预设设置为“超现实低对比度”,然后点击确定。
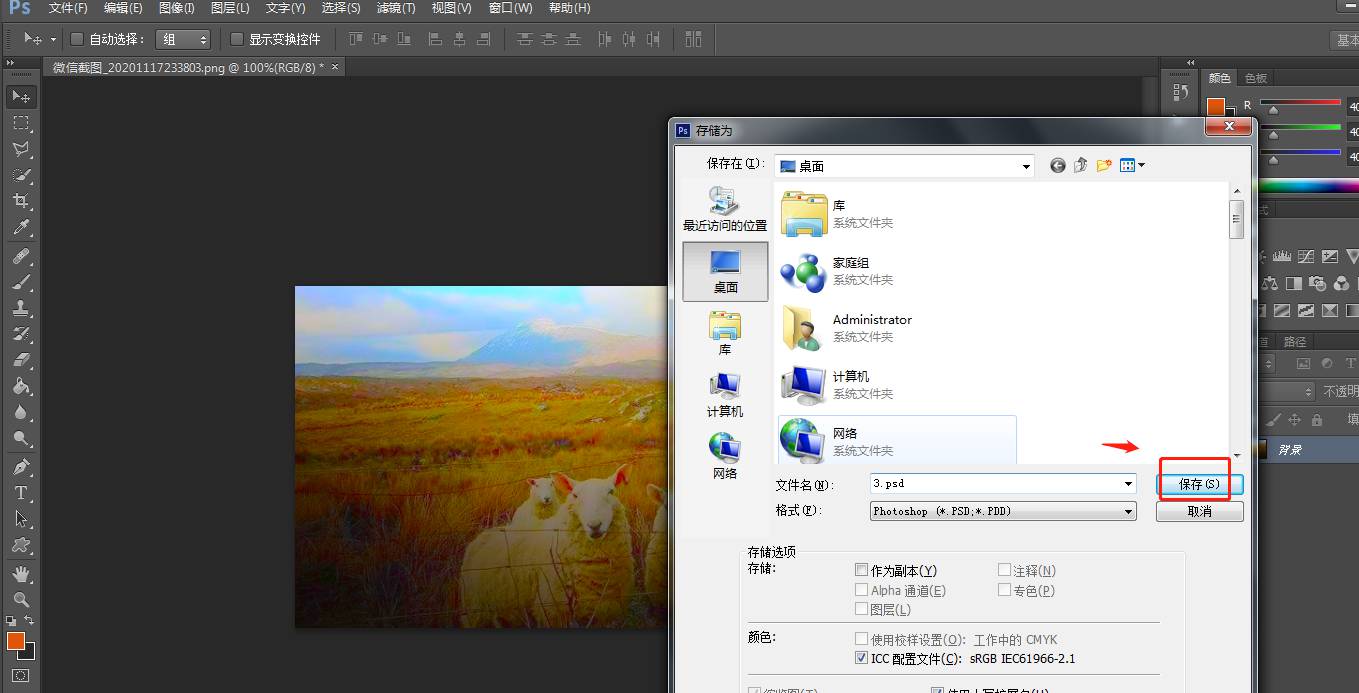
5.点击工具栏中的“文件”——“存储为”,进入存储窗口。
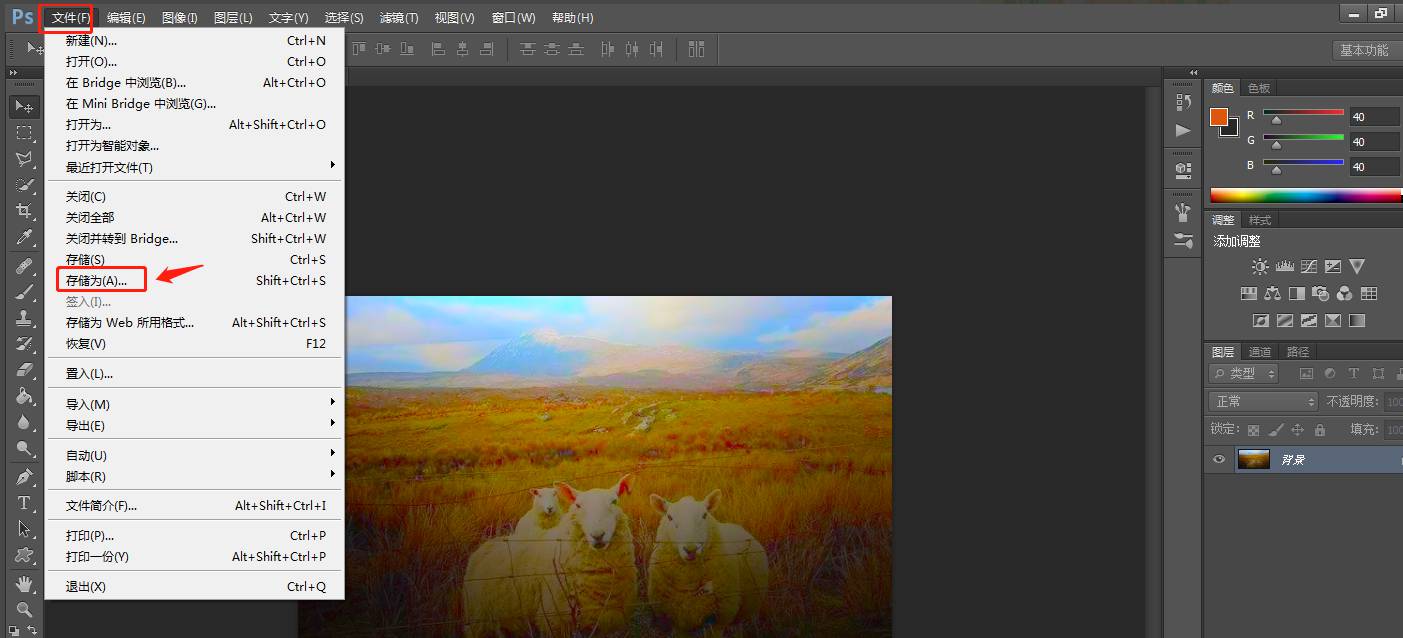
6.处理后,将制作好的图片存储为想要的格式即可。
以上就是小编给大家带来的PS中设置超现实低对比度效果的教程,更多精彩教程可以关注电脑技术网 Tagxp.com哦!