亲们想知道ps图片怎么天机白色描边效果吗?下面就是小编整理ps给抠图加白边的技巧流程,赶紧来看看吧,希望能帮助到大家哦!
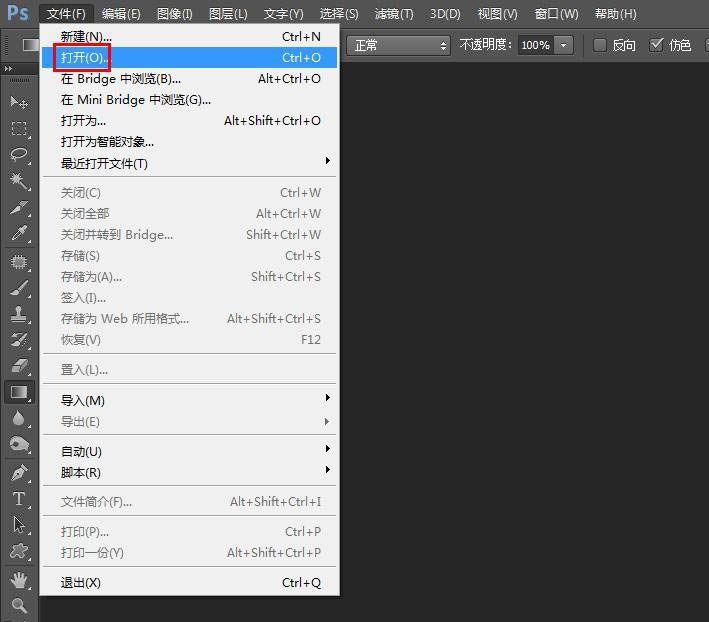
1、打开电脑上的ps软件,选择菜单栏“文件”中的“打开”选项。
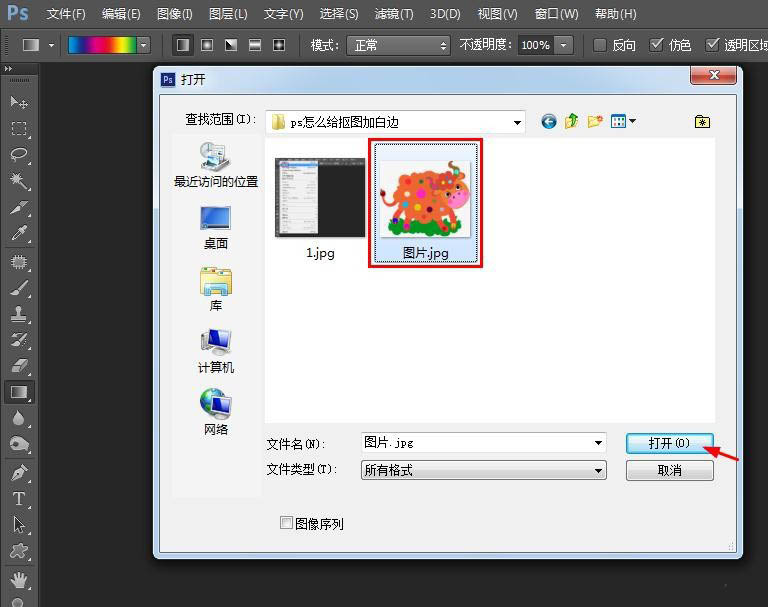
2、在弹出的打开对话框中,选中一张需要抠图并加白边的图片,单击“打开”按钮。
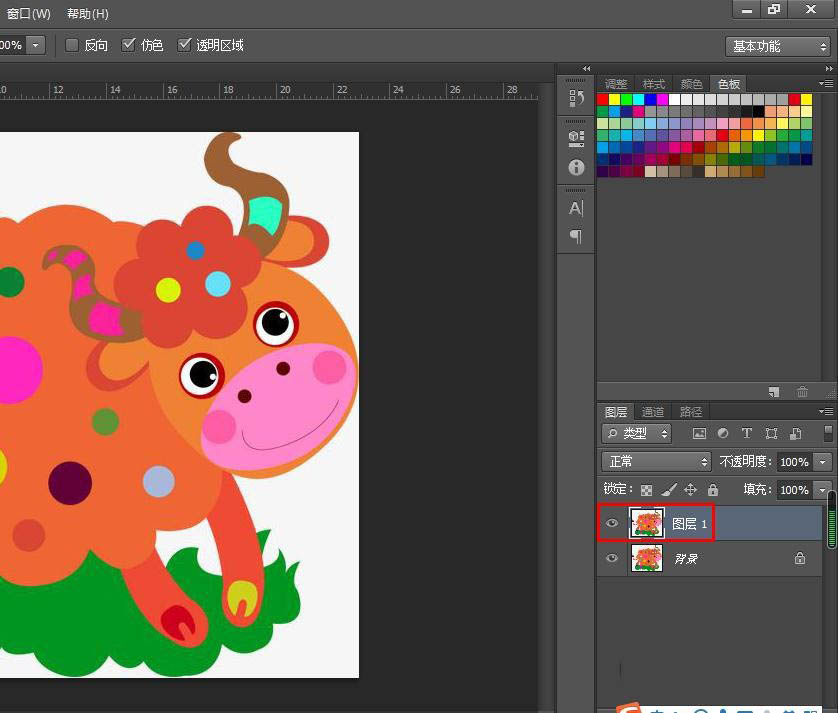
3、在图层面板中,按快捷键Ctrl+J键复制背景图层。
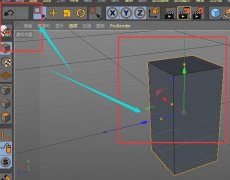
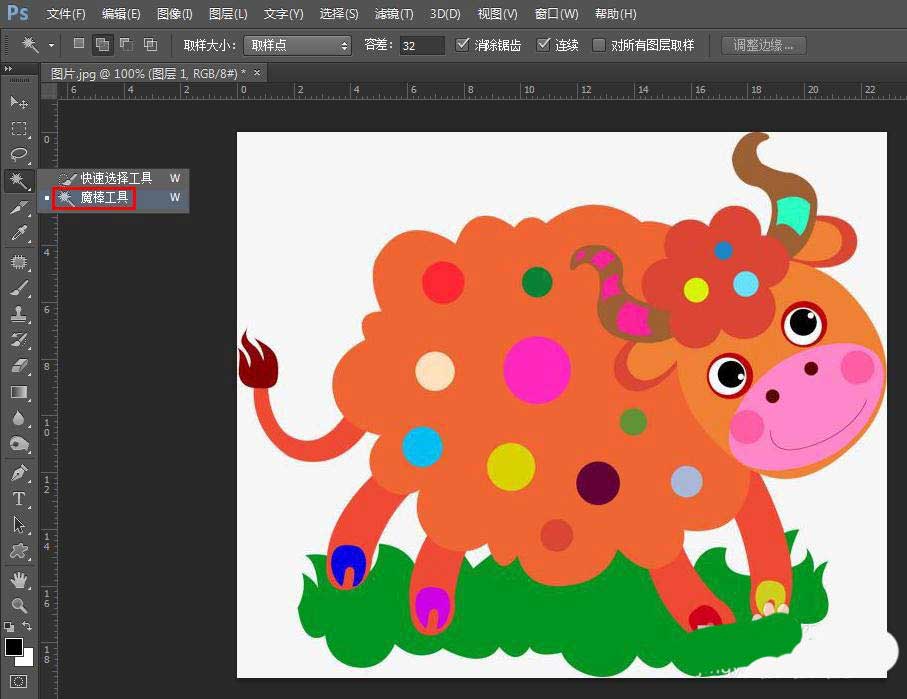
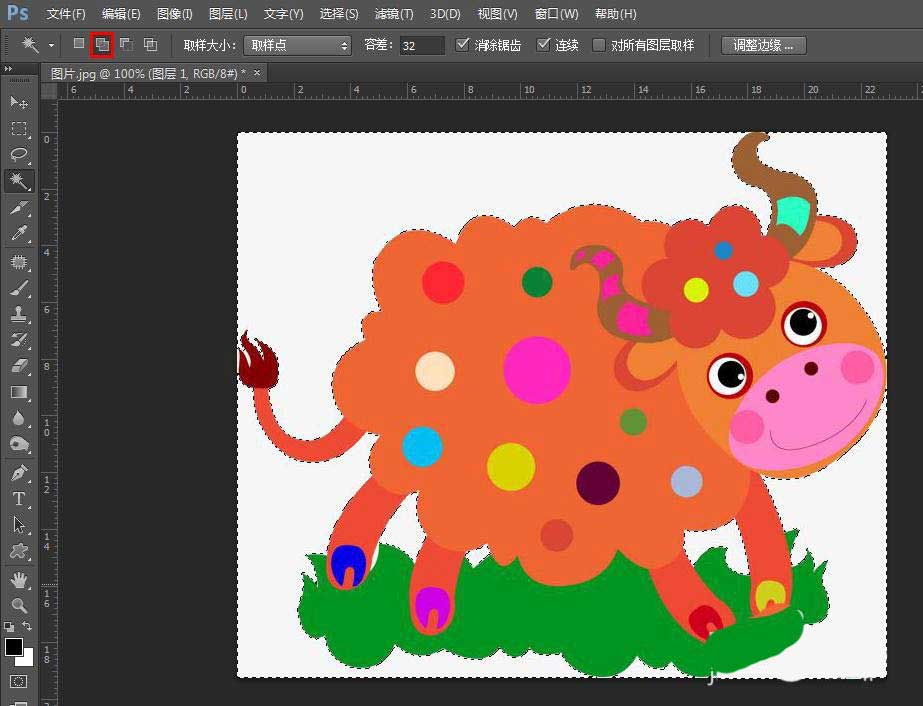
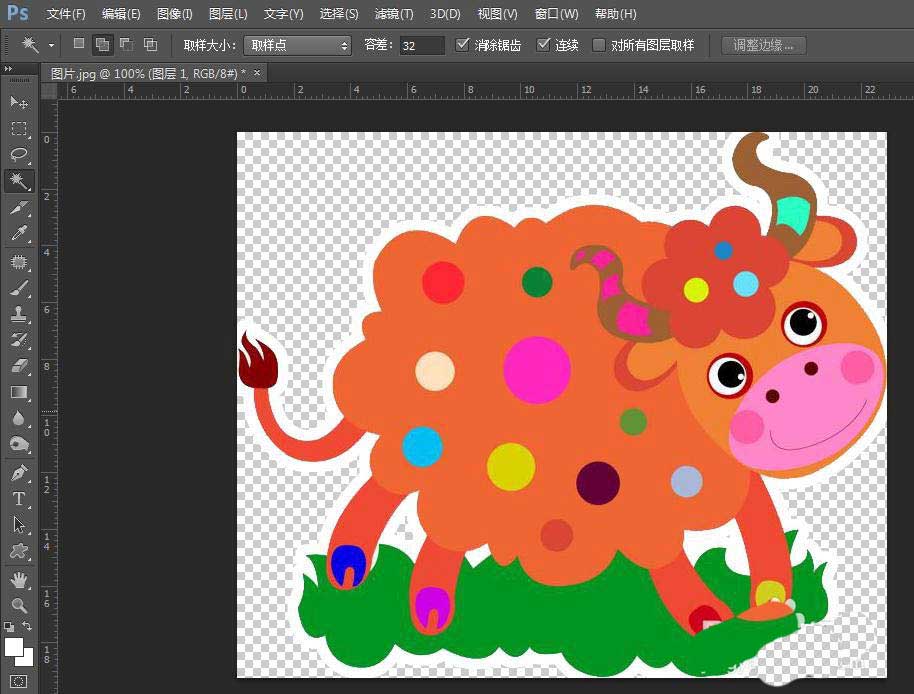
4、选择左侧的“魔棒工具”,设置成“添加到选区”模式,将图片中的背景区域全部选中。
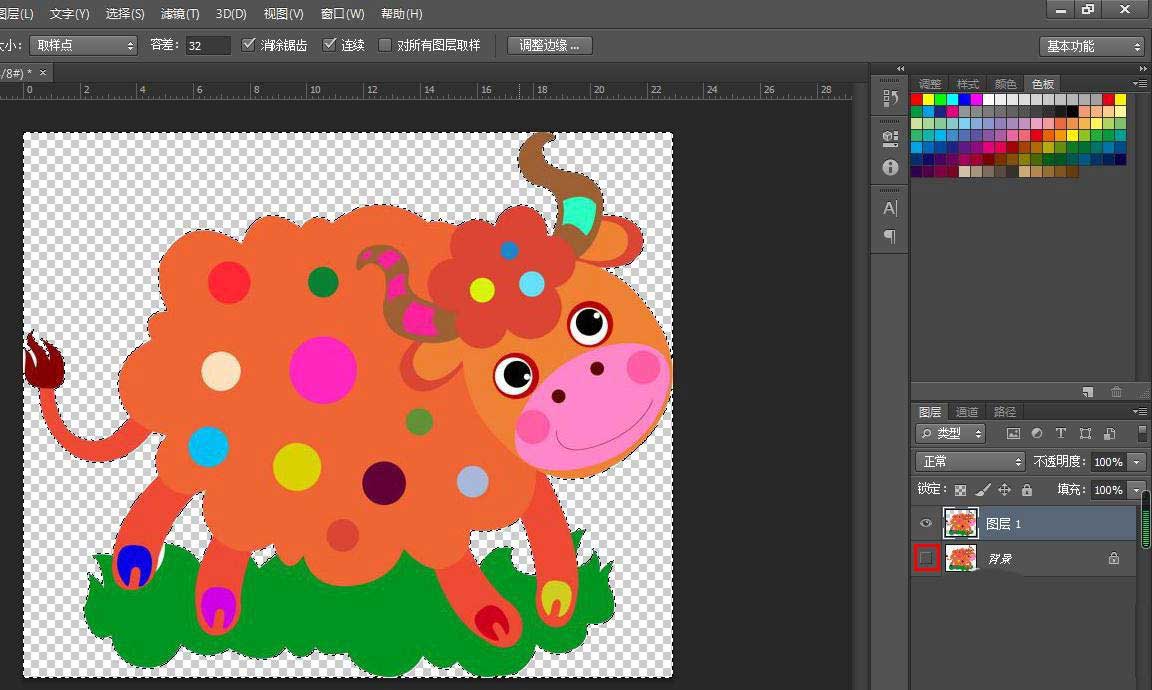
5、关闭背景图层,按delete键,将选中的区域删除掉。
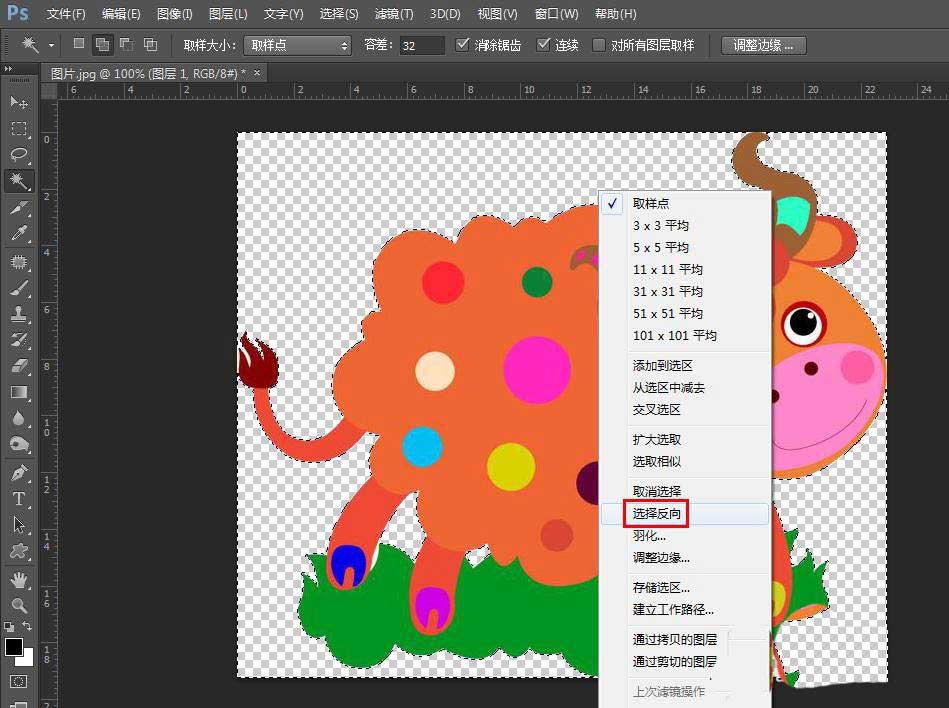
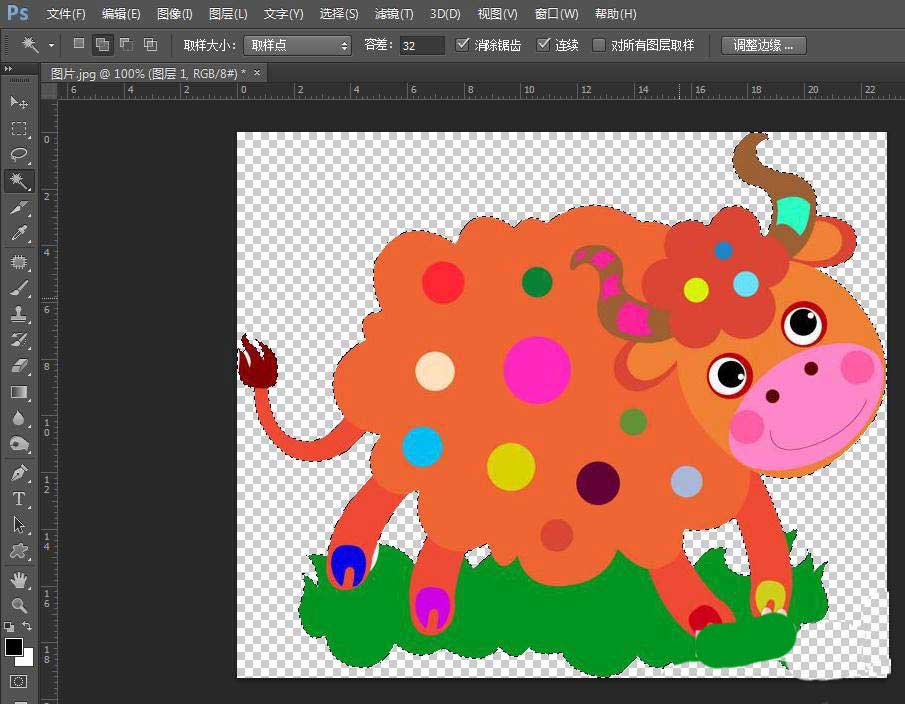
6、在选区中,单击鼠标右键选择“选择反向”,选中图片中的图像区域。
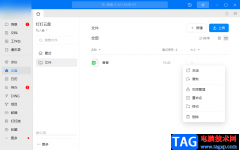
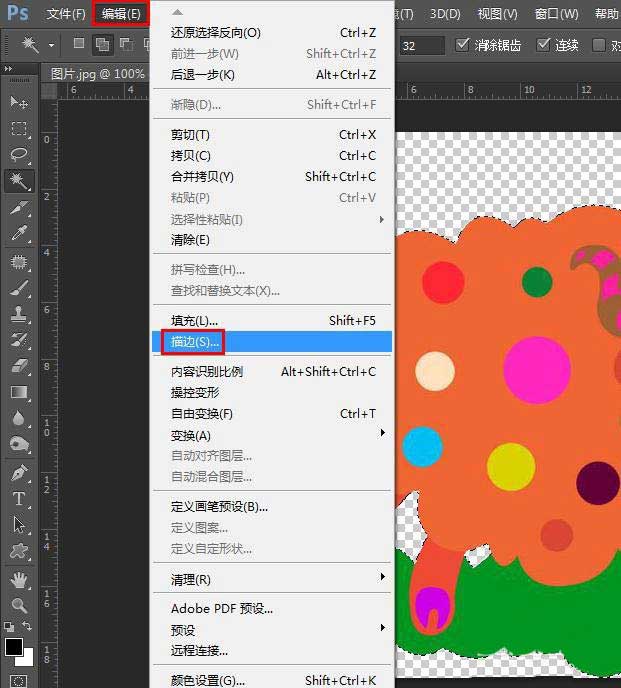
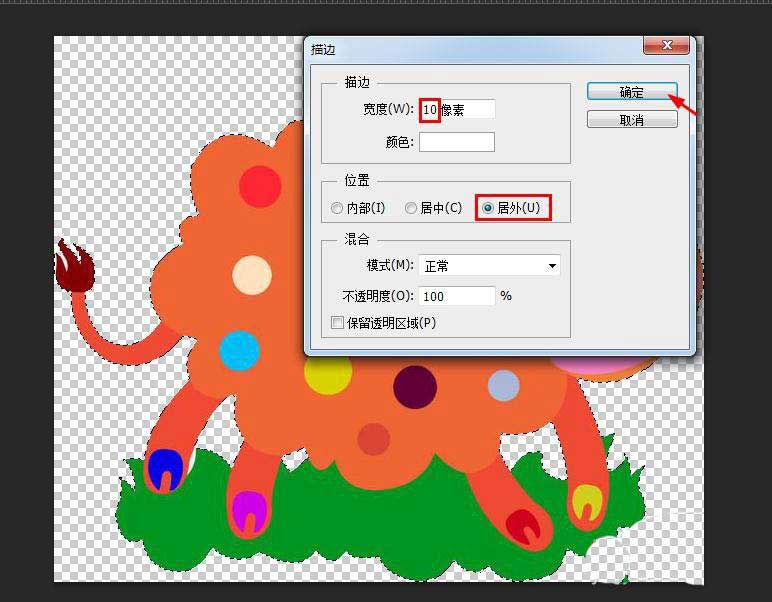
7、如下图所示,选择菜单栏“编辑”中的“描边”。
8、在弹出的“描边”对话框中,将描边宽度设置为10,颜色设置为白色,位置设置成居外,单击“确定”按钮。
9、ps中抠图并加白边的操作完成,效果如下图所示。
以上就是ps给抠图加白边的效果,希望大家喜欢哦。