近日有一些小伙伴咨询小编关于PS怎么制作素描效果文字呢?下面就为大家带来了ps手写字体的设计方法,有需要的小伙伴可以来了解了解哦。
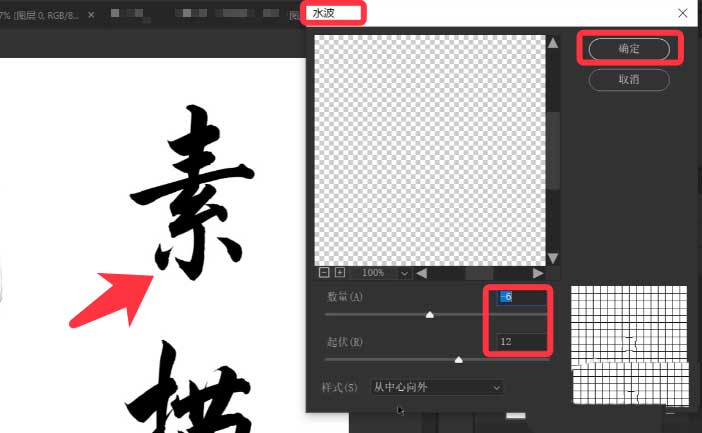
1、点击输入文字,执行滤镜扭曲,水波效果。
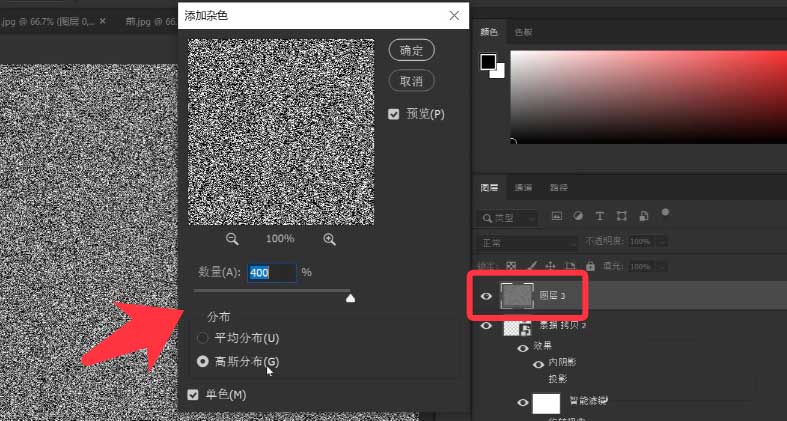
2、新建一个图层,填充黑色,再执行滤镜,添加杂色。
3、点击滤镜,动感模糊,设置角度和距离。
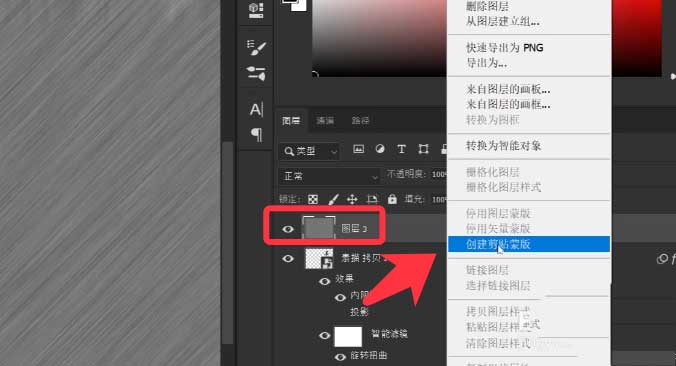
4、选中文字副本图层,单击鼠标右键,创建剪贴蒙版。
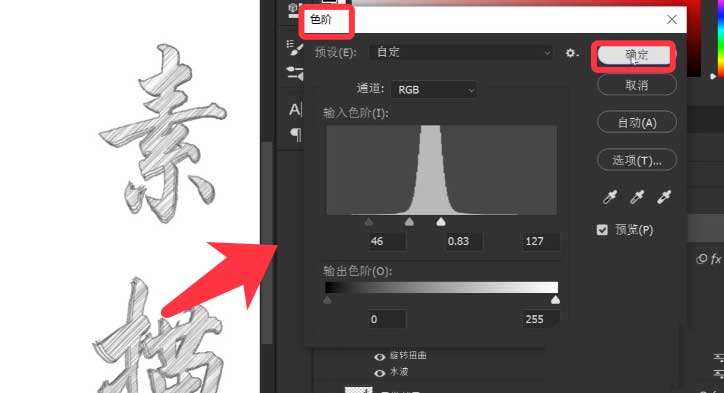
5、打开色阶面板,调节色阶的3个滑块。

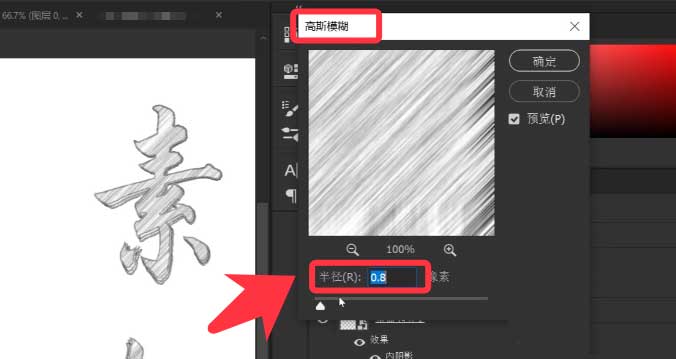
6、最后打开高斯模糊对话框,设置半径,点击确定。
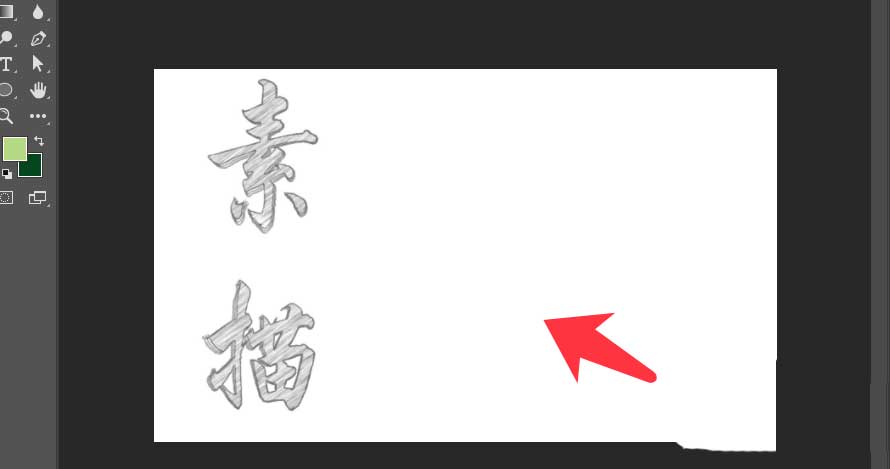
7、素描效果文字完成,如下图所示。
以上就是ps手写字体的设计方法,希望大家喜欢哦。