刚学习C4D软件的朋友可能不清楚建模一片绿色叶子的操作,而今日小编就讲解C4D建模一片绿色叶子的操作流程,相信大家通过学习,在以后的操作中一定会得心应手。
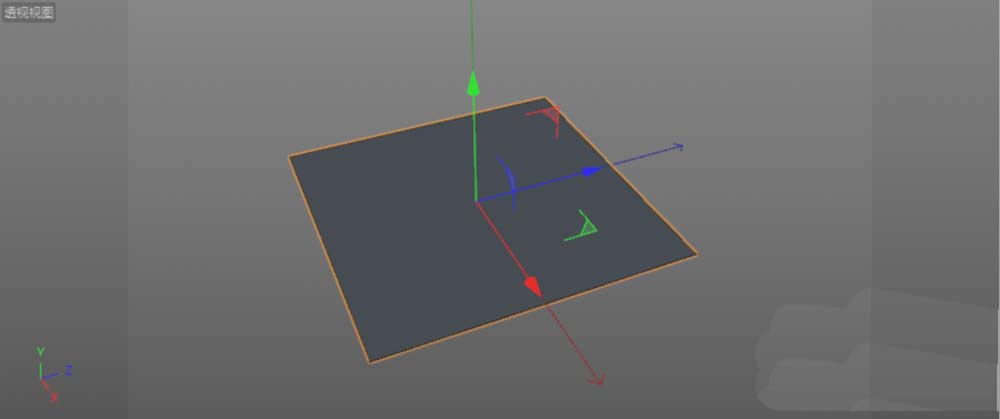
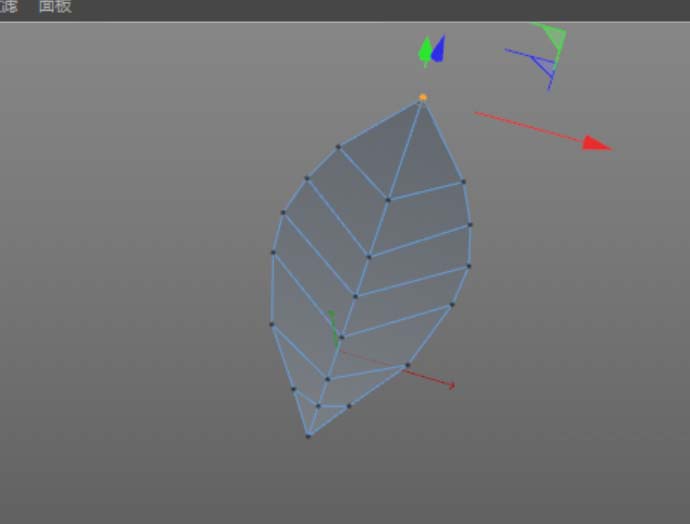
1、用一没有分段的数的平面作为叶子的基础面。尽量用最少结构线建模。
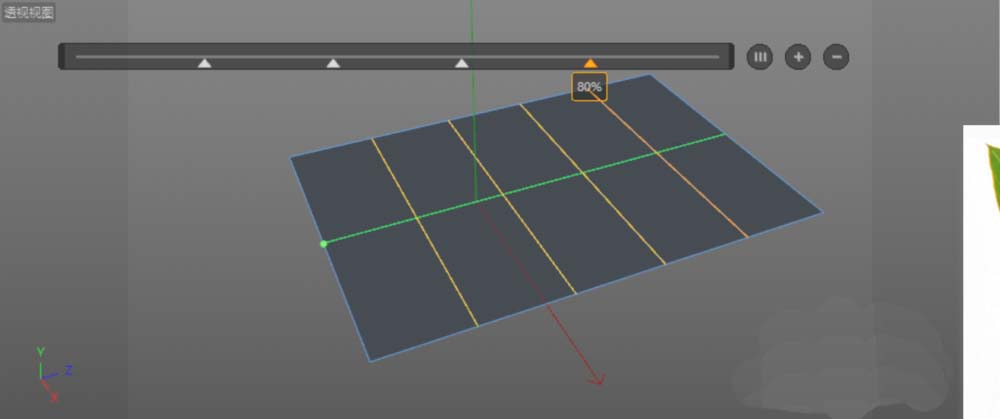
2、为平面添加切线,中间一条横向数条。

3、在点模式下顶视图中,选中点进行调整。大致调整成叶子的形状。

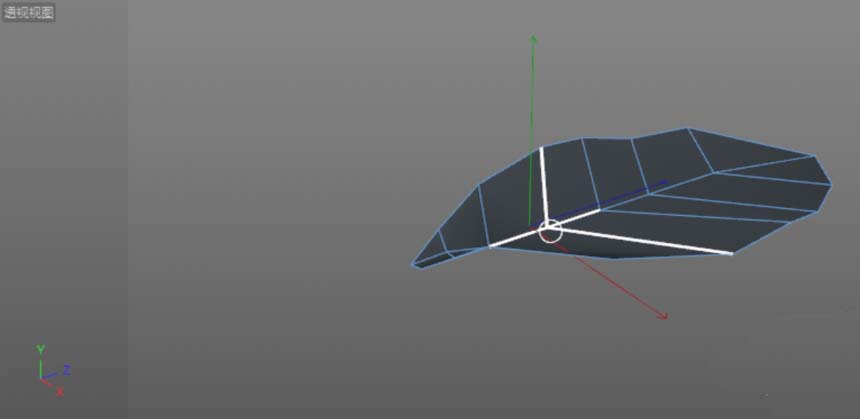
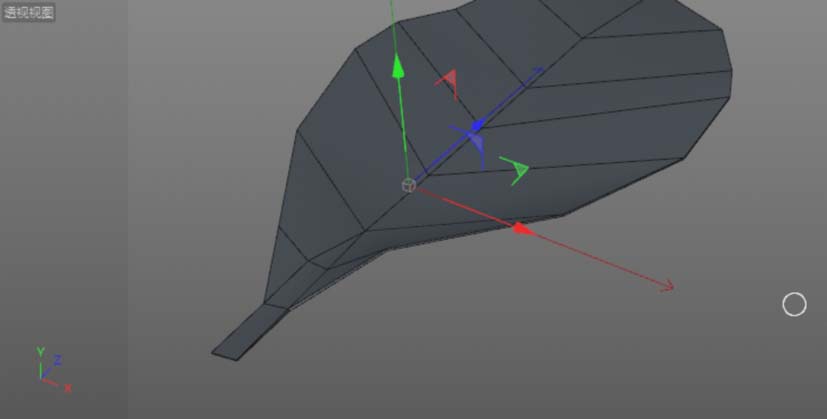
4、平面的形状调整完成后,在透视图中选中点,调整点的上下位置,使得在空间中更像叶子的形状。
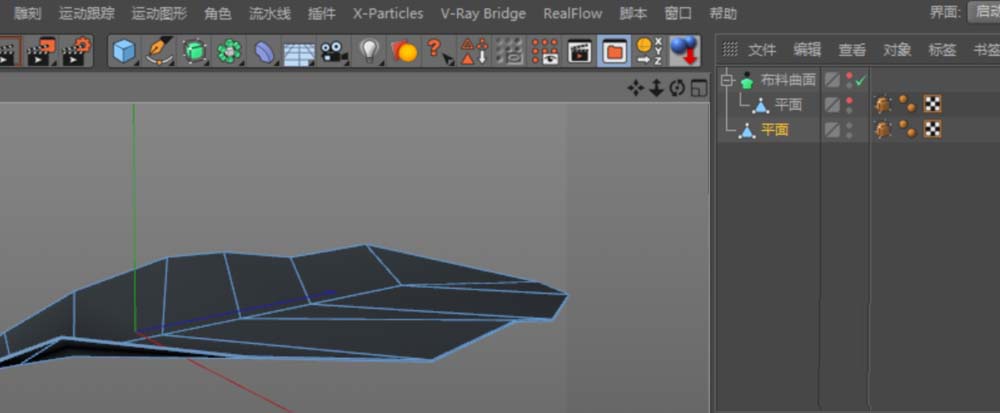
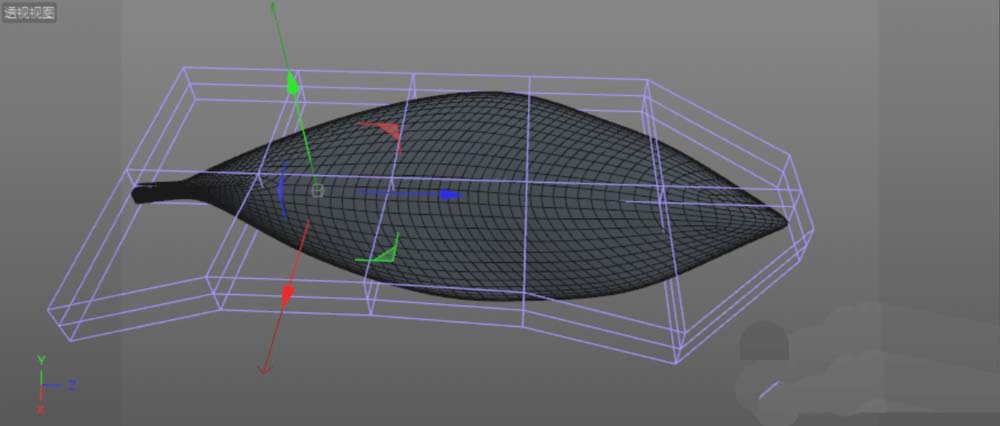
5、为叶子增加厚度,添加布料曲面到叶子的父级上。细分为0,厚度为1;将当前状态转为对象,在面模式下,选中叶柄部分的底面,利用旋转工具增加叶柄的厚度。

6、细分过后的叶尖是圆的,不是想要的效果;给叶子添加FFD变形器,通过调整FFD的点使得叶尖变尖。再调整各点,使叶子更自然。

上面就是小编为各位带来的C4D建模一片绿色叶子的操作流程,一起来学习学习吧。相信是可以帮助到一些新用户的。