说到Audition,有的伙伴使用过程里可能还不了解多轨录音的操作,其实非常简单的,下面的这篇文章小编就为大伙分享了Audition多轨录音的操作方法,有需要的朋友不要错过哦。
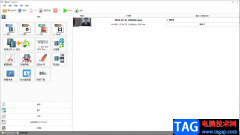
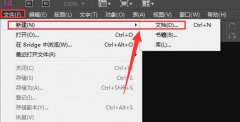
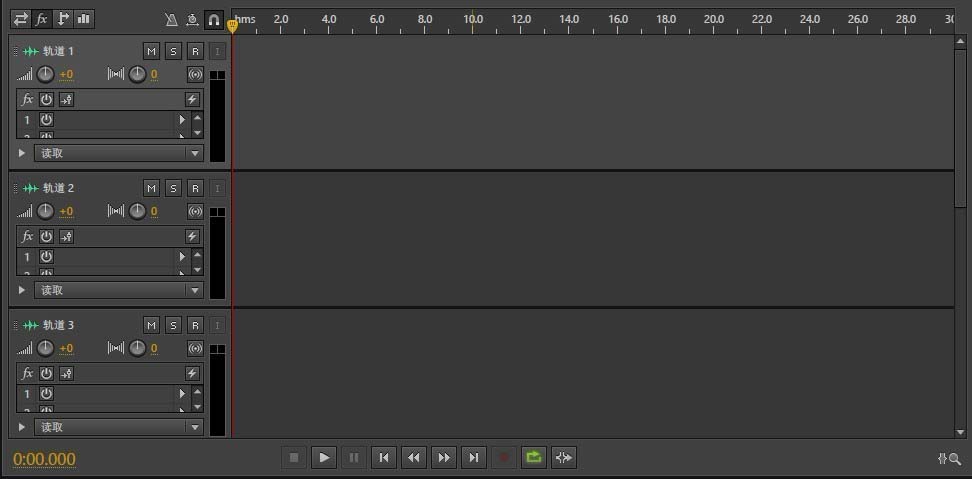
打开Audition软件-点击多轨合成
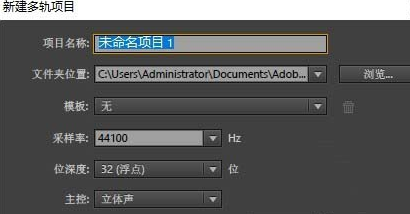
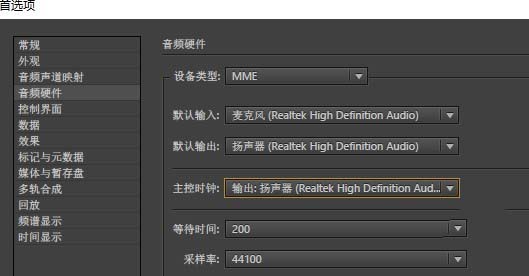
采样率这里使用的是44100Hz,若给视频配音的话,一般使用48000Hz,通常视频采样率是48000Hz
编辑-首选项-音频硬件

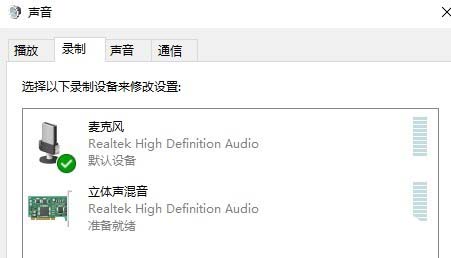
默认输入,默认输出,要与电脑上的声音系统中的录音和播放对应
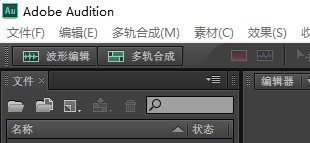
调整完毕-来到操作界面
打开图中的"R"键,进行录音准备
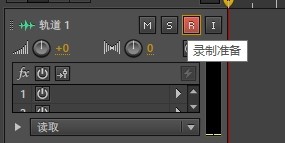
点击图中的录音按钮即可录音

上面就是小编为大家带来的Audition多轨录音的操作方法,一起来学习学习吧。相信是可以帮助到一些新用户的。