Photoshop2019如何使用渐变工具绘制图形呢,该怎么操作呢?那么现在小编就和大家一起分享Photoshop2019使用渐变工具绘制图形的方法,有需要的朋友可以来看看哦,希望可以帮助到大家。
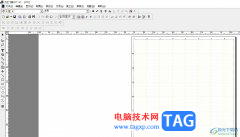
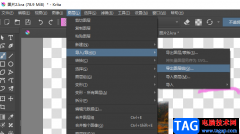
首先,打开Photoshop2019,新建一个空白文档,如下图所示。

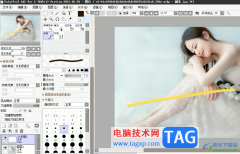
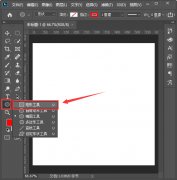
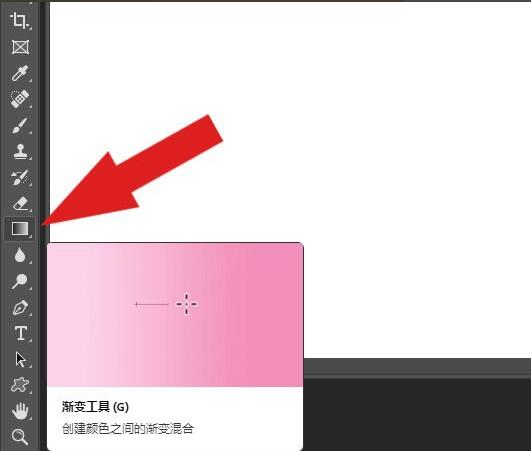
接着,鼠标左键单击左边工具栏中的【渐变工具】,如下图所示。
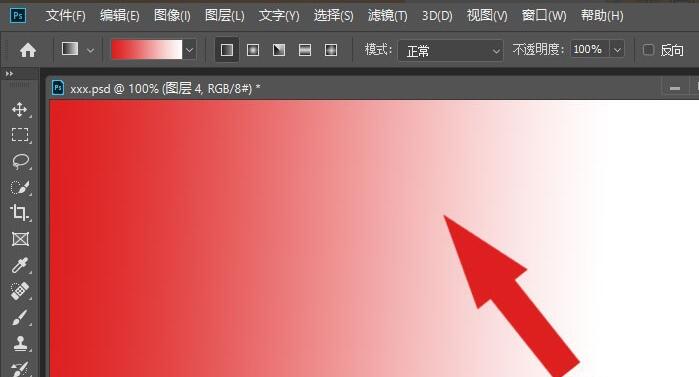
然后,在画布中绘制出渐变的图形,如下图所示。
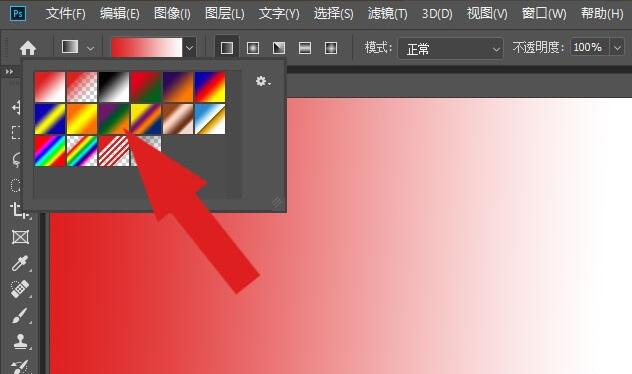
接着,在渐变工具面板中,选择渐变的样式,如下图所示。
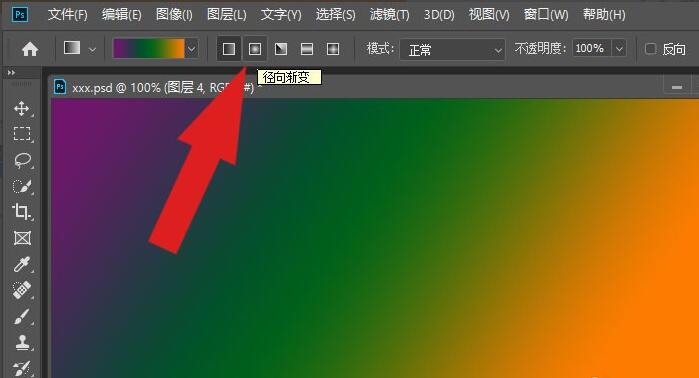
然后,在渐变工具面板中,选择径向渐变方式,如下图所示。
接着,在画布中绘制出径向渐变图形,如下图所示。
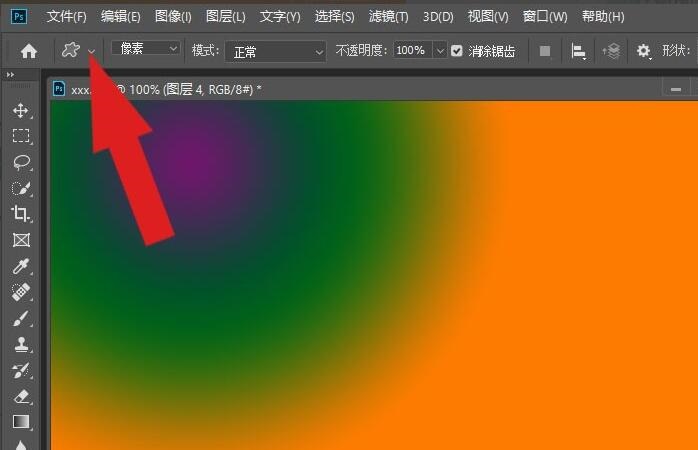
然后,选择形状工具中的灯的图形,如下图所示。
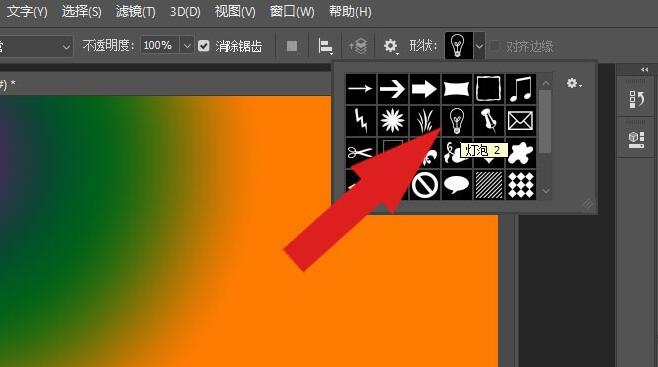
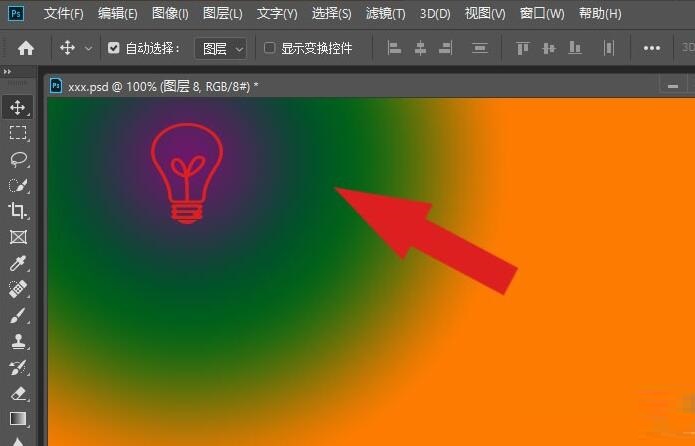
最后,在径向渐变图形中绘制出灯的图形,这样就绘制出场景图形了,如下图所示。
以上就小编分享的Photoshop2019使用渐变工具绘制图形的方法,还不会的朋友可以来学习一下哦。