最近很多伙伴表示,自己还不熟悉AI软件实时上色工具如何使用,为了让大伙方便入手操作,这里小编专门分享了关于AI软件实时上色工具使用方法教程,有需要的朋友不要错过哦。
1、打开电脑中的AI软件,Ctrl+n先新建一个画板,编辑一个形状。

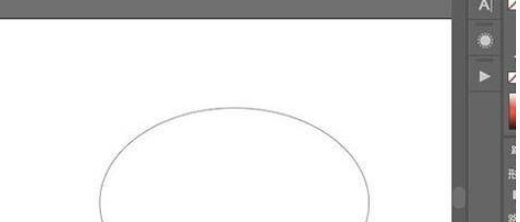
2、先在工具栏中选择“椭圆工具”,然后在画板上绘制一个椭圆,将填充颜色给关闭掉,只保留描边颜色。
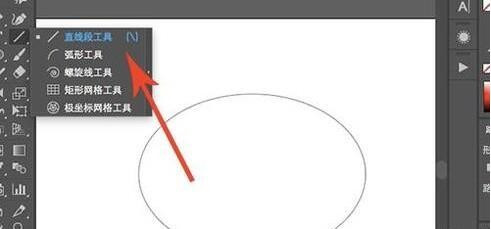
3、在工具栏中选择“直线段工具”,需要利用直线段工具来将椭圆给分成不同的几个形状。
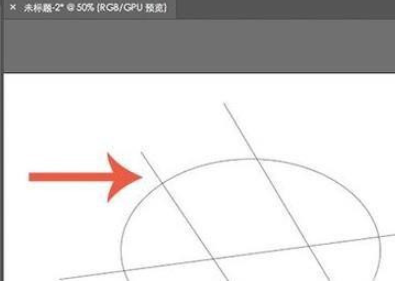
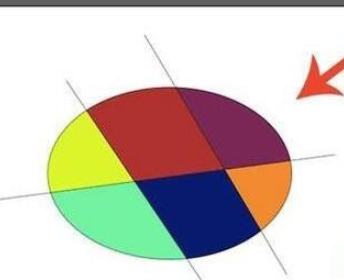
4、用三根直线段来将椭圆分割成6个形状,一定要保证有相交的位置,这样才能够成功分割。
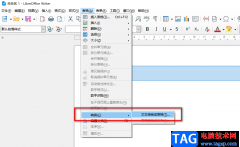
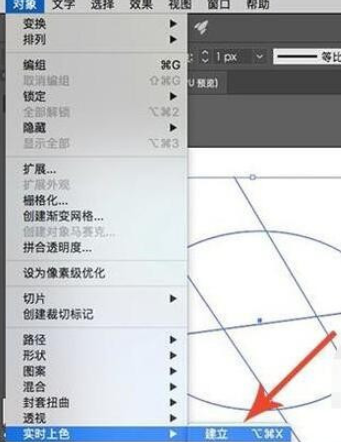
5、要想进行实时上色的话需要先建立区域,框选所有形状,然后选择“对象-实时上色-建立”。
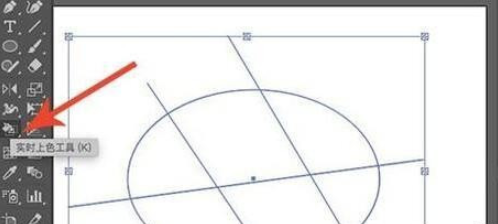
6、建立区域之后,在左侧工具栏中选择“实时上色工具”,快捷键是K。
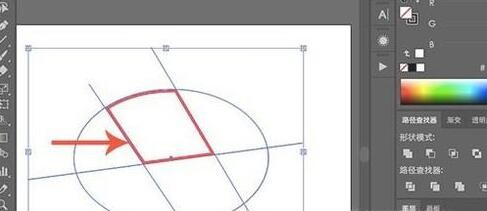
7、选择实时上色工具之后,将鼠标移动到相应的形状位置上去,这个时候相应的位置会飘红,说明在对这块区域进行上色。
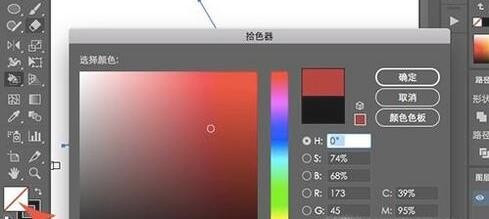
8、需要注意的是,上色所使用的颜色是填充色,所以要看一下填充色有没有关闭,调整填充色的颜色就行了。
9、利用这个方法,就能够快速地对不同的形状图层进行实时上色操作了。
各位小伙伴们,看完上面的精彩内容,都清楚AI软件实时上色工具使用方法方法内容了吧!