对刚入手acdsee的小伙伴而言,可能还不太会拼图的操作,那么话说使用acdsee到底是如何拼图的呢?下面就是小编带来的acdsee拼图的操作方法内容。
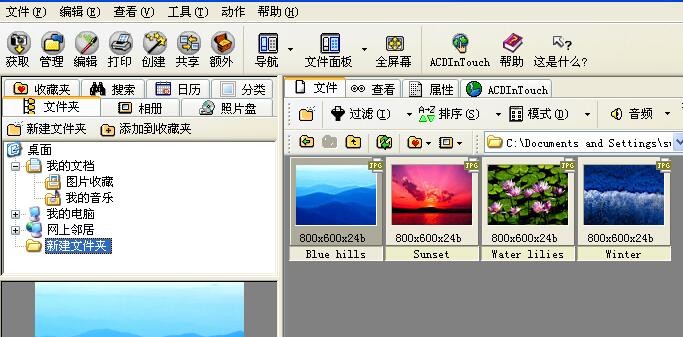
打开acdsee工具窗口,任意打开一张图片。
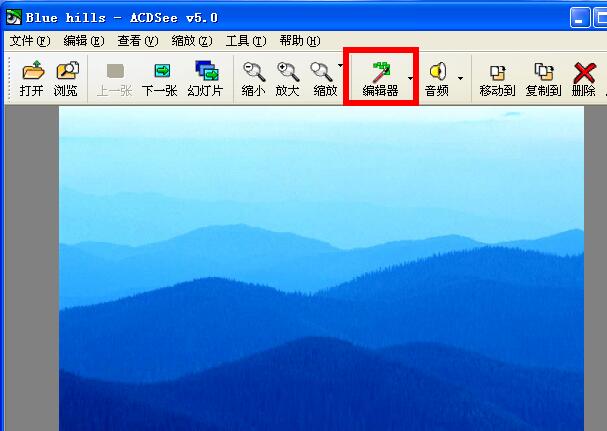
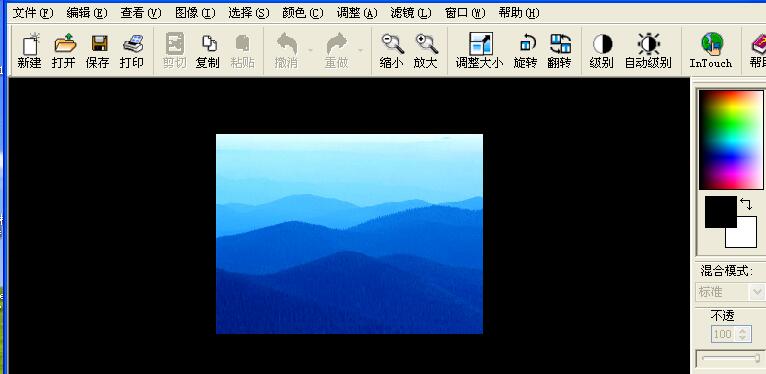
单击顶部的“编辑”按钮,进入编辑窗口。
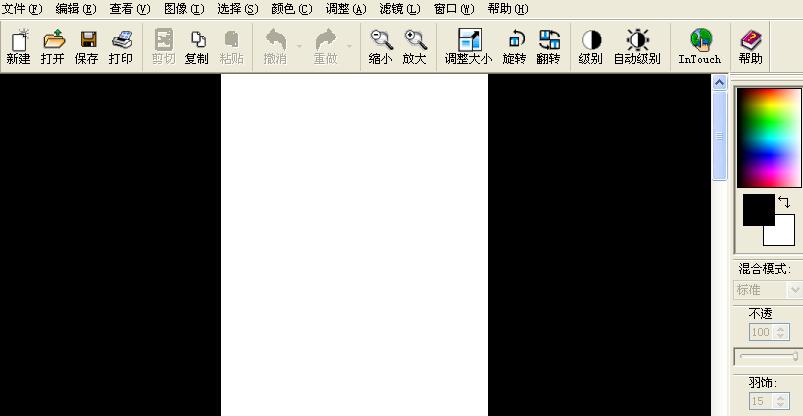
点选“新建”,设置高度“4000”、宽度“800”。
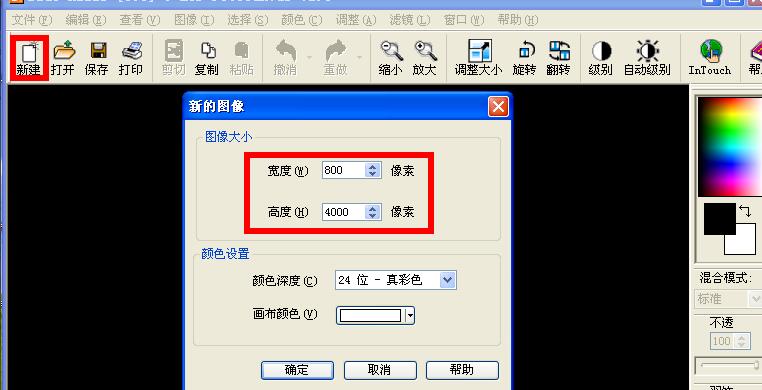
然后会得到一张空白的长图片。
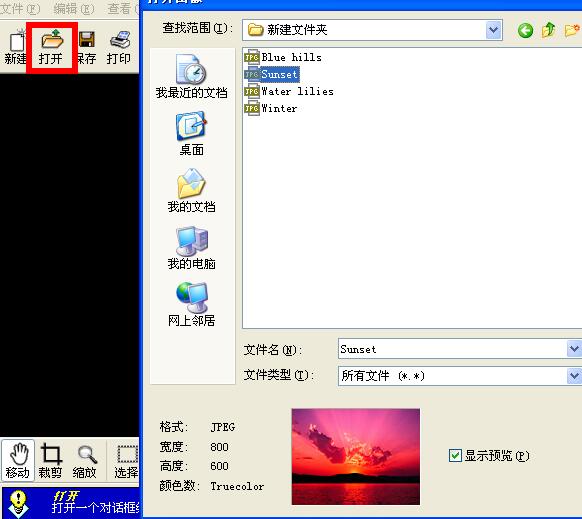
选择“打开”,找到要打开的图片,然后“ctrl+a”全选图片,“ctrl+c”进行复制。
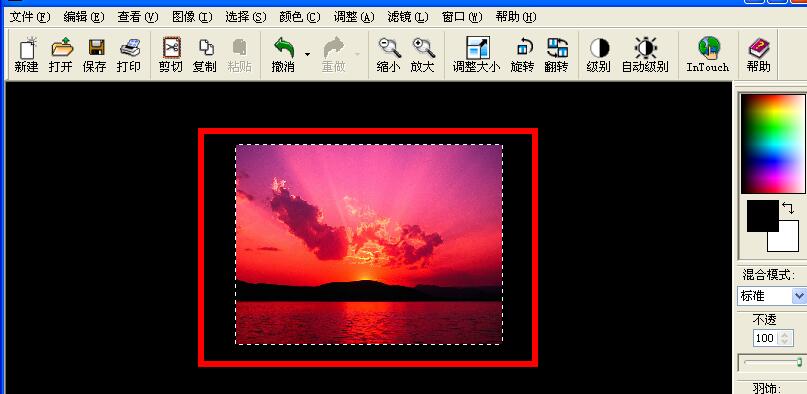
回到白色的图片里,使用“ctrl+v”粘贴进去,调整大小移动到顶部位置。
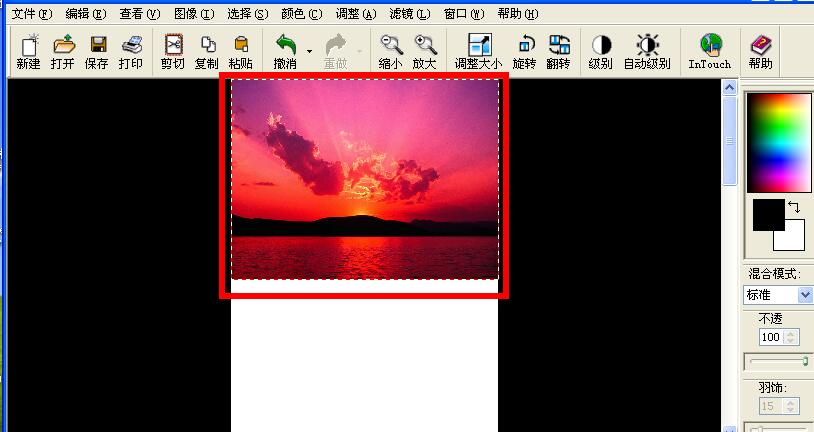
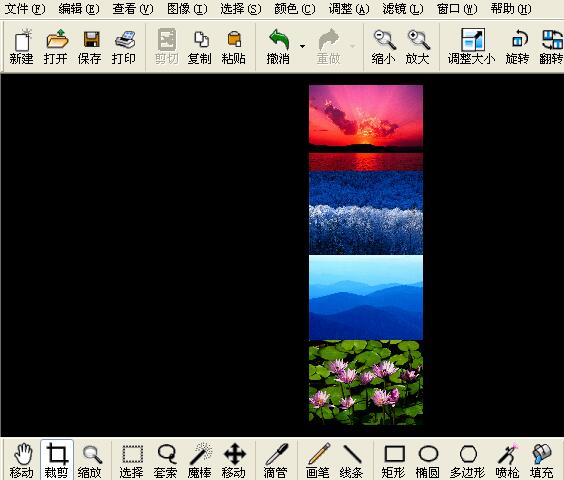
同样的方式,可以打开其他需要拼接的图片,都复制到白色长图片里面进行拼接。
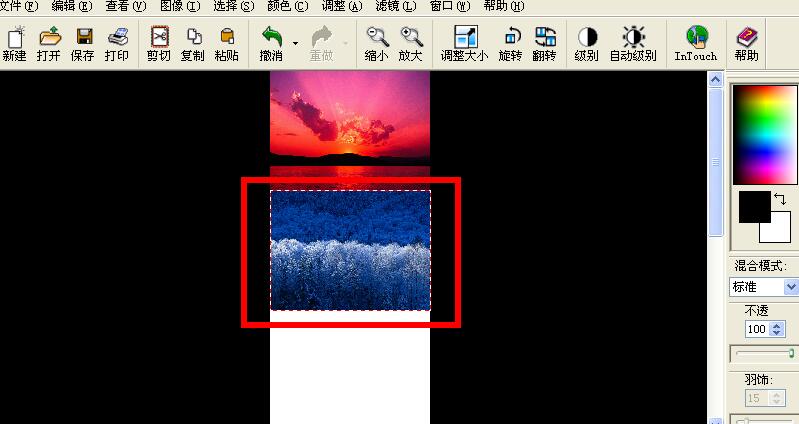
完成后可以选择底部的“裁剪”工具,把拼接后的图片进行裁剪,留下有图像的部分。

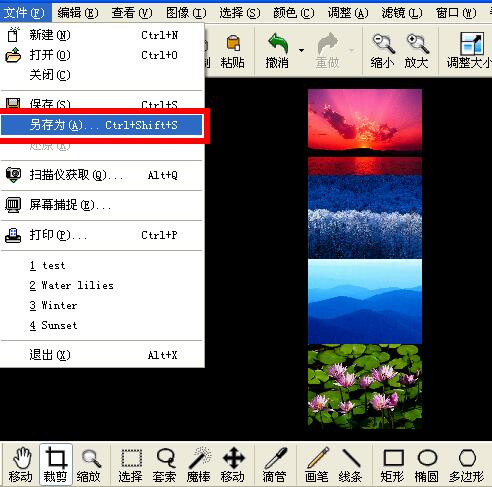
最后选择“文件”--“另存为”,填写图片名称以及格式。
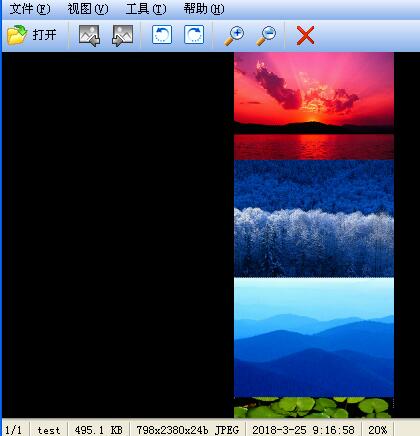
最后就可以得到一张拼接后的长图片。
上文就讲解了acdsee拼图的操作方法,希望有需要的朋友都来学习哦。