近日有一些小伙伴咨询小编关于什么是ps液化处理呢?下面就为大家带来了ps液化工具使用技巧方法,有需要的小伙伴可以来了解了解哦。
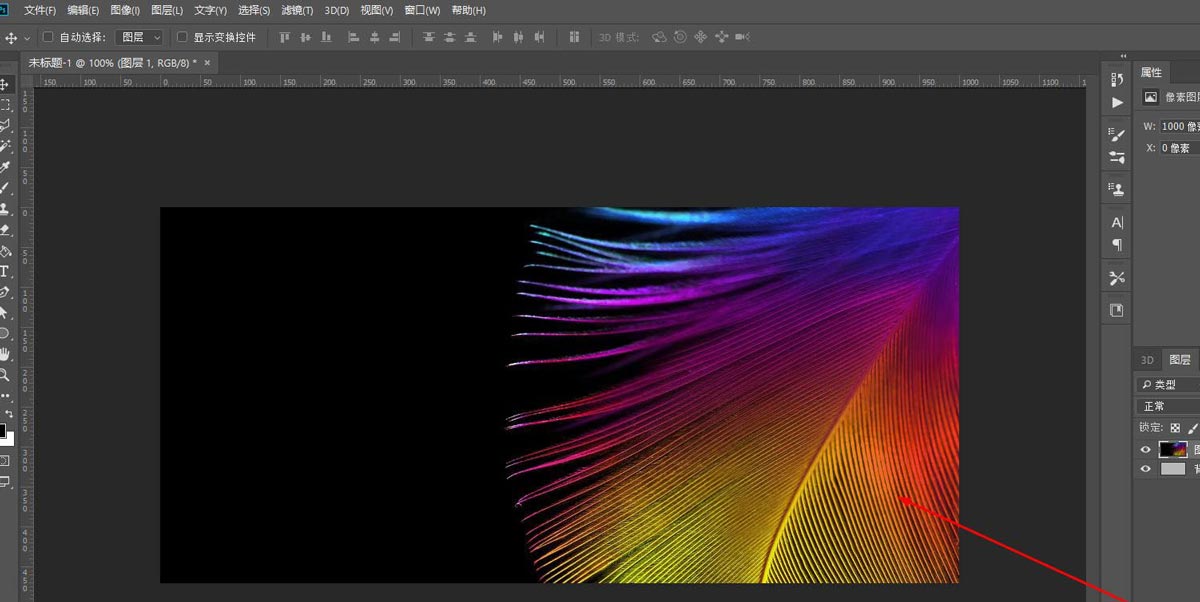
先找到一张图片,用Photoshop软件打开。
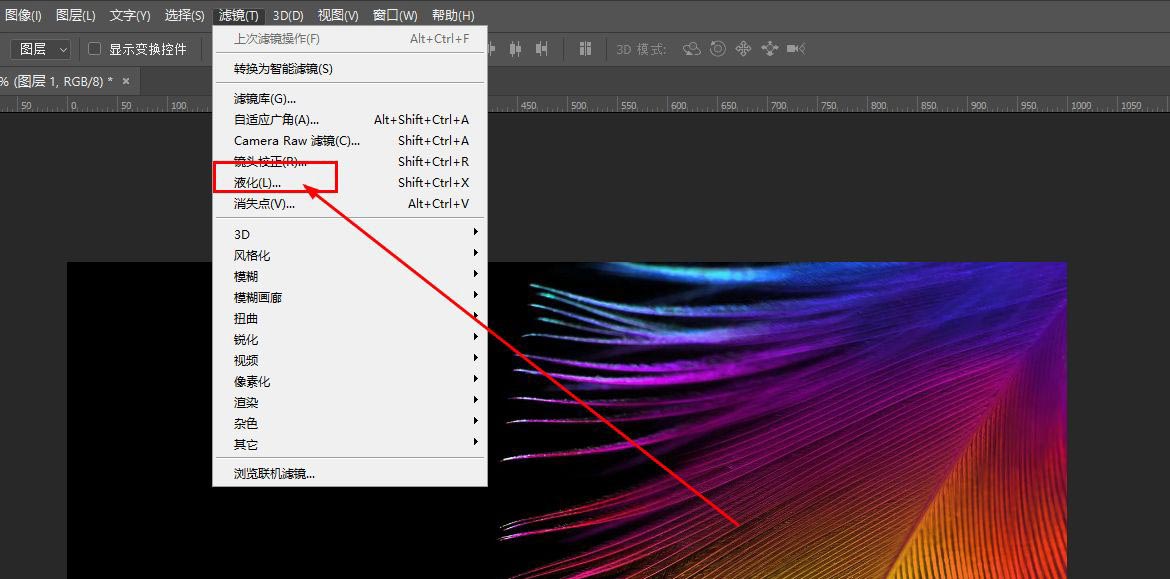
在主菜单中找到滤镜选项

单击后在列表中找到液化,如图
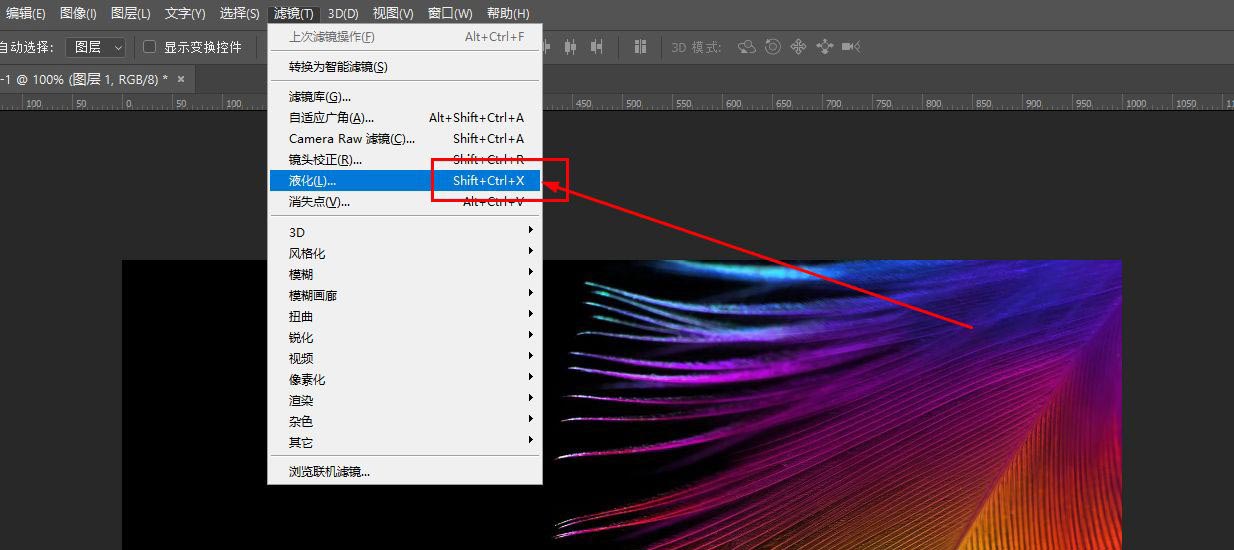
也可以直接使用快捷键ctrl+shift+x
打开的液化窗口如图
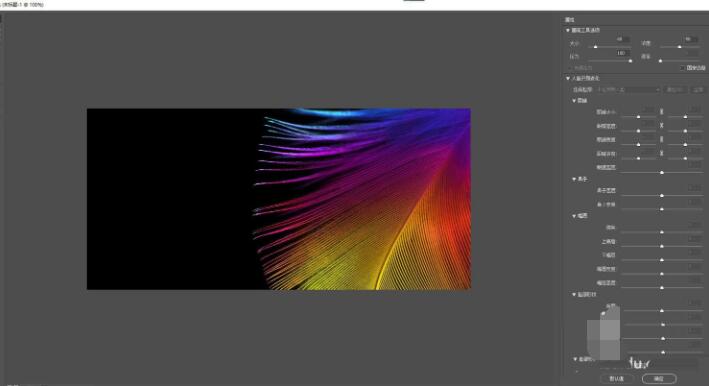
窗口左侧是一些使用的工具选项

窗口右侧是参数设置区
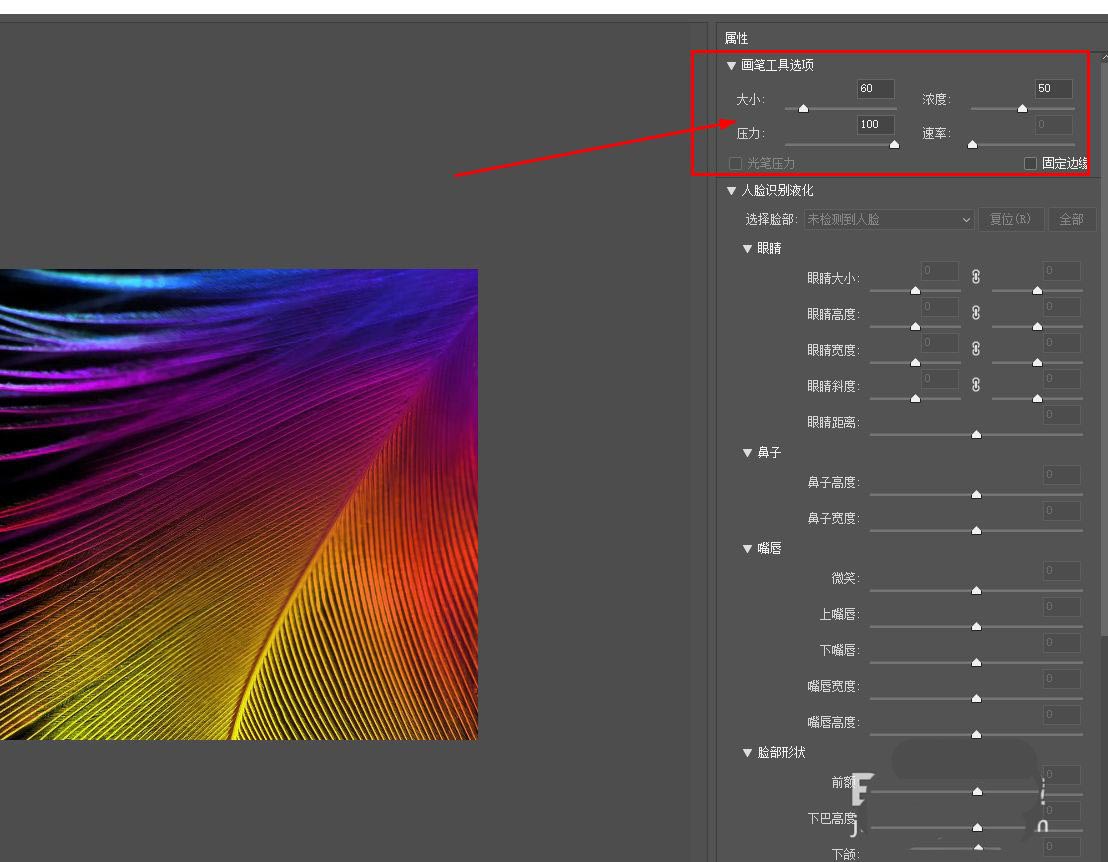
上面是设置画笔的大小
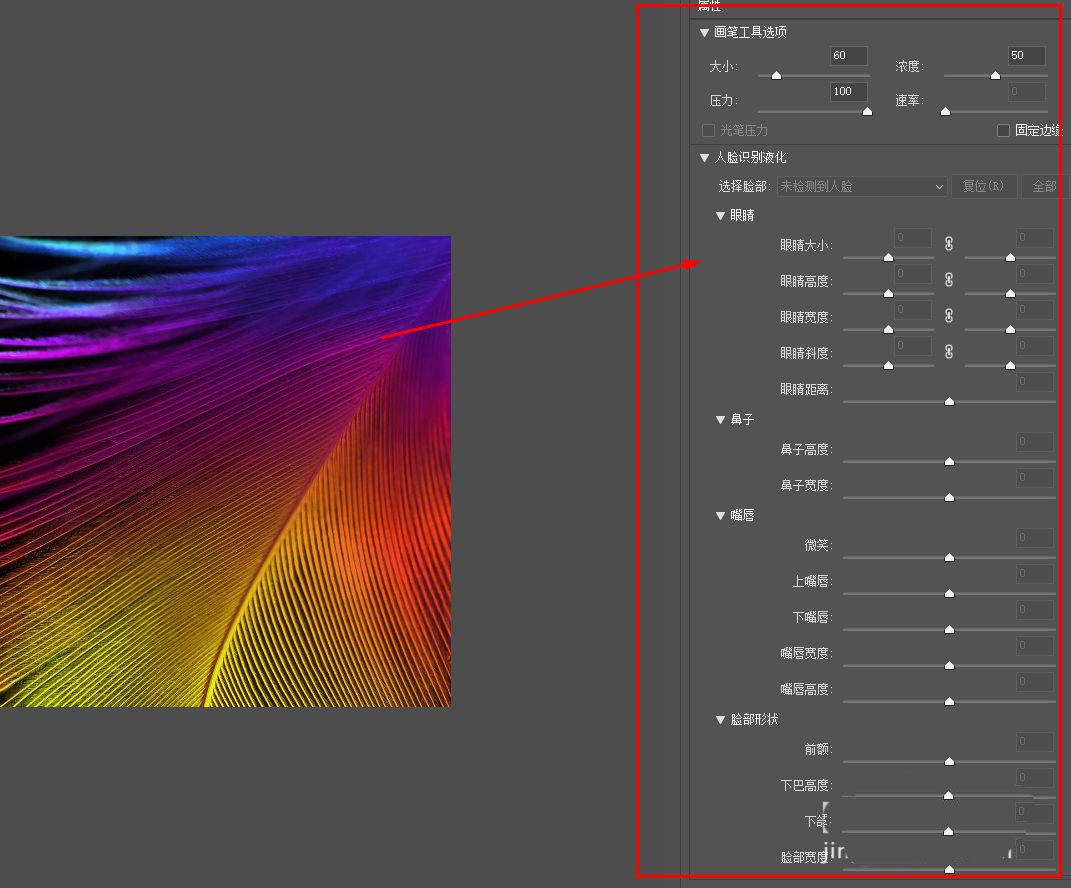
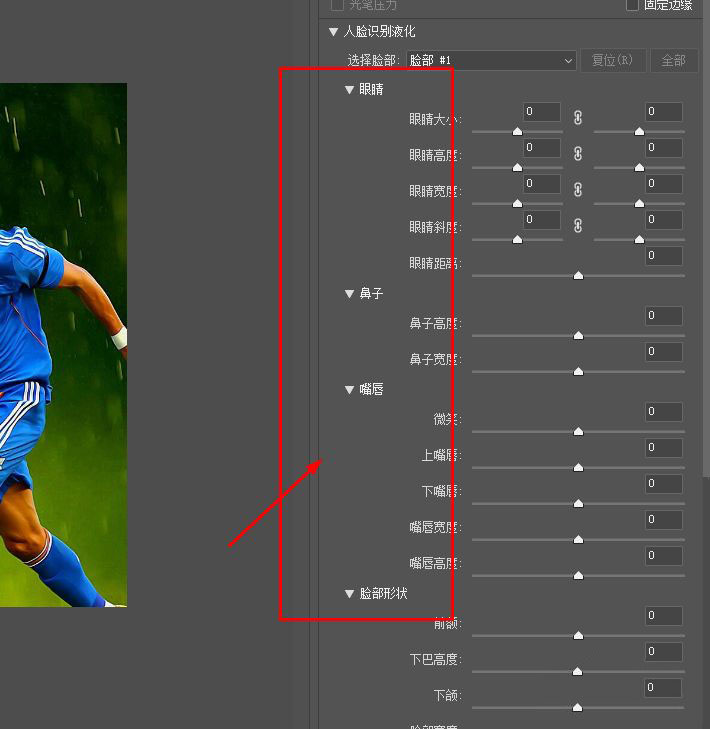
如果画面中有人脸,则会激活人脸识别液化功能
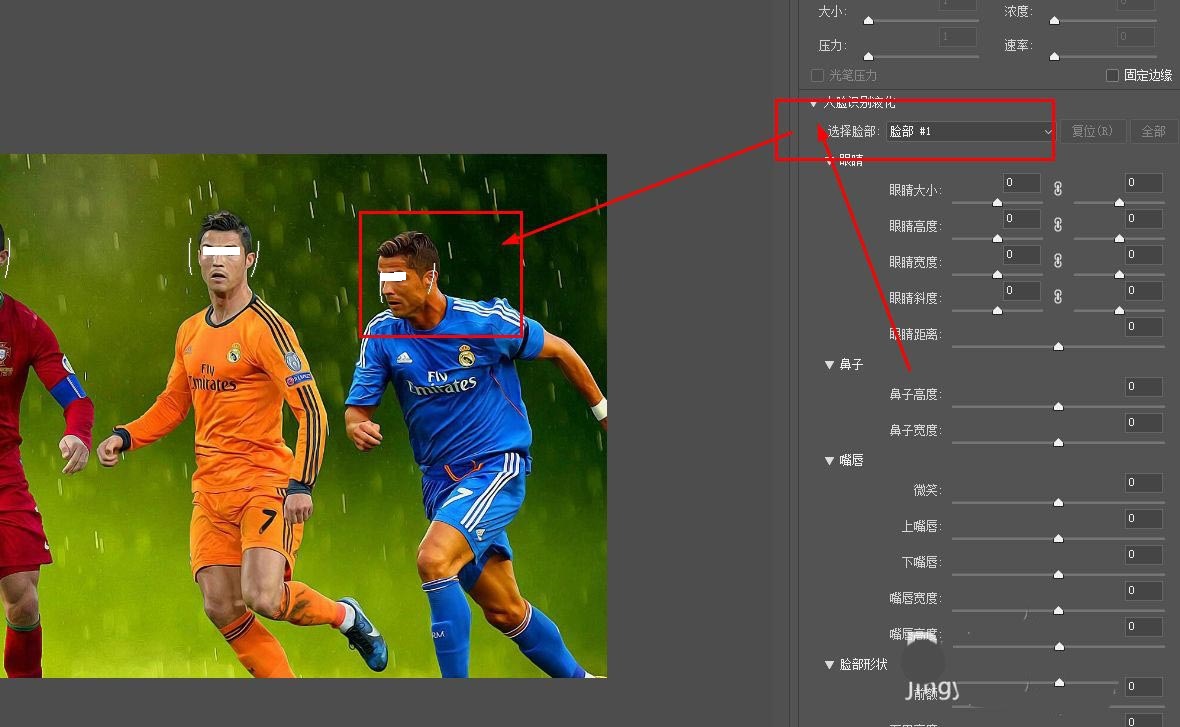
可以对人像的五官进行特定的调整
以上就是ps液化工具使用技巧,希望大家喜欢哦。