大家使用ai的时候,对自带缩拢工具了解多少呢,该功能有哪些用处呢?如何使用AI缩拢工具? 下面是小编介绍AI缩拢工具给图形变形的使用技巧,有需要的小伙伴一起来下文看看吧,希望可以帮助到大家!
在菜单栏找到并依次点击【文件】、【新建】。
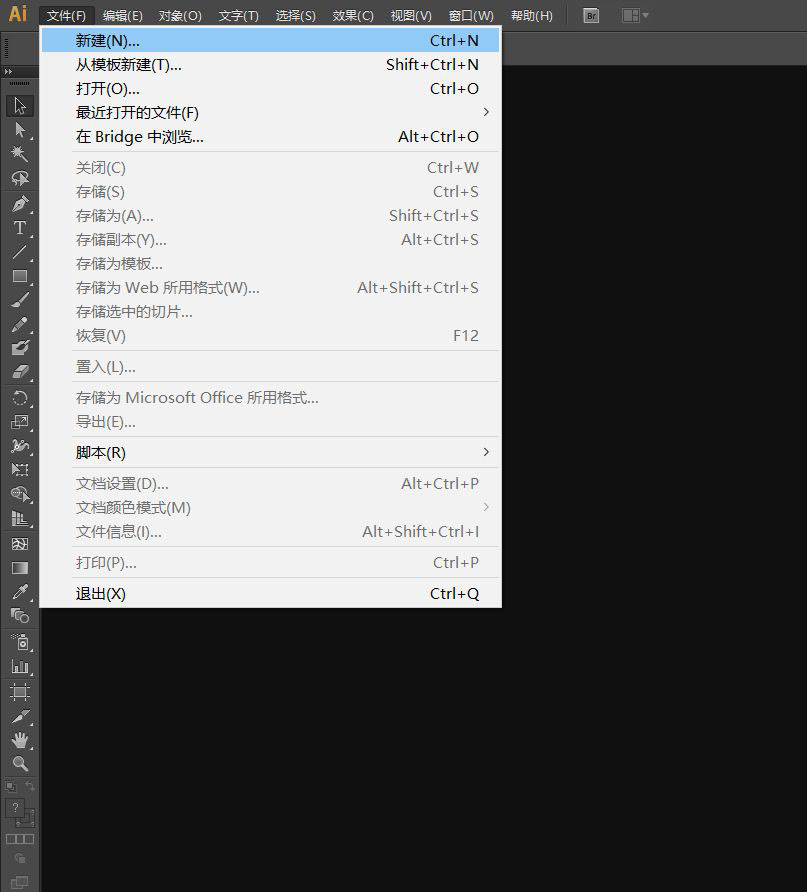
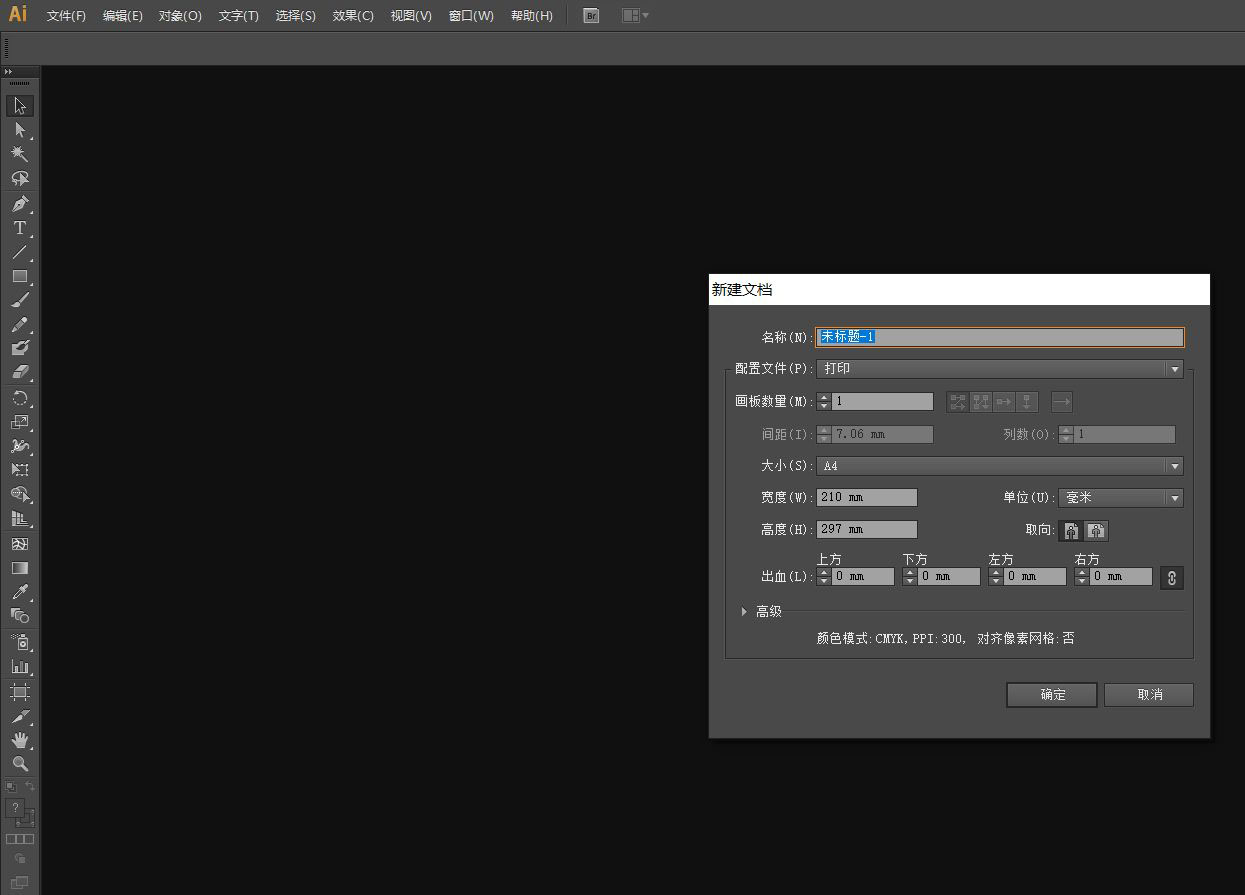
在弹出的窗口设置好参数,点击【确定】,新建文档。
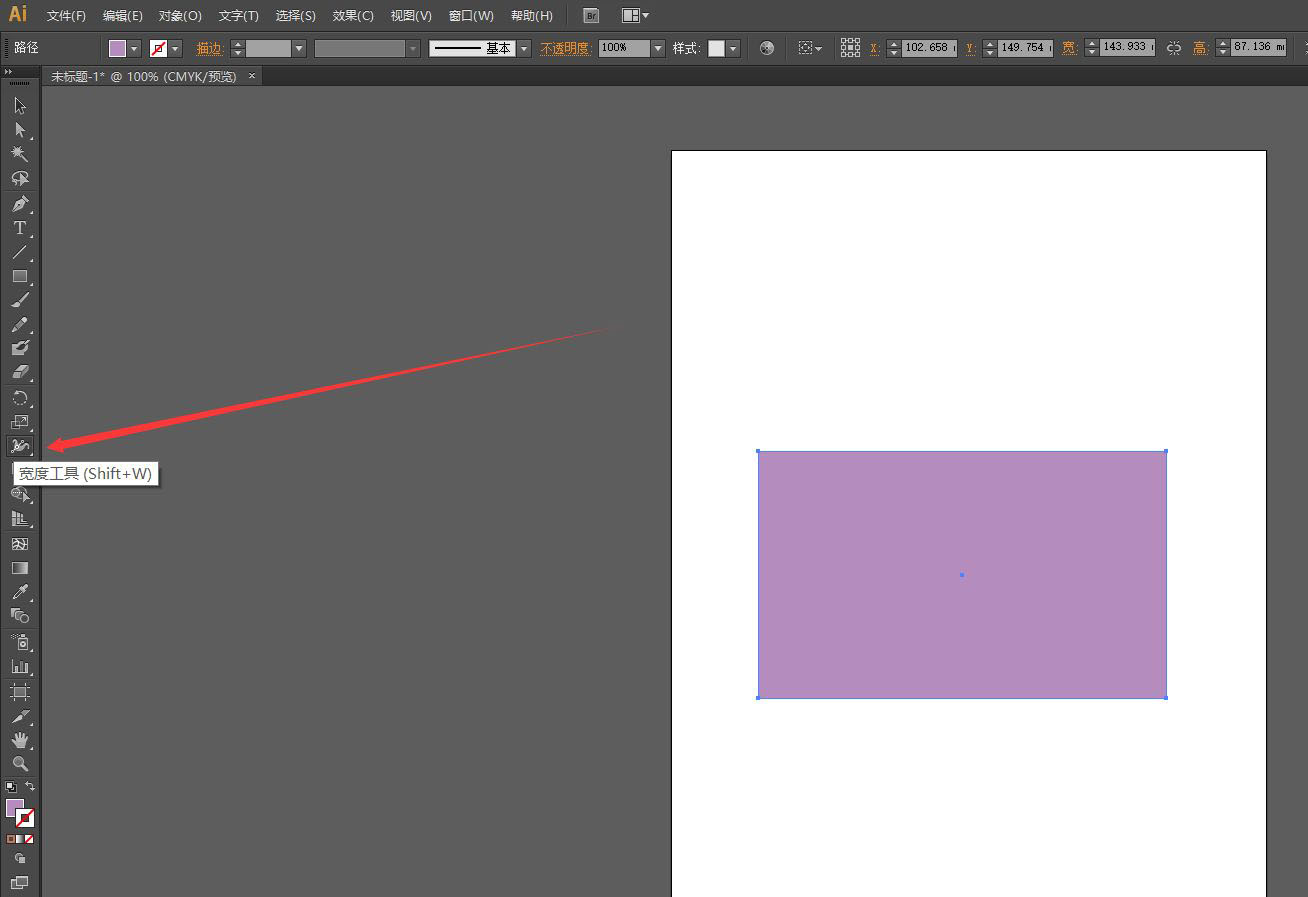
绘制好图形后,【选择工具】选中图形,在左边工具栏找到并点击长按【宽度工具】打开下拉列表。
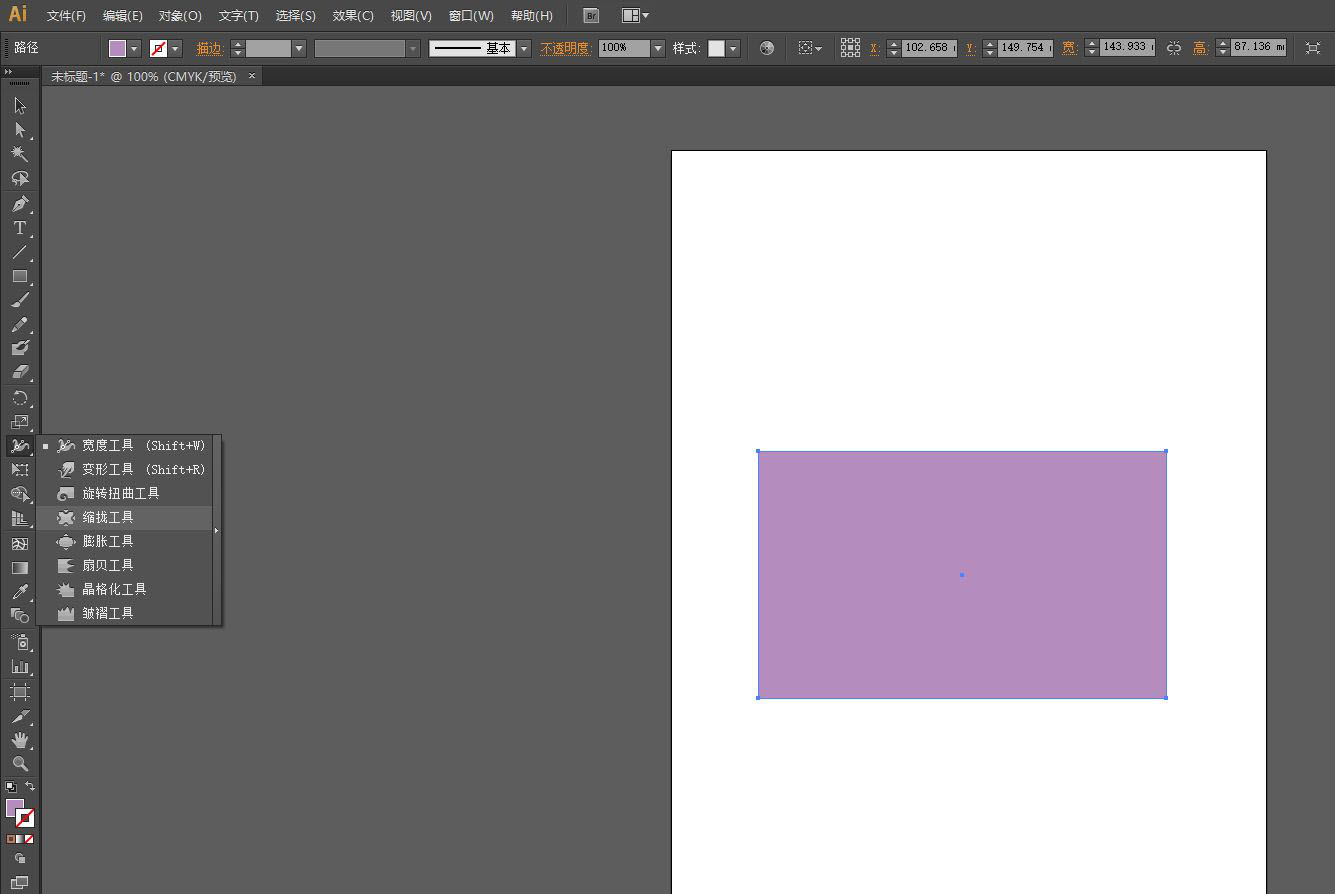
在下拉列表里选择【缩拢工具】。
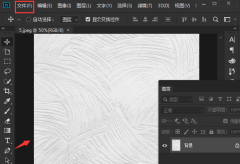
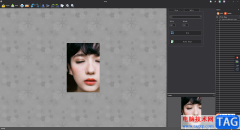
使用【缩拢工具】在图形的边缘点击并拖动鼠标,图形就出现了图形向中心缩拢的效果。
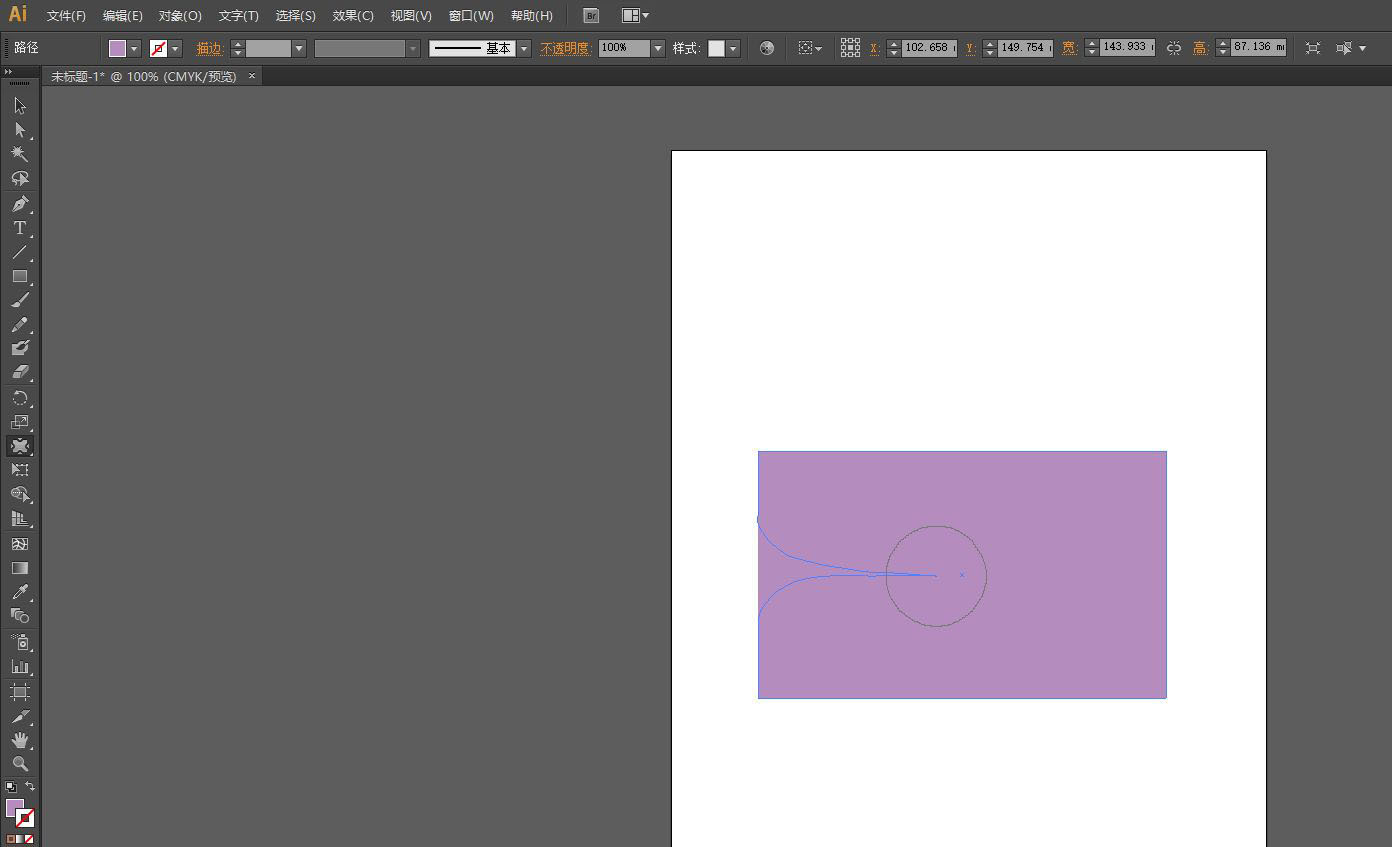
图为小编使用【缩拢工具】将原来的矩形的边缘调整之后的效果,大家可以按照自己的需求调整出想要的效果。
以上就是AI缩拢功能的使用技巧,希望大家喜欢哦。